Objective 2. Modify Placeholders

The design template applied to the presentation and the layout applied to the slide determine the initial size of a placeholder on a slide. You can change the size and position of a placeholder so that the text displays more effectively. You can also select the placeholder itself and modify all of the text contained within it at one time.

Activity 3.9. Selecting Placeholder Text

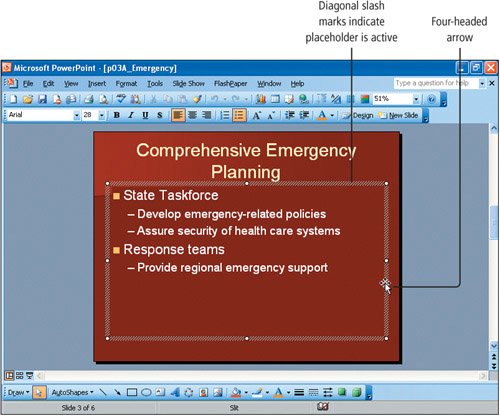
When you click inside a placeholder, a boundary box consisting of diagonal slash marks surrounds it. This boundary box indicates that you can make editing changes to the text in the placeholder. Clicking the boundary box changes the slash marks to a pattern of dots. This dotted pattern indicates that all of the text in the placeholder is selected, allowing you to apply formatting to all of the text in the placeholder without actually selecting the text.

1.

Display Slide 3 and click anywhere in the bulleted list placeholder. Notice the diagonal slash marks surrounding the placeholder.

2.

Point to the outer edge of the placeholder so that a four-headed arrow displays, as shown in Figure 3.11. Click the left mouse button.

Figure 3.11.
(This item is displayed on page 1284 in the print version)


The placeholder is surrounded by a pattern of dots.


[Page 1284]

3.

On the Formatting toolbar, click Italic .

All of the text in the placeholder is formatted in Italic.

4.

Save your file.

Activity 3.10. Sizing a Placeholder

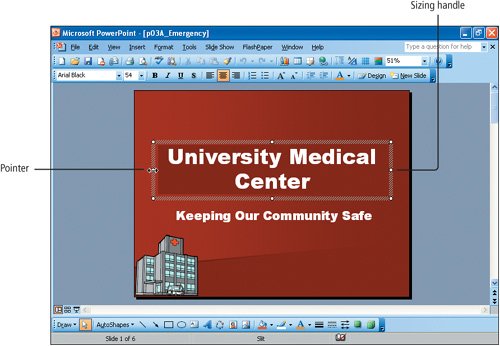
When you select a placeholder, the boundary box that displays includes small white circles called sizing handles. The sizing handles are used to adjust the size of the placeholder. Depending on the sizing handle to which you point, the pointer displays as a left and right, up and down, or diagonal pointing arrow, indicating that you can size the placeholder. When you reduce the size of a placeholder, PowerPoint may display the AutoFit smart tag, giving you the option to AutoFit the text to the size of the placeholder.

1.

If necessary, Open your file 3A_Emergency_ Firstname_Lastname.

2.

Display Slide 1. Click anywhere in the title so that the placeholder boundary displays. The text in this placeholder displays on two lines with only one word on the second line. The title would display more attractively if all of the text fit within one line in the placeholder.


[Page 1285]

3.

At the left edge of the placeholder, point to the center sizing handle so that the pointer displays as a left-and-right-pointing arrow, as shown in Figure 3.12.

Figure 3.12.


4.

Press and hold down the left mouse button, and then drag to the left. Notice that a dashed box displays. This box indicates the new dimensions and position of the placeholder. Continue to drag to the left so that the edge of the placeholder extends to the left edge of the slide, and then release the mouse button to resize the placeholder.

5.

At the right edge of the placeholder, point to the center sizing handle so that the pointer again displays as a left-and-right-pointing arrow. Press and hold down the left mouse button, and then drag to the right edge of the slide. Release the mouse button.

6.

Select the title text, and on the Formatting toolbar, click the Decrease Font Size button .

The font size decreases to 48 and the text displays on one line.

7.

Display Slide 3, and then click anywhere in the title placeholder. Point to the center right sizing handle so that a left-and-right sizing arrow displays. Press and hold down the left mouse button, and then drag to the right until the dashed box extends to the right edge of the slide. Release the mouse button to resize the placeholder.

8.

Point to the center left sizing handle so that a left-and-right sizing arrow displays. Press and hold down the left mouse button, and then drag to the left until the dashed box extends to the left edge of the slide. Release the mouse button to resize the placeholder.


[Page 1286]
The text is positioned on a single line.

9.

Save the file.

Activity 3.11. Moving a Placeholder

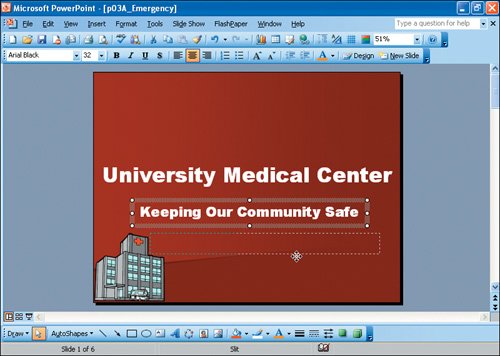
A placeholder can be positioned anywhere on a slide by dragging it to a new location. Subtle changes in the placement of a placeholder provide visual interest and variety in your presentations. In this activity, you will reposition the subtitle on Slide 1 and the bulleted list placeholder in Slide 6.

1.

Display Slide 6, and then click anywhere in the bulleted list to select the placeholder.

2.

Point anywhere on the outer edge of the placeholder so that a four-headed arrow displays. Do not point to one of the sizing handlesthis would result in sizing the placeholder instead of moving the placeholder. Press and hold down the left mouse button, and then drag down until the lower edge of the dashed box aligns with the bottom of the slide, as shown in Figure 3.13. Release the mouse button to reposition the placeholder.

Figure 3.13.


3.

Display Slide 1 and click in the subtitle placeholder. Point to the center bottom sizing handle so that an up-and-downward-pointing arrow displays. Press and hold down the left mouse button and drag up so that the bottom edge of the placeholder is just below the text, as shown in Figure 3.14. Release the mouse button to resize the placeholder.


[Page 1287]

Figure 3.14.


4.

Point to the outer edge of the subtitle boundary box so that a four-headed arrow displays. Do not point to a sizing handle. Press and hold down the left mouse button and drag down and to the right so that the lower left corner of the dashed box is positioned in the corner of the hospital building, as shown in Figure 3.15. Release the left mouse button to move the placeholder.


[Page 1288]


Figure 3.15.


5.

Save the file.


[Page 1288 (continued)]

Windows XP

Outlook 2003

Internet Explorer

Computer Concepts

Word 2003

Chapter One. Creating Documents with Microsoft Word 2003

Chapter Two. Formatting and Organizing Text

Chapter Three. Using Graphics and Tables

Chapter Four. Using Special Document Formats, Columns, and Mail Merge

Excel 2003

Chapter One. Creating a Worksheet and Charting Data

Chapter Two. Designing Effective Worksheets

Chapter Three. Using Functions and Data Tables

Access 2003

Chapter One. Getting Started with Access Databases and Tables

Chapter Two. Sort, Filter, and Query a Database

Chapter Three. Forms and Reports

Powerpoint 2003

Chapter One. Getting Started with PowerPoint 2003

Chapter Two. Creating a Presentation

Chapter Three. Formatting a Presentation

Integrated Projects

Chapter One. Using Access Data with Other Office Applications

Chapter Two. Using Tables in Word and Excel

Chapter Three. Using Excel as a Data Source in a Mail Merge

Chapter Four. Linking Data in Office Documents

Chapter Five. Creating Presentation Content from Office Documents


Go! With Microsoft Office 2003 Brief
GO! with Microsoft Office 2003 Brief (2nd Edition)
ISBN: 0131878646
EAN: 2147483647
Year: 2004
Pages: 448

Flylib.com © 2008-2020.
If you may any questions please contact us: flylib@qtcs.net