Film in Final Cut Pro
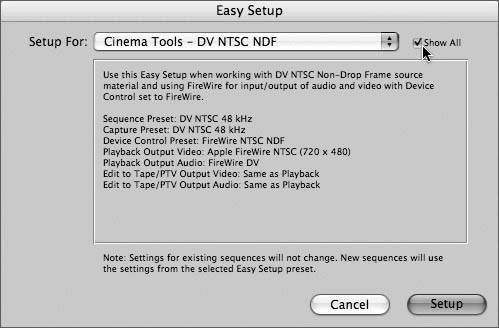
| Since your final medium is film, every decision you make to your final edit will have direct implications on your final film conform. When editing a film-based project in Final Cut Pro, you need to be aware of your editing timebase, video and audio track limitations, film effects, transitions, filters, and duplicate frames. Setting Up Your ProjectThere are many methods of configuring a Final Cut Pro film project. Your project specifications may differ from the ones we use in this lesson, but you can use these exercises as a general guide. For the purposes of this section, we'll focus on the most important project settings. The Editing TimebaseMake sure you set the editing timebase of your project to match the frame rate of your clips. You can set the timebase manually through the Audio/Video Settings or directly in the Sequence Settings or choose from a number of preinstalled Easy Setups. You have a number of Easy Setups to choose from that are designed specifically for use with Cinema Tools.
Multiple TracksWhile editing a film project, you can edit as you would for a video project. However, for the final sequences, you need to follow the film conform rules:
Film Effects and TransitionsFinal Cut Pro has many effects and transitions, which you'll need to create for your final film. It's great to use Final Cut Pro to experiment with transition type or timing, and choosing an effect is more cost efficient in Final Cut Pro than printing and experimenting on film. While you edit, keep in mind that effects fall into two categories:
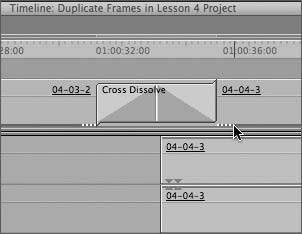
Note In contact printing, you use the original negative. Optical printing requires printing a new negative. FiltersYou can apply filters, including color corrections, to your clips in Final Cut Pro, but they will not be tracked in your Cinema Tools cut list. It's an excellent idea to envision a film color correction or filter by applying them during your editing process, although a color corrector (also called a color timer) will complete the process for your finished film. Output a QuickTime file or tape as a visual reference. Duplicate FramesSince every duplicate frame means duplicating the original negative, which will increase the cost of your final film, keeping track of duplicate frames is important. You can display duplicate frames in Final Cut Pro, which gives you a visual aid for identifying duplicate frames. You can set duplicate frames to display in every new sequence, or toggle it on and off in your current sequence.
The CutbackWhen editing film, you need to allow for extra frames so that the negative cutter can make a splice. This is commonly referred to as a cutback frame. The negative cutter actually uses a portion of a frame (generally ½ to 1 ½ frames from the ingoing and outgoing clip) in order to cement two edited frames together. You should attempt to allow for this during your editing. The rule is that you should not cut back to the very next frame, because that frame needs to be preserved for the negative cutter to cut and cement the negative. For 35mm film, allow 2 frames; for 16mm, allow 3 frames. Due to the smaller gauge, 16mm film requires a greater amount of cutback frames for the negative cutter. Because you're editing on a nonlinear system, it's easy to forget about one or two frames. You can control your duplicate handle size and threshold frames in the Editing tab of User Preferences.
The Threshold field allows you to set a number for the minimum frames that must be duplicated prior to a frame indicator appearing in your sequence. This is very useful. For instance, if you set the handle size for cutback frames to 2, but your film budget allowed you the option of choosing to optically reproduce any frames that equaled 24 consecutively duplicated frames, you would enter 24 in the Threshold field. What this would do is limit the duplicate frame indicator in your Timeline. In this case, you will not see a duplicate frame indicator appearing in your Timeline whenever you hit 24 consecutive duplicate frames, because anything above that number will be optically reproduced. Basically, these options allow you to visually control how your duplicate frames are indicated in your Timeline. Check, Change, and SynchronizeFrom time to time, you will need to access the film metadata of your clips. For instance, you may want to check the key number or ink number associated with a particular clip, or perhaps view the shot notes or scene notes. You can see this information directly in Final Cut Pro in the Item Properties Film tab.
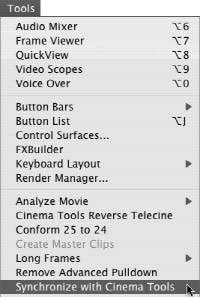
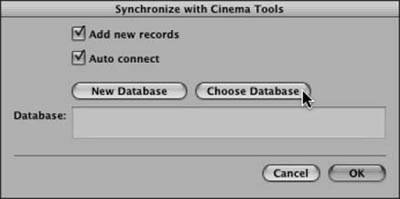
If you add or change information in your Cinema Tools database, you can update your film metadata directly from Final Cut Pro using the Synchronize with Cinema Tools command.
|
EAN: N/A
Pages: 205
 Notice the colored bars that appear at the bottom of each clip. These are the duplicate frame indicators. Each color set corresponds to the matching duplicate. Where duplicate frames fall within a transition you will see the duplicates indicated as white dots.
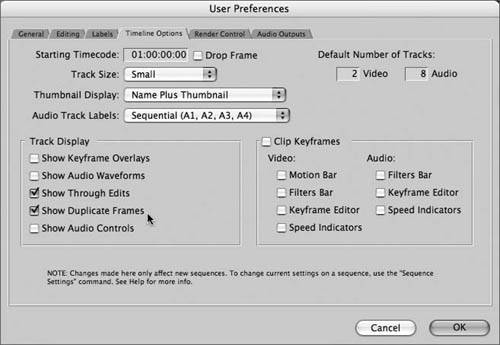 Setting Timeline Options in the User Preferences makes changes applicable to every
 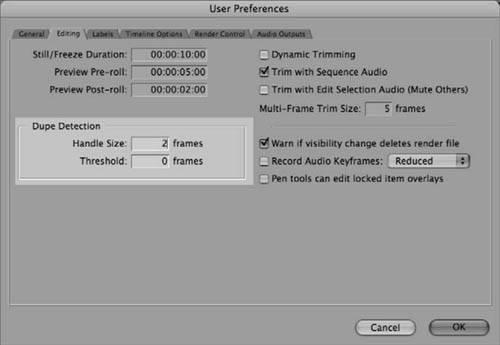 In this lesson, we have been using 35mm film. Enter
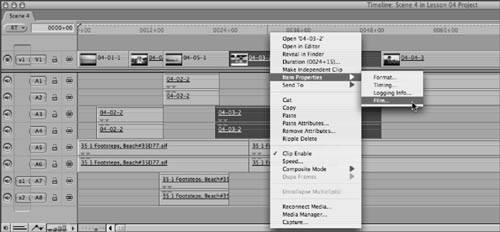
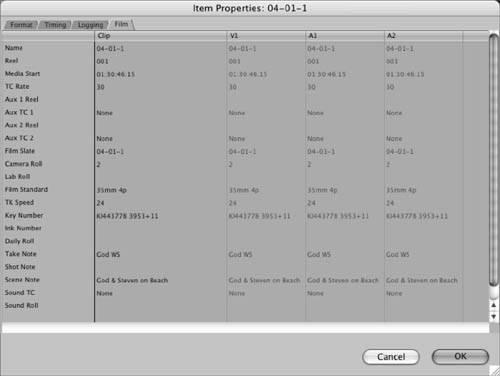 The Item Properties Film tab opens to reveal all the film metadata associated with the clip.