About Blending Modes
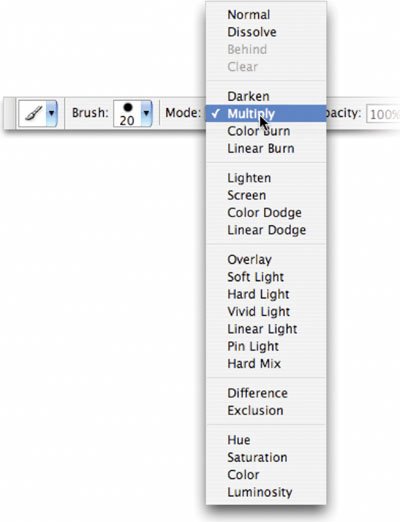
| There are 23 different blending options available from the Layers palette and a few additional ones that work with specific tools. How do they work? The simple answer is "It depends." Your response is likely "Depends on what?" Simply put, the effect achieved by blending two layers varies with the contents of those two layers. A blending mode compares the content of two layers and enacts changes based on the contents of both layers. You'll find blending modes in many of the tools and they can be combined with every filter. The blending mode specified in the Options bar controls how pixels are affected by a painting or editing tool. Additionally, you can set the blending mode of a layer to control how it interacts with those below it. A clear understanding of the following terms will better help you understand blending modes:
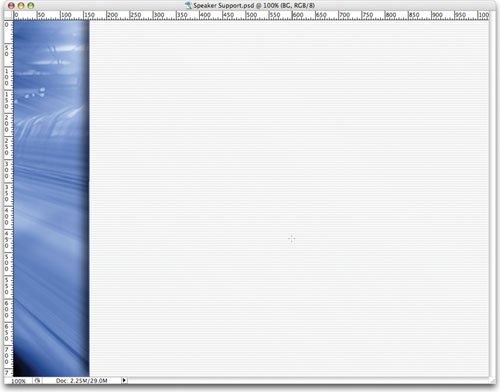
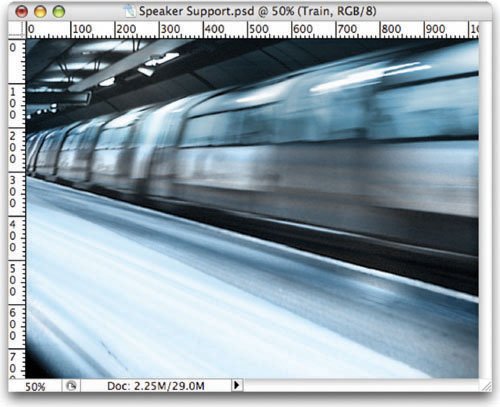
List of Blending ModesHere are the different blending modes available through the Layers palette. I have attempted to give you a clear and simple definition as well as a sample of how these images blend. Original Blended Image Dissolve This creates a random replacement of the pixels with the base or blend color. Darken Pixels lighter than blend are replaced; darker ones are not. Multiply This is similar to drawing strokes on the image with magic markers. Color Burn This evaluates each channel; darkens base by increasing contrast. Linear Burn This evaluates each channel; darkens base by decreasing brightness. Lighten This evaluates each channel; it then uses base or blend color (whichever is lighter). Screen This results in a lighter color. It is useful for "knocking" black out of a layer. Color Dodge This evaluates color information and brightens base by decreasing contrast. Linear Dodge This evaluates color information and brightens base by increasing brightness. Overlay This overlays existing pixels while preserving highlights and shadows of base. Soft Light The effect is similar to shining a diffused spotlight on the image. Hard Light The effect is similar to shining a harsh spotlight on the image. Vivid Light This burns or dodges by increasing or decreasing the contrast. Linear Light This burns or dodges by decreasing or increasing the brightness. Pin Light This is useful for adding special effects to an image. Hard Mix This enhances the contrast of the underlying layers. Difference This evaluates each channel and subtracts depending on greater brightness. Exclusion This is similar to the Difference mode but lower in contrast. Hue This mode uses luminance and saturation of the base and the hue of the blend. Saturation This creates color with luminance and hue of base and saturation of blend. Color This mode preserves gray levels. It's very useful for coloring and tinting. Luminosity This is the inverse effect from the Color mode. Open the file Blended_Overlay.psd from the Chapter 9 folder on the DVD-ROM to experiment with blending modes. Blending Modes in PracticeSo far we've looked at blending modes in a strictly technical sense. While it's useful to have a clear understanding of the technology, let's not lose sight of the design possibilities. Blending modes are a great way to mix layers together. For a designer, this can be a useful way to create backgrounds for speaker support (like PowerPoint presentations) or DVD menus. Let's dissect one of those backgrounds:
Feel free to continue to experiment with different combinations of blending modes and opacity settings. This sample image is just a quick glimpse into the power and flexibility of blending modes.
Video Training
|
EAN: 2147483647
Pages: 129


