Task 4 How to Build Filtered Text Effects
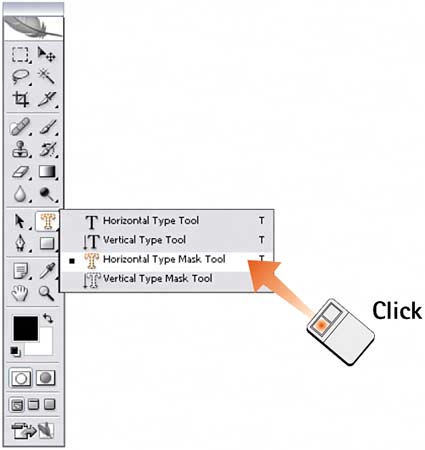
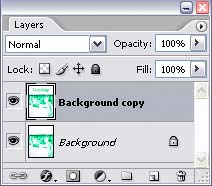
| Instead of placing text as straightforward characters, you might want the text to appear as lightened or darkened areas of the image itself. You also can apply a textured effect to delineate the text characters. This task uses Photoshop filters to modify a text selection mask, creating an effect that integrates the text with the background image. In addition to filters, you can use color shifts, contrast changes, and texture effects when applying the filtering technique. Part 13, "Special Effects," introduces some of the techniques available. 1. Duplicate the Target LayerOpen the image file and determine the layer that will serve as the background for the effect. Select that layer in the Layers palette and select Duplicate Layer from the palette menu. After the Duplicate Layer dialog box opens, provide a name for the layer you are creating and click OK. 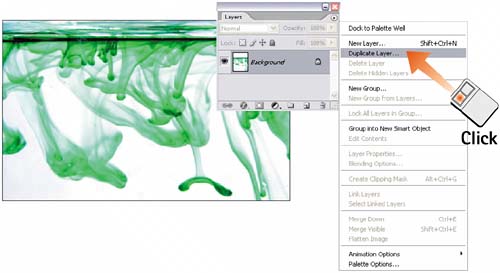 2. Select the Horizontal Type Mask ToolSelect the Horizontal Type Mask tool from the Photoshop toolbox. In Photoshop, masking refers to a process of identifying a particular area for selecting or making specific modifications. In this case, we are selecting an area in the shape of the text letters.
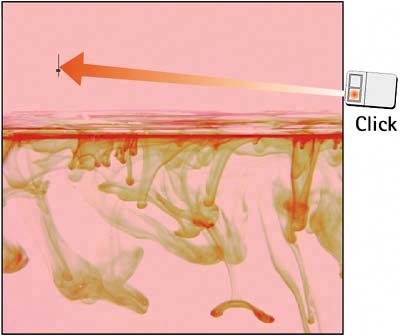
3. Place the Text Starting PointMove the mouse pointer into the image area and click to set the text entry point. A colored type mask appears as you click or as you type. The color mask represents the text character selection. The background might be masked and the text characters might be reversed out of the masking color, based on the current Photoshop Quick Mask configurations (more on that later).
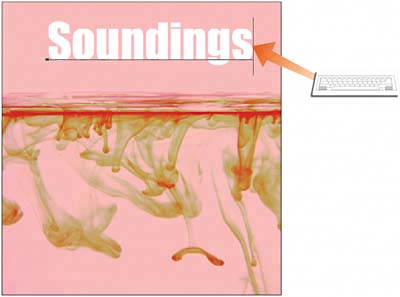
4. Set Text ParametersIn the Options bar, set the font and font attributes for the text you want to add to the image. For filtered text effects, "fat" typefaces in fairly large point sizes (20 points or larger) work best. 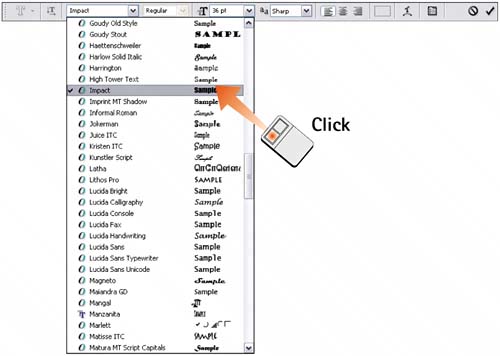 5. Enter TextType the text in the image. As you type, the text and mask appear. Click the check mark on the Options bar, or select any other tool to set the type and create the selection (the "text" appears in the image in a kind of marching-ants, marquee fashion). If the size of the text is wrong, click the Type tool anywhere in the image to deselect the text selection, change the text parameters, and retype the text. To reposition the text, choose any selection tool in the toolbox and drag the selection.
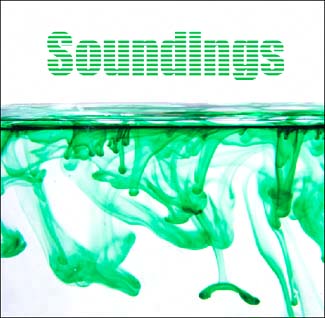
6. Apply a FilterClick the Move tool to create the selection. From the Filter menu in the menu bar, select any of Photoshop's filters. This example uses the Halftone Pattern filter (Filter, Sketch, Halftone Pattern) with the Size set to 4, Contrast set to 40, and Pattern Type set to Line. Click OK to apply the effect.
|
EAN: 2147483647
Pages: 184
