Drawing Shapes To get a feeling for the Preset Shapes tool, open a new 500x500 image with the resolution set to 72 pixels per inch, the background color set to white, and the image type set to 16.7 million colors. Then follow these steps: -
Set the background color to anything but white and select the Preset Shapes tool. -
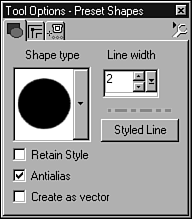
If the Tool Options window is not visible, turn it on by clicking the Toggle Tool Options Window icon in the toolbar or by choosing View, Toolbars and placing a check mark next to the Tool Options Window option in the Toolbars dialog box. The Tool Options window is where you can set the options that are available for the Preset Shapes tool (see Figure 37.1). This assumes that you've selected the Preset Shapes tool. Figure 37.1. The Tool Options window.  -
Set Shape to Ellipse, Style to Filled (this is set in the Color palette), ignore Line Width for the moment, and place a check mark in the Antialias check box. Be sure that the Create as Vector option is unchecked, for now. -
While holding down the Shift key, click and drag the mouse anywhere in your image, and you'll notice a circular outline being drawn. -
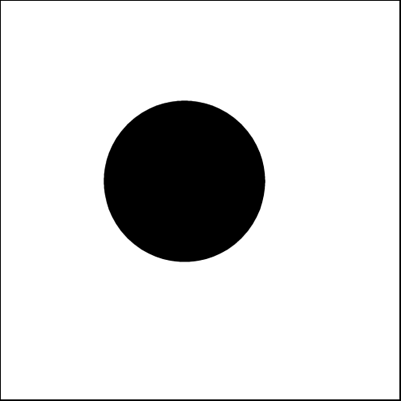
Move the mouse until you get a good-size circle and then release the mouse. When you release the mouse, a filled circle appears where the outline was (see Figure 37.2). Figure 37.2. Drawing a circle.  You'll notice that the circular shape is drawn outward from the point where you first began to click and drag. Knowing this trick makes it easy to place your circles. How? You can place your cursor anywhere on the image by viewing the current mouse coordinates. In the bottom-left corner of the main Paint Shop Pro window is a set of numbers. These numbers are the current x and y coordinates of the mouse pointer. To see how these coordinates work, move the mouse pointer onto the image and watch the numbers as you move the mouse around the image window. The numbers constantly change as you move the mouse. You can use these numbers as a guide for placing the mouse pointer anywhere on your image. To see how this technique works, follow these steps to draw a bull's-eye: -
Choose Edit, Undo to undo the last circle that you drew. -
Set the background color to black by moving the mouse pointer over the black area of the main color swatch and clicking or, if you have trouble setting the color this way, click the background color swatch to bring up the Color dialog box and set the color to black. -
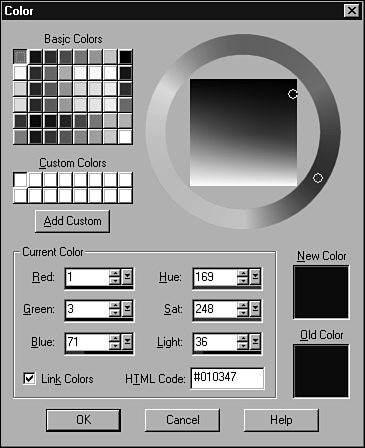
In the Color dialog box, you can choose the color directly from the color grid if the color you want is there (see Figure 37.3). You also can choose the color from the color wheel (and fine-tune it with the square inside the wheel), or you can enter the exact RGB values for the color. The RGB values for black are 0, 0, 0. Figure 37.3. The Color dialog box.  -
With the background color set to black, set the foreground color to red by clicking the foreground color swatch and choosing red from the Color dialog box. The reason to set the two colors is that you can easily switch between them by clicking the small two-headed arrow between the foreground and background color swatches. This technique makes it easy to use two colors without going back to the Color dialog box or guesstimating the colors with the main color swatch. -
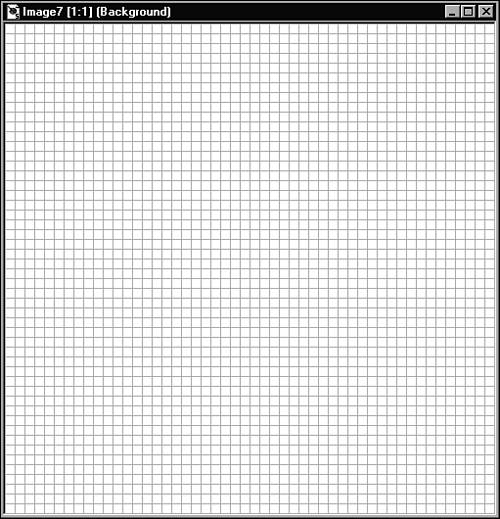
If you're not comfortable moving the mouse into position using the coordinates, you can turn on the grid. To do so, choose View, Grid. This action places a grid over the entire image (see Figure 37.4). Figure 37.4. The image window with the grid visible.  -
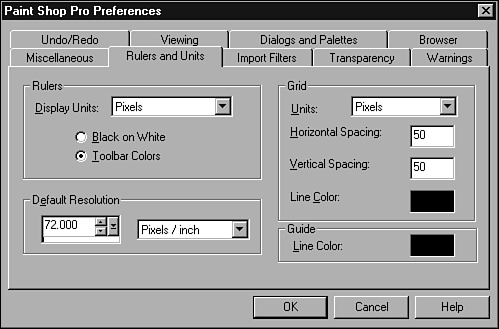
The default setting for the grid has a line every 10 pixels. You can change this setting to suit your needs for a particular image. To change the spacing of the grid, choose File, Preferences, General Program Preferences. -
In the Paint Shop Pro Preferences dialog box, click the Rulers and Units tab to open the dialog box that enables you to set the grid preferences (see Figure 37.5). Figure 37.5. The Paint Shop Pro Preferences dialog box.  -
Change both the Horizontal and Vertical Spacing to 50 and click OK. This gives you a more workable setting for drawing the bull's-eye. -
If you've chosen to go with the coordinates method, place the mouse pointer at the coordinate 100,100. If you're using the grid, move the mouse pointer to where the fourth set of grid lines intersect in the upper right corner. -
Click and drag the mouse until you get a circle that's about 300 pixels in diameter. You can see the diameter of the circle in the lower-left corner of the main window as you drag the mouse.  You can hold down the Shift key after clicking the shape to draw a perfect circle. | Along with the current coordinates, you get additional information in this portion of the main window. This information is very helpful when drawing or painting. The additional information depends on the particular tool you're using. For example, if you're using the Preset Shapes tool to draw a rectangle, you will see the coordinates of the upper-left corner and the lower-left corner as well as the width and height of the rectangle. If you're using the Draw tool to draw a line, you'll see the starting and ending coordinates as well as the angle of the line. -
Swap the foreground and background colors by clicking the small two-headed arrow between the foreground and background color swatches. -
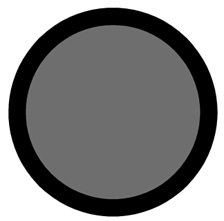
Place the mouse at coordinates 125 for both the x and y and draw another circle. Make this circle about 250 pixels in diameter. You should now have two concentric circles (see Figure 37.6). If you're using the grid, you should start your circle where the fifth line intersects. Figure 37.6. Partially completed bull's-eye.   You can save a few mouse clicks when drawing your circles for the bull's-eye. To do so, simply draw the circles in the background color by clicking and dragging with the right mouse button. This great shortcut works in other situations as well. Click and drag with the left (primary) mouse button to draw with the foreground color; do so with the right (secondary) mouse button to draw with the background color. | -
Swap the foreground and background colors again, and then draw a third circle. -
Continue swapping the foreground and background colors and drawing smaller and smaller circles until the image contains five concentric circles (see Figure 37.7). Figure 37.7. The completed bull's-eye, created with the Preset Shapes tool.  -
Save this image so that you can load it later. To save the image, choose File, Save. Give the image a name ( bullseye.psp will do nicely ) and choose a folder in which to store it. I often save files in a temporary folder if I think I'll need them to complete a drawing at a later sitting. You might want to open a new file at this point and explore the other shapes that you can create with the Preset Shapes tool. Try using different colors and drawing stroked (outlined) shapes as well as filled shapes. Use the grid to help you place various shapes, and try to draw something by combining the different shapes, colors, fills, and strokes (outlines). |
