Using the Palettes
| Palettes are common in graphics programs. They operate like visual menus and let you set options for various tools. They are as follows :
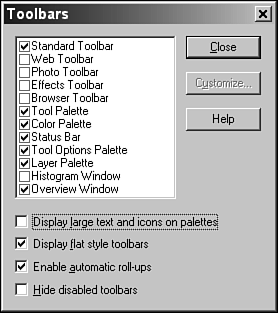
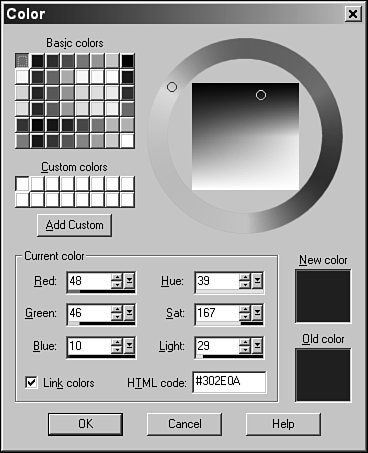
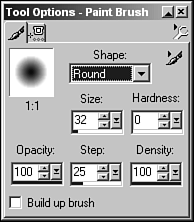
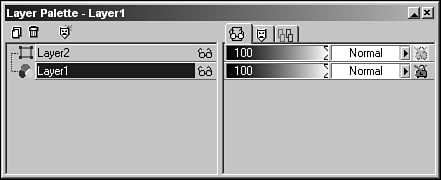
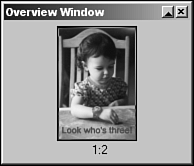
You can turn the palettes on and off via the View, Toolbars command. Choose View, Toolbars to open the Toolbars dialog box (see Figure 32.5). Figure 32.5. The Toolbars dialog. To turn off a palette, simply remove the check mark next to its entry in the dialog box. To restore a palette place a check mark next to its entry. The five palettes I mentioned (actually four palettes and one window) enable you to use the various settings and options associated with the palette. The Color PaletteThe Color palette enables you to set the foreground and background colors for the drawing and painting tools (see Figure 32.6). Figure 32.6. The Color palette. Set a color by moving the mouse over the Available Colors Panel in the Color palette. Clicking the left mouse button sets the foreground color, and clicking the right mouse button sets the background color. You can set stroke (line) and fill styles and textures in a similar manner. To set colors more precisely, you can open the Color dialog box by clicking on either the foreground or background color box (see Figure 32.7). Figure 32.7. The Color dialog box. The Tool Options PaletteThe Tool Options palette enables you to set the options associated with a particular tool. Figure 32.8 shows the options you can set for the Paint Brushes tool Brush Tip. Figure 32.8. The Tool Options palette, showing the Brush Tip options for the Paint Brushes tool. Like most of the palettes, the Tools Options palette does not display until you point to its title bar. It then remains open until you move the mouse pointer outside the palette's boundaries. While the palette is open, you can make as many selections as you like. To keep the palette open even while the mouse is elsewhere, click the Roll-up Mode/Always Open Mode button. You'll notice at least two tabs in the Tools Option palette: The first tab presents options related to that tool (note that the icon for the current tool is displayed on this tab), and the second tab presents options for mouse/sensitive tablet operation. Additional tabs might appear depending on the current tool selected. On the right, click the Tool Selection button to change to a different tool, rather than selecting the tool from the Tool palette. The Layer PaletteThe Layer palette enables you to set the options and blending modes for the layers that make up your images (see Figure 32.9). Figure 32.9. The Layer palette. You also can create and delete layers from within the Layer palette through the two small icons at the top left of the palette. The first enables you to create a new layer, and the second enables you to delete a layer. You also can drag and drop layers onto either icon. Dragging and dropping a layer onto the New Layer icon duplicates the layer, and dragging and dropping a layer onto the small trash can icon deletes the layer. The Tool PaletteThe Tool palette contains the various tools that you can use to paint, draw, make selections, and so on. The tools in this palette were discussed previously in this chapter. The Overview WindowThe Overview window allows you to view an image in its entirety, even if that image is zoomed out, as shown in Figure 32.10. Simply move the mouse pointer over its title bar to display the window, or click the Roll-up Mode/Always Open Mode button to keep the window open. Figure 32.10. The new Overview window. As mentioned earlier, when you've zoomed an image, you can drag the rectangle that appears in the Overview window to change the part of the image being viewed in the main window. |
EAN: 2147483647
Pages: 350
