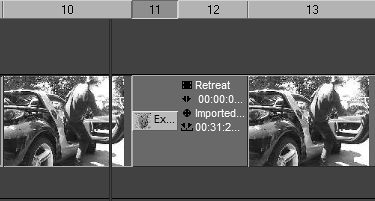
| If you're using the setting I recommended earlier in the "Avoiding Transition Problems" section, you may need to trim your clips. If the transitions contain red areas that indicate that they don't have enough handle to function correctly, you need to trim them (Figure 8.27). Figure 8.27. A transition with no handle area to work with appears red from end to end. 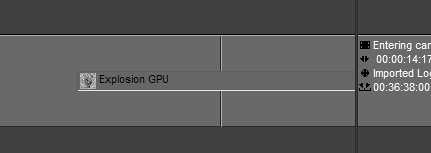
I cover trimming clips with the Trim Editor in detail in Chapter 6; refer to that chapter for a more detailed explanation of how the Trim Editor works. However, when you're dealing with a transition, the Trim Editor operates slightly differently. In order to see the problem clearly, you need to prepare the Timeline before you attempt to trim clips under a transition. To prepare the Timeline 1. | Send a clip to the Source Viewer and remove any mark-in or mark-out points.
| 2. | Send this clip to an empty sequence twice so that the Timeline looks like Figure 8.28.
Figure 8.28. If two clips with no handles are sent to the Timeline… 
| 3. | Drag and drop a transition to where the two clips join up.
The transition appears on the Timeline colored completely red (Figure 8.29).
|
Figure 8.29. …the transition will be red from end to end. (See color insert.) 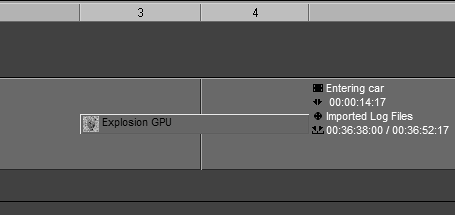
To trim clips under a transition 1. | Place the timeline cursor so that it falls roughly over the middle of the transition.
| 2. | Open the Trim Editor by pressing F5.
| 3. | Press the P key to select the incoming clipthe right-hand window in the Trim Editor.
| 4. | To remove the red area from the transition, do one of the following until all the red has disappeared.
- Press the right arrow on the keyboard.
- Place the mouse cursor over the right-hand window, hold down the left mouse button, and drag to the right (Figure 8.30).
Figure 8.30. Trimming the incoming clip with the mouse. 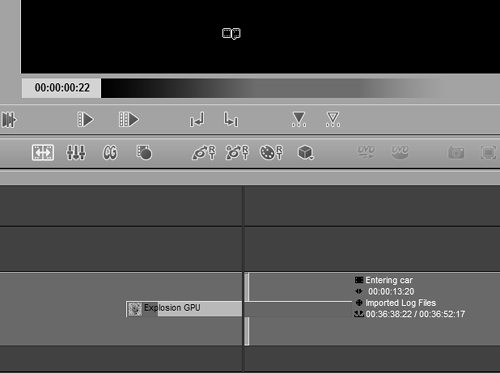
Both of these methods slice the right clip underneath the left clip.
| 5. | Now trim the left clip by pressing the P key again; this sends the black selection bar to the left window. Then press the left arrow key or use the mouse to slide the left clip over the top of the right clip. Stop when the transition has turned from red to gray.
| 6. | Click the Play Preview button  in the middle of the Trim interface to see the result. Don't try to scrub with the mouse because doing so alters the trim points in the same way that pressing the left and right arrow keys does. in the middle of the Trim interface to see the result. Don't try to scrub with the mouse because doing so alters the trim points in the same way that pressing the left and right arrow keys does.
|
 Tips Tips
When sliding the right clip underneath the left clip, take careful note of the frame displayed when you've finished pressing the right arrow key; this is the first frame of your transition for the incoming clip. When you trim the left clip, the last frame displayed is the mark-out point. If you place the transition at the beginning of the cut or at the end of the cut, you only need to slide one clip under or over the other. When you center the transition, you must slide both clips under or over the other for the transition to work correctly. If you delete or remove the transition using the Undo key, the clips remain in their trimmed position and you can add another transition without needing to retrim. Slip Trim mode doesn't work for this example because it doesn't have enough materialhandlesto work with.
Rendering a Realtime Transition Although the phrase "rendering a Realtime transition" sounds like a contradiction of terms, you have to remember that what you are seeing with a Realtime transition is a preview of that effect. With the right hardware (MovieBox Pro, or the AGP Pro card from Pinnacle), you can even view these transitions on an external TV. The quality is so good that you might mistakenly think that it already has rendered, but the clue is the slice above the transition (Figure 8.31). Figure 8.31. A yellow slice above an effect indicates that it is a real-time preview. 
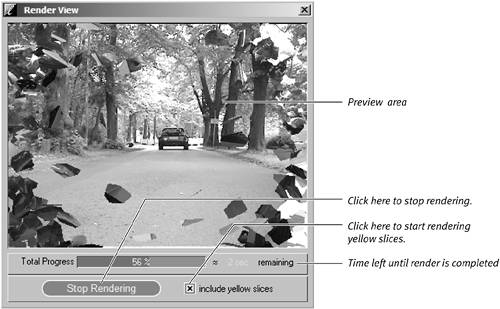
If this is yellow, then you are looking at a real-time preview and you need to render this before you can create a DVD or output the Timeline to tape. To render a yellow slice, click the Render symbol in the Liquid Edition taskbar (Figure 8.32). Place an X in the include yellow slices check box and all yellow slices on the Timeline begin to render (Figure 8.33). Once the render has finished, the yellow slices will turn green. Figure 8.32. The Render icon opens the render box… 
Figure 8.33. …where you can select the include yellow slices option. 
If the rendering doesn't start, check that you haven't previously clicked the Stopped Rendering button to the left of the include yellow slices check box. If you have it will read "Start Rendering" and the render progress bar next to the render symbol will not move. |
|


 Tips
Tips