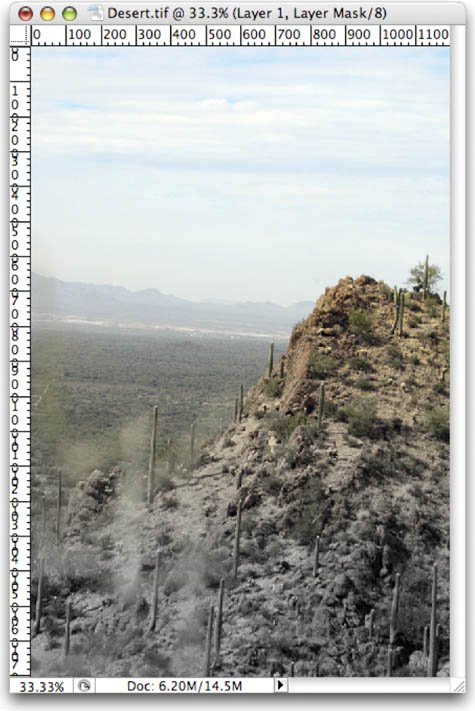
| There are many different approaches to creating Layer Masks. The approach you should take will vary based on your source image. Let's try four different images and techniques to refine our Layer Masking ability. Using a Gradient as a Mask  When designing, you may need to gradually blend the edges of an image. This can be easily accomplished by combining a Layer Mask and a Gradient. Let's give it a try: 1. | Open the file Desert.tif from the Chapter 7 folder.
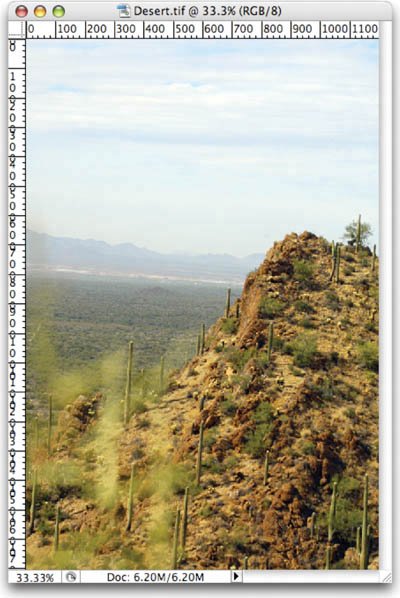
| 2. | Duplicate the Background layer by pressing Cmd+J (Ctrl+J).
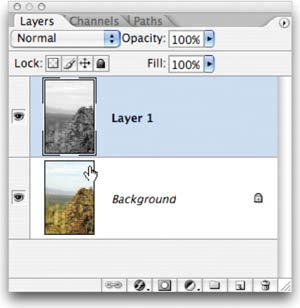
 | 3. | Select the top layer and choose Image > Adjustments > Desaturate.
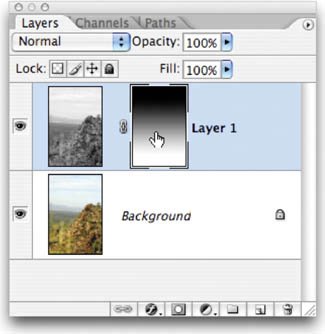
| 4. | With the topmost layer active, click the Add layer mask button at the bottom of the Layers palette. A new, empty Layer Mask is added to the layer.
| 5. | Press G to select the Gradient tool.
 | 6. | Press D to load the default colors of black and white.
| 7. | From the Options bar, choose the black-to-white gradient. If it's not available, choose Reset Gradients from the Gradient Picker's submenu.
| 8. | With the Layer Mask selected, click and drag to create a new linear gradient going from top to bottom.
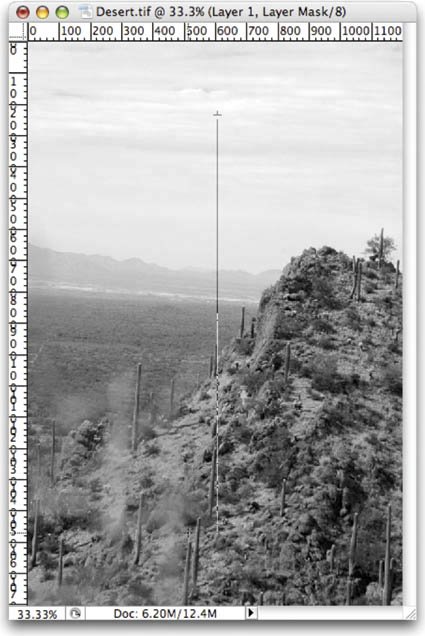
| | | 9. | The new Layer Mask will create a gradual blend from the grayscale version to the colored version.
|
This technique can also be used on one layer to create a gradual fade to transparency, or to another layer.
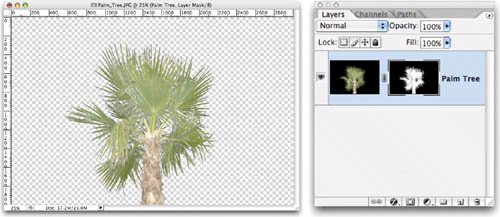
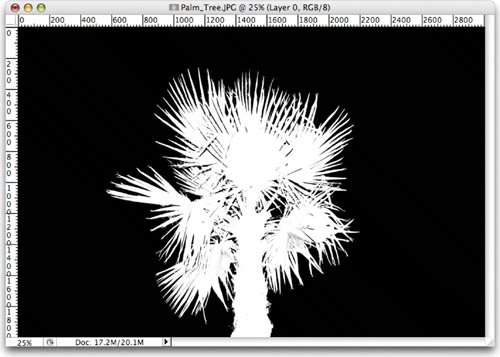
The gradient mask allows the image to blend between the grayscale and color image.   Using a Channel Oftentimes, a channel will get you very close to having a perfect Layer Mask. This technique works particularly well when the subject is against a high-contrast background (such as a sky or a wall), and it works very well with fine details like hair. The image can be masked so it is ready for integration into a composite image. For example, a masked image could be used to add palm trees to a different photo. Let's give it a try: 1. | Open the file Palm_Tree.jpg from the Chapter 7 folder. This image was shot against a night sky using a flash.
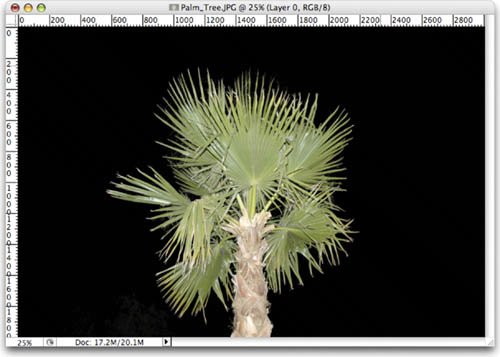
 | 2. | Switch to the Channels palette and examine the red, green, and blue channels. Look for one with high contrast from the background. While all three channels are fairly high-contrast, the green channel stands out the most.
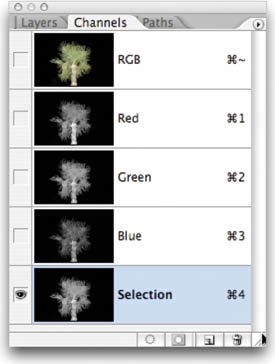
| | | 3. | Duplicate the green channel by dragging it onto the New Channel icon at the bottom of the Channels palette (it looks like a pad of paper).
 | 4. | Rename the new channel Selection, by double-clicking its name.
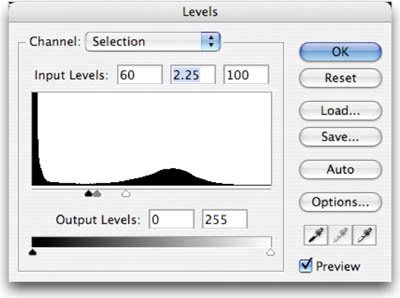
| 5. | With the Selection channel selected, press Cmd+L (Ctrl+L) to invoke a Levels adjustment. Levels is a powerful command that allows you to adjust the gamma (gray) point as well as the black and white points.
| 6. | Move the black slider to the right, setting the Input Level to around 60. The black in the channel should get crisper.
| 7. | Move the white slider to the left, setting the Input Level to around 100. The gray areas in the channel should switch to pure white.
| 8. | Move the middle (gray) slider to refine any gray spots in the channel. A value of 2.25 should be approximately correct.
 | 9. | Cmd-click (Ctrl-click) on the Selection channel's thumbnail to load the selection.
| 10. | Turn off the visibility for the RGB channels by clicking the RGB composite channel's visibility icon. Turn off visibility for the Selection channel.
 | 11. | Switch to the Layers palette.
| 12. | Turn the Background layer into a floating layer by double-clicking its name in the Layers palette. Name the layer Palm Tree.
| 13. | Click the Add layer mask button at the bottom of the Layers palette.
|
Video Training  | Alpha Channel |
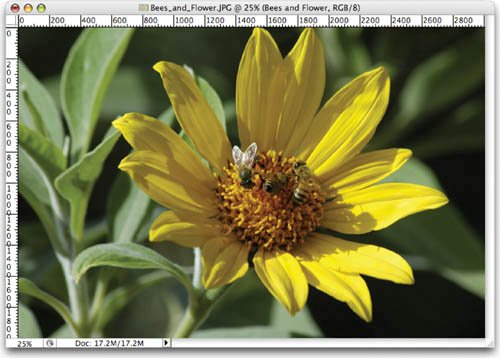
 Using the Color Range Command Sometimes, a color (or range of colors) will be very present in your image. These colors can be used to quickly create an accurate Layer Mask. Even if the color cannot be used to select the object entirely, you can always harness the Brush tool to clean up stray areas. 1. | Open the file Bees_and_Flower.jpg from the Chapter 7 folder.
 | 2. | Turn the Background layer into a floating layer by double-clicking its name in the Layers palette. Name the layer Bees and Flower.
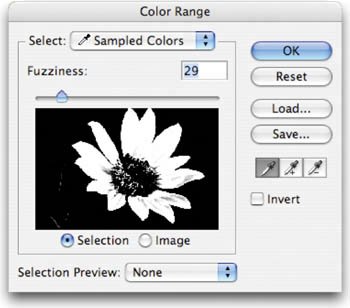
| 3. | Choose Select > Color Range to make a selection based on a range of colors.
| 4. | With the Eyedropper, click within the yellow area of the flower to make an initial selection. Hold down the Shift key and drag through other areas of the flower to add to the selection.
 | 5. | Leave the Fuzziness set to a low value (like 30). When most of the flower is selected, click OK to create an active selection.
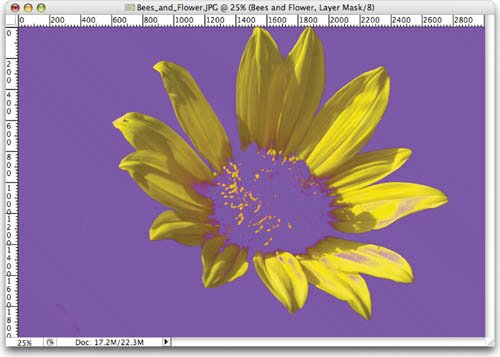
| | | 6. | Click the Add layer mask button for the layer. The petals will show well, but parts of the flower will be missing.
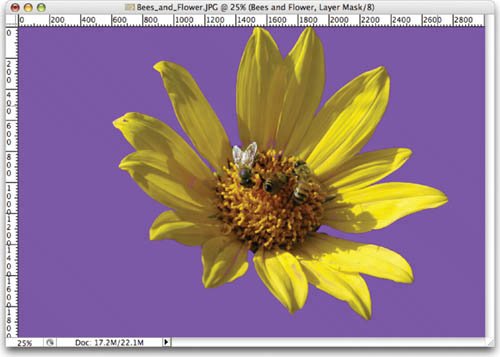
 | 7. | Add a solid color layer to make it easier to see your edges. Choose Layer > New Fill Layer > Solid Color. A purple layer will help things stand out nicely. Click OK and drag the solid layer below the masked flower.
| 8. | Examine the masked layer closely. You will need to paint in part of the center of the flower. Additionally, some of the petals contain unwanted transparency. You may also have some leaves or stems that bled through. We can fix all of these problems quickly using the Brush tool.
| 9. | Press D to load the default colors of black and white.
| 10. | Select the Layer Mask attached to the Bees and Flower layer.
| 11. | Press B to activate the Brush tool. Adjust the size of the brush and its hardness settings so you have a smaller brush with a gentle edge (an 80-pixel brush with a hardness of 75% is a good place to start).
 | 12. | Paint in spotted or missing areas with white. You can remove any unwanted areas by painting with black.
| 13. | When finished, you can save the image as a layered file such as a TIFF or PSD formatted file.
|
Using Calculations We explored the Calculations command to create an advanced selection in Chapter 5. This command uses channel data to create a new alpha channel. We can then refine the channel to create an accurate selection. We can also take this one step further to make a high-quality Layer Mask. Let's give it a try: 1. | Turn the Background layer into a floating layer by double-clicking its name in the Layers palette. Name the layer Lamp.
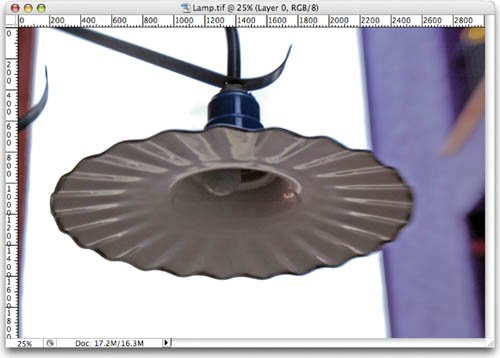
| | | 2. | Open the file Lamp.tif from the Chapter 7 folder.
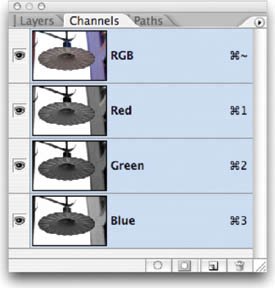
 | 3. | Call up the Channels palette and closely examine the channels for a high contrast between the lamp and the background. While all three channels have great contrast between the sky and the lamp, only the blue channel has some contrast between the building and the lamp.
Compare the different channels to identify the one (or two) with highest contrast.  | 4. | Invoke the Calculations command by choosing Image > Calculations.
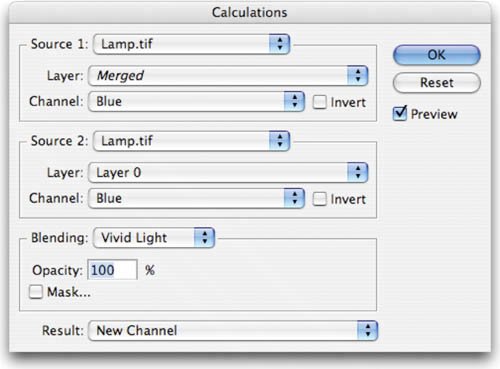
| 5. | Since the other two channels do not contain much contrast, we'll use only the blue channel. Set both Source 1 and Source 2 to the blue channel.
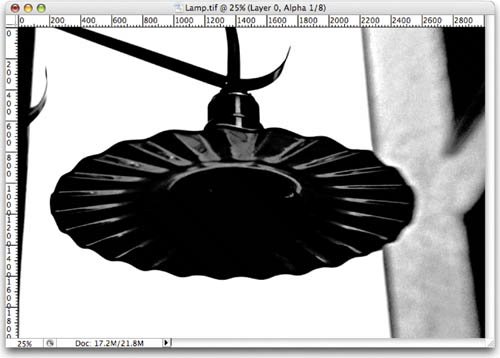
| | | 6. | Experiment with different blending modes so you get clearer separation between the lamp and all other elements. In this case, the Vivid Light mode works best to create a new channel. Click OK.
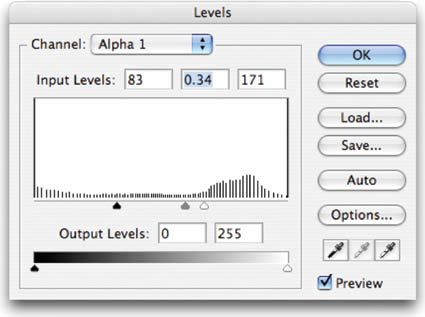
  | 7. | The new channel will need a little touchup. We can get most of the way there with a Levels adjustment. Press Cmd+L (Ctrl+L) to invoke the Levels dialog box.
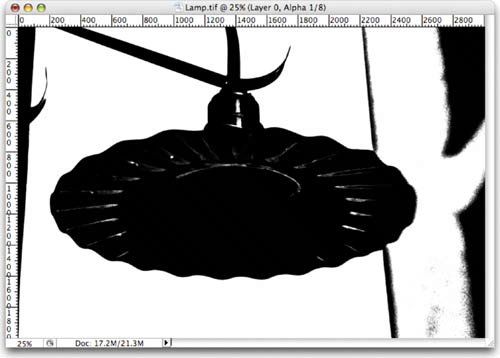
| 8. | Adjust the black, white, and gray points to improve the matte. The results will be closer, but not complete. Click OK when satisfied.
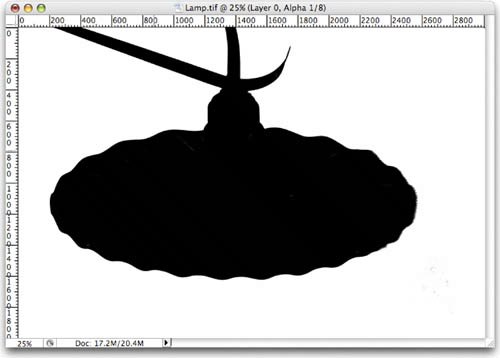
   | 9. | With your Brush tool, paint out the buildings with white.
| 10. | With the Brush tool, paint in the gaps in the lamp with black.
| 11. | We need to reverse the channel so the area we want to discard is black. Press Cmd+I (Ctrl+I) to invert the channel.
| 12. | Soften the selection by blurring it. Choose Filter > Blur > Gaussian Blur; set it to a value of 5 pixels and click OK.
| 13. | Load the channel as a selection by Cmd-clicking (Ctrl-clicking) the channel's thumbnail.
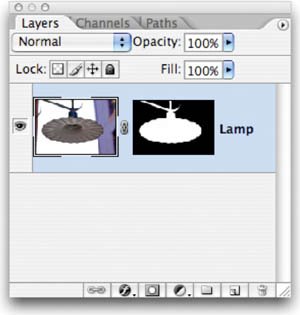
| | | 14. | Switch to the Layers palette and click the Lamp layer.
 | 15. | Click the Add layer mask button to apply a mask to the selected layer.
|
|
