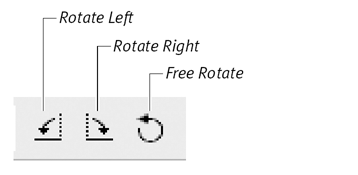
| Director's Effects toolbar ( Figure 6.73 ) offers a variety of effects and transformations that you can apply to existing artwork. They include flips , rotations , edge traces, image distortions, and other modifications. You may want to make a copy of your cast member before applying any of these effects, in case you're not satisfied with the results. Figure 6.73. The Effects toolbar lets you flip, warp, rotate, and skew, to name a few features.  You can increase the usefulness of your effects by using the Auto Distort command, which applies an effect in gradual steps and creates a new cast member for each step. The result is a series of tweens that can be used to create a sequence of frame-by-frame animation. You must select an area before you can apply any effects to it. And for most effects, you must use the Marquee tool, not the Lasso, to make the selection. To rotate artwork 90 degrees: -
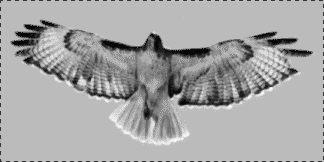
In the Paint window, make a selection with the Marquee tool ( Figure 6.74 ). Figure 6.74. Select the artwork (here, a fine-looking eagle) to rotate.  -
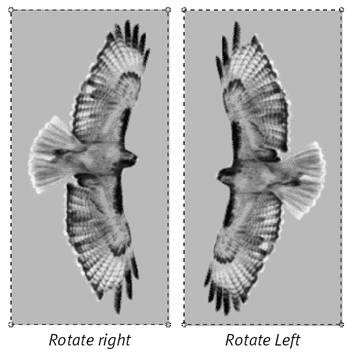
Click Rotate Right or Rotate Left in the Effects toolbar ( Figure 6.75 ). Figure 6.75. Click one of the Rotation tools.  The selected image rotates 90 degrees ( Figure 6.76 ). Figure 6.76. The image rotates to the left or right.  -
Click anywhere outside the marquee to lock in the transformation. To freely rotate artwork in 1-degree increments : -
Make a selection with the Marquee tool. -
Click Free Rotate in the Effects toolbar. Director places handles at each corner of your selection. -
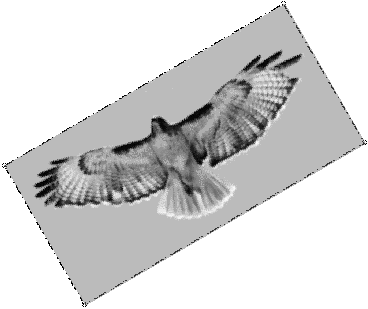
Drag one of the handles to rotate your art selection in 1-degree increments ( Figure 6.77 ). Figure 6.77. Drag a handle to rotate a selection in 1-degree increments with the Free Rotate tool.  -
Click anywhere outside the marquee to lock in the transformation. To flip artwork: -
Make a selection with the Marquee tool. -
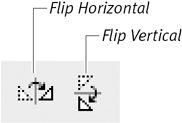
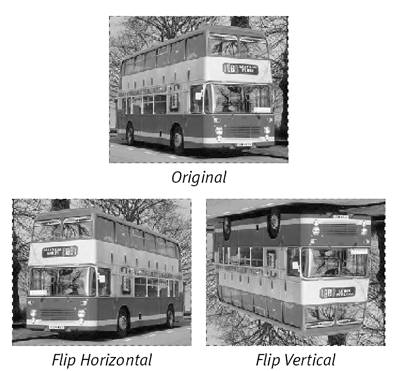
Click the Flip Horizontal or Flip Vertical tool in the Effects toolbar ( Figure 6.78 ). Figure 6.78. Click Flip Horizontal or Flip Vertical to flip an image.  The selected image flips horizontally or vertically ( Figure 6.79 ). Figure 6.79. Here, you can see the results of flipping a tour bus.  To distort artwork: -
Make a selection with the Marquee tool. -
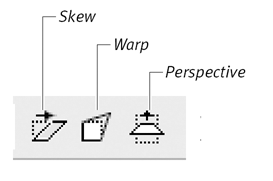
Click the Skew, Warp, or Perspective tool in the Effects toolbar ( Figure 6.80 ): Figure 6.80. Use the Skew, Warp, or Perspective tool to alter the shape and dimensions of an image.  -
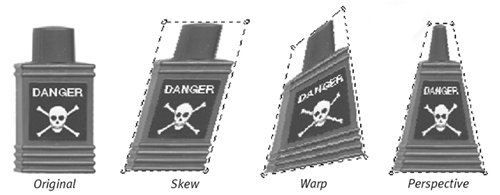
The Skew tool slants the selected area into a parallelogram shape ( Figure 6.81 ). Figure 6.81. This bottle of poison gets a fierce workout with Director's four distortion tools.  -
The Warp tool allows the selected area to be stretched in any number of directions. -
The Perspective tool bends the selected area into a trapezoidal shape, which can be used to make parts of an image seem to recede into the distance. When you click a tool, Director places handles at each corner of the selected area. -
Drag any of the handles to apply the desired effect to the selection. -
Click anywhere outside the marquee to lock in the transformation. To apply other toolbar special effects: -
Use the Marquee or Lasso tool to make a selection. The Lasso tool works for all of the following effects except Trace Edges. -
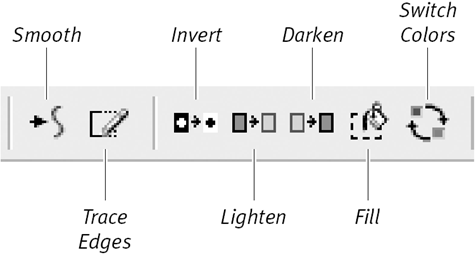
Choose the Smooth, Trace Edges, Invert Colors, Lighten, Darken, Fill, or Switch Colors tool in the Effects toolbar ( Figure 6.82 ): Figure 6.82. More effects tools in the Effects toolbar.  -
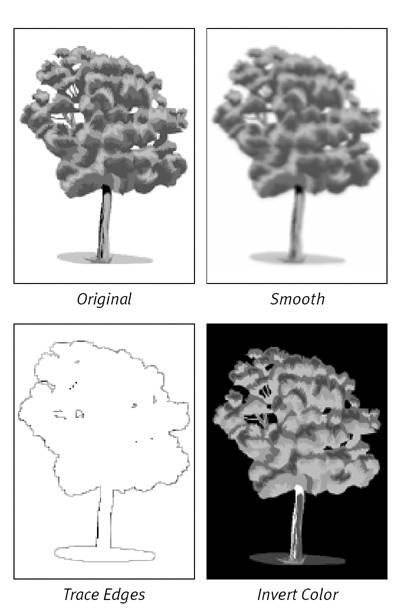
Smooth softens the edges of your artwork by adding pixels that blend the colors at the edges ( Figure 6.83 ). Figure 6.83. Here, a tree sports three different paint effects.  -
Trace Edges creates an outline around the edges of the artwork you've selected. Select Trace Edges repeatedly to increase the number of outlines in the trace. -
Invert Color replaces each color with its opposite . -
Lighten and Darken change the brightness of the artwork. -
Fill fills the selected area with the current foreground color and pattern. -
Switch Colors lets you swap out an unwanted color for a new one. (See "To switch colors in an existing cast member" earlier in this chapter.) To create a sequence of tweens: -
Make a selection with the Marquee tool. -
Click the Skew, Warp, Perspective, or Rotate tool in the Effects toolbar. Director places handles at each corner of the selection. -
Drag any of the handles to rotate or distort the selected art. Do not click outside the marquee; the selection handles must remain active. -
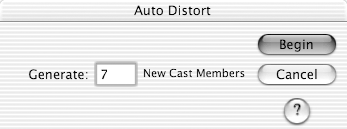
Choose Xtras > Auto Distort. The Auto Distort dialog box opens. -
Type the number of in-between cast members that you want to create ( Figure 6.84 ). Figure 6.84. In the Auto Distort dialog box, enter the number of in-between cast members you want to create.  -
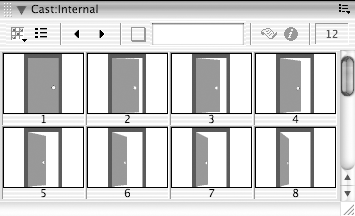
Click Begin. Director applies the effect in the number of steps you specified. For each step, Director creates a new cast member and places it in the next available position in the Cast window ( Figure 6.85 ). Figure 6.85. The results of using Auto Distort with the Warp tool to create a series of in-between images.   Tip Tip -
There's usually no reason to use Auto Distort with the Skew or Rotate effects, since sprites can be skewed or rotated easily on the Stage. Auto Distort is better used with the Warp and Perspective effects, which can't be duplicated on the Stage.
|

