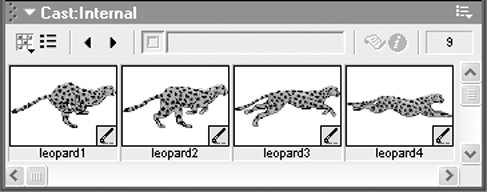
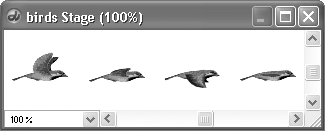
| Dragging sprites around the Stage, or changing their properties, produces only the most basic kind of animation. Doing real animationthe traditional kind, in which characters move in lifelike waysstill requires the labor- intensive task of making a series of drawings, each of which differs slightly from the one before, and playing them in sequence to create the illusion of motion ( Figure 4.41 ). Figure 4.41. A series of cast members designed for frame-by-frame animation.  Teaching the artistic skills needed to create a series of animation drawings is beyond the scope of this book. So let's assume that you already have the set of images, which you've either created within Director or (more likely) imported into Director, and that you've arranged them in order in the Cast window. Now what? Each image needs to be on the Stage for a short amount of timeone frame or perhaps several frames and then replaced by the next image in the series. You could do this by having a separate sprite for each image, but it's more efficient to create a multiple-member sprite a sprite that contains references to two or more cast members. Doing so allows the entire animated sequence to be contained within a single sprite, which can then be edited or tweened like any other sprite. There are several ways to create a multiple-member sprite: You can exchange cast members within a sprite, or you can use specialized Director commands called Cast to Time and Space to Time. The Cast to Time command is generally appropriate for animation that's fixed in one place, while the Space to Time command lends itself more to animation that moves around the Stage. To exchange cast members within a sprite: -
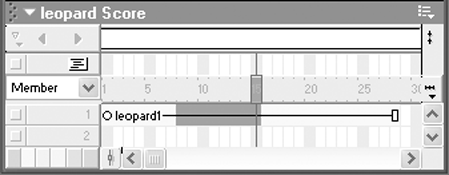
Within a sprite in the Score, select the range of frames whose cast-member reference you want to change ( Figure 4.42 ). Figure 4.42. Select the frames in which you want to substitute a different cast member.  -
In the Cast window, select the cast member that you want to substitute for the existing cast member. -
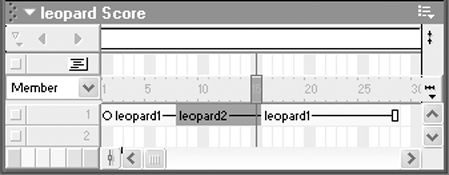
Choose Edit > Exchange Cast Members. The cast member is exchanged, and sprite labels in the Score are updated ( Figure 4.43 ). Figure 4.43. As you can see from the sprite label, the selected frames in the sprite now refer to a different cast member (leopard2).  -
Repeat steps 1 through 3 as many times as necessary until the full animated sequence has been added to the sprite.  Tip Tip
To create a multiple-member sprite using Cast to Time: -
In the Score, click the cell in which you want the first frame of the sprite to fall ( Figure 4.44 ). Figure 4.44. Select the cell in which you want the first frame of the multiple-member sprite to fall.  -
In the Cast window, select the sequence of cast members that you want to combine into a sprite ( Figure 4.45 ). Figure 4.45. Select a series of cast members.  You can choose adjacent cast members or make noncontiguous selections; however, the cast members must be in the proper order within the Cast window. -
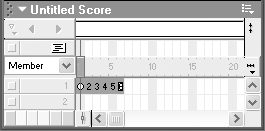
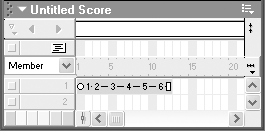
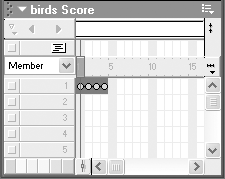
With the Cast window still active, choose Modify > Cast to Time. Director creates a sprite that consists of as many frames as there are cast members in your selection, with a new cast member in each frame ( Figure 4.46 ). Figure 4.46. Director creates one sprite from the series of cast members.   Tips Tips -
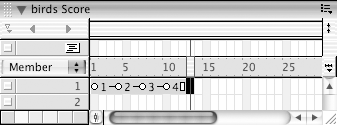
If you want each cast member within the sprite to occupy more than one frame, drag the sprite's last keyframe to the right. Doing so will cause all the keyframes to move apart from each other, allowing each one to remain in effect for several frames ( Figure 4.47 ). Figure 4.47. The sprite has been doubled in length by dragging the last keyframe. As a result, each cast member referenced by the sprite will be on the Stage for two frames rather than one.  -
As a shortcut for the Modify > Cast to Time command, you can hold down the Alt key (Windows) or Option key (Mac) while dragging the selected cast members into the Score.
To create a multiple-member sprite using Space to Time: -
In the Score, click the cell in which you want the first frame of the sprite to fall. -
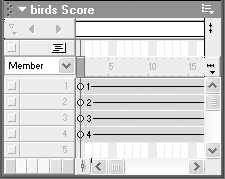
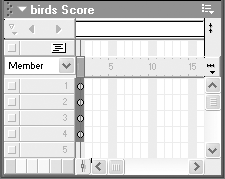
One by one, drag the cast members for the animated sequence from the Cast window to the Stage ( Figure 4.48 ). Figure 4.48. Drag cast members for the sequence to the Stagein order.  Be sure to drag the cast members to the Stage in the correct order. Director automatically places the cast members in sequential channels in the Score, creating separate sprites ( Figure 4.49 ). Figure 4.49. The cast members are placed in sequential channels in the Score.  -
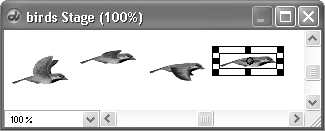
Arrange the sprites on the Stage as they should appear in the animated sequence ( Figure 4.50 ). Figure 4.50. Position the sprites on the Stage as they should appear in the animated sequence.  -
Select all the sprites that you just created in the Score. -
Limit the selected sprites' span duration to one frame ( Figure 4.51 ) by entering the same frame number for the start frame and end frame in the Property Inspector or the Score's Sprite toolbar. Figure 4.51. Limit the sprites' span duration to one frame.  -
Choose Modify > Space to Time. -
In the Space to Time dialog box, enter a Separation value to indicate how many frames should separate the sprites within the new combined sprite. -
Click OK. All the selected sprites combine into a multiple-member sprite in a single channel ( Figure 4.52 ). Figure 4.52. The multiple sprites are converted to a single sprite.   Tips Tips -
Space to Time can also be used to animate a single cast member. Simply drag multiple copies of the cast member onto the Stage and arrange them as desired. -
If you use Space to Time to create an animated sequence that moves in a single direction across the Stage, you can extend that sequence by using the Paste Relative command (see the following).
To extend an animated sequence using Paste Relative: -
In the Score, select a sprite that contains an animated sequence, preferably one with linear movement. -
Choose Edit > Copy Sprites. -
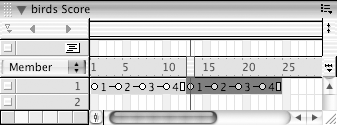
In the Score, choose the cell immediately after the last cell of the selected sprite ( Figure 4.53 ). Figure 4.53. Select the cell following the sprite you copied .  -
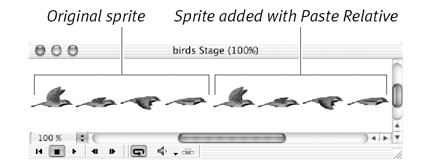
Choose Edit > Paste Special > Relative ( Figure 4.54 ). Figure 4.54. Using Paste Relative, copy the sprite into place.  Your animated sequence repeats on the Stage, beginning exactly where the previous sequence ends ( Figure 4.55 ). Figure 4.55. The animated sequence is extended.   Tip Tip
|
