Task 5 How to Warp an Image
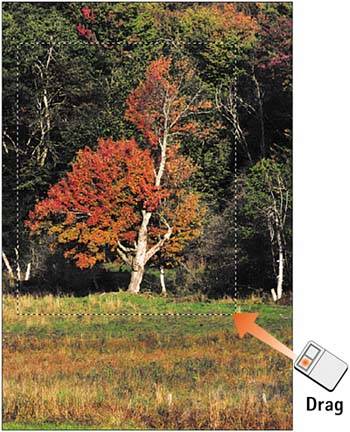
| One of the most requested features for Photoshop has finally been added to Photoshop CS2: the ability to freehand warp an image. Although we've had the ability to use various rectangular transformations for several versions now (Scale, Skew, Rotate, and so onsee Part 10, Task 6, "How to Transform Layers"), the new Warp command lets you push around pixels like so much modeling clay. 1. Open the FileSelect File, Open or click the Go to Bridge button on the Options bar and select the image you want to warp. 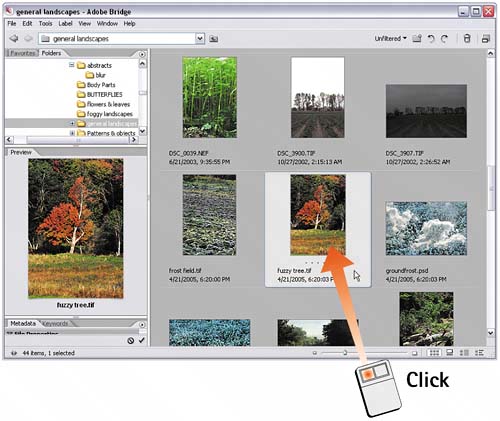 2. Select the Area to WarpUse the Rectangular Marquee tool or any other selection method to select the area you want to warp. In this example, my goal is to straighten the tree, so I dragged a rectangular selection around it.
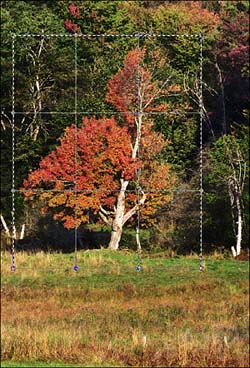
3. Select WarpSelect Edit, Transform, Warp to activate the warp mesh. 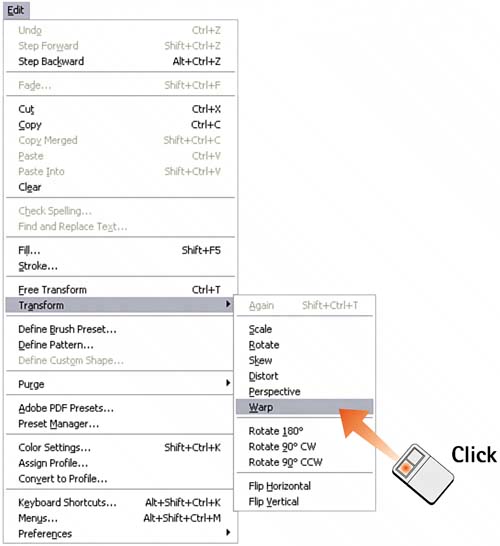 4. Examine the Warp MeshThe selected area is overlaid with a rectangular warp mesh made up of perpendicular straight lines. The mesh provides a visual cue as an aid in the transformation of the image.
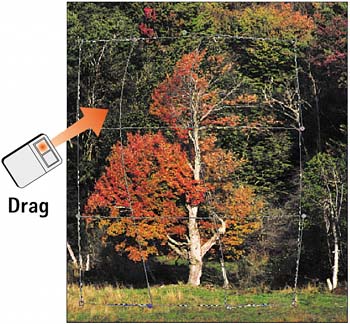
5. Begin WarpingClick and drag inside the warp area to begin warping the image. The warp mesh distorts as you warp, letting you know the degree and distance of your transformation. The corners of the mesh have handles you can drag to warp the sides. If you are unhappy with the results, press the Esc key or click the Cancel Transform button on the Options bar to leave the Warp mesh and then start over. When you're satisfied with the result, either press the Enter key in Windows or the Return on the Mac or click the Commit Transform button on the Options bar.
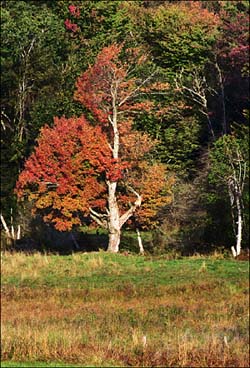
6. Examine the ResultsCarefully examine your image for clues that might give away your transformation. Be particularly watchful for warped lines that must remain straight, such as architectural details. If your warped area is smaller than the original, you might have areas where the canvas shows through. If you're not happy with the results, select Edit, Undo or use the History Palette to remove the transformation and try again.
|
EAN: 2147483647
Pages: 184
