Using Images
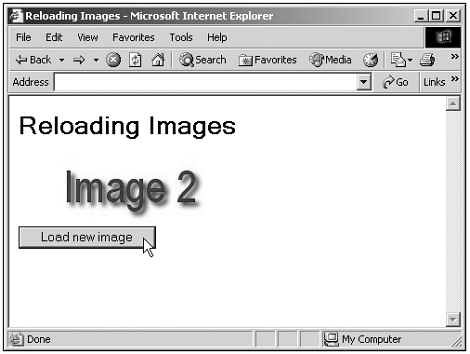
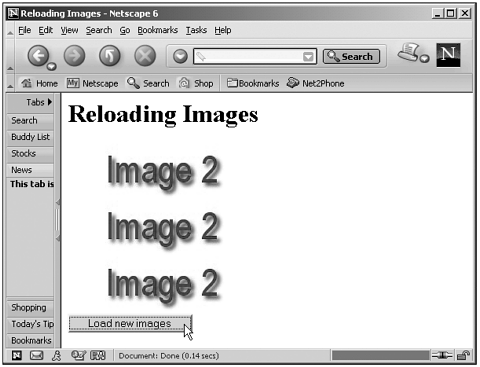
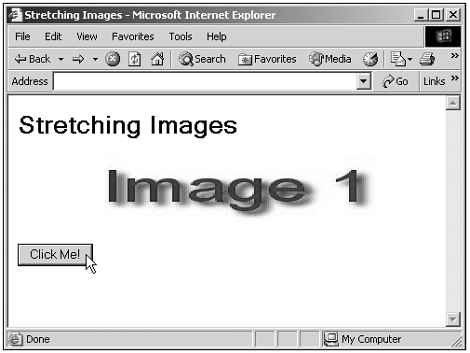
| Let's see some examples using images and JavaScript. The most basic type of image work is where you just swap images using the src property; here's an example where the image displays when the page loads displays the text Image 1 ; but when you click a button, the code loads a new image, which displays Image 2 : (Listing 15-04.html on the web site)<HTML> <HEAD> <TITLE> Reloading Images </TITLE> <SCRIPT LANGUAGE="JavaScript"> <!-- function newImage() { document.form1.img1.src="image2.jpg" } //--> </SCRIPT> </HEAD> <BODY> <H1>Reloading Images</H1> <FORM NAME="form1"> <IMG NAME="img1" SRC="image1.jpg" WIDTH="216" HEIGHT="72"> <BR> <INPUT TYPE="BUTTON" Value="Load new image" ONCLICK="newImage()"> </FORM> </BODY> </HTML> You can see the results of this code in Figure 15.5, where I've clicked the button to load a new image into the <IMG> element. Being able to reload images such as this (as well as being able to load and display banner ads) is one of the primary attractions of JavaScript for many programmers. Figure 15.5. Loading a new image into an <IMG> element. You also can access the images in a document with the document object's images collection (see "The document Object Collections" in Chapter 9, "Using the document and body Objects," and see Table 9.2). Here's an example that loads an image into all the <IMG> elements in a document by looping over the images collection: (Listing 15-05.html on the web site)<HTML> <HEAD> <TITLE> Reloading Images </TITLE> <SCRIPT LANGUAGE="JavaScript"> <!-- function newImages() { for(var loopIndex = 0; loopIndex < document.images.length; loopIndex++){ document.images[loopIndex].src="image2.jpg" } } //--> </SCRIPT> </HEAD> <BODY> <H1>Reloading Images</H1> <FORM NAME="form1"> <IMG NAME="img1" SRC="image1.jpg" WIDTH="216" HEIGHT="72"> <BR> <IMG NAME="img1" SRC="image1.jpg" WIDTH="216" HEIGHT="72"> <BR> <IMG NAME="img1" SRC="image1.jpg" WIDTH="216" HEIGHT="72"> <BR> <INPUT TYPE="BUTTON" Value="Load new images" ONCLICK="newImages()"> </FORM> </BODY> </HTML> You can see the results of this code in Figure 15.6. Figure 15.6. Loading new images into <IMG> elements. You also can use the width and height properties to change the dimensions of an image on-the-fly , stretching it. Here's an example that doubles the width of an image when you click a button (you'll need version 6+ if you're using Netscape Navigator): (Listing 15-06.html on the web site)<HTML> <HEAD> <TITLE>Stretching Images</TITLE> <SCRIPT LANGUAGE="JavaScript"> <!-- function stretcher() { document.getElementById("img1").width = 432 } // --> </SCRIPT> </HEAD> <BODY> <H1>Stretching Images</H1> <IMG ID="img1" HEIGHT = "72" WIDTH="216" SRC="image1.jpg"> <FORM> <INPUT TYPE="BUTTON" ONCLICK="stretcher()" VALUE="Click Me!"> </FORM> </BODY> </HTML> You can see the results of this code in Figure 15.7. Figure 15.7. Stretching an image. TIP You can create composite images using JavaScript, to an extent, by placing <IMG> elements right next to each other to form a single image. If you want to create a web page hit counter, for example, you could use the HTML <IMG ID="img1"><IMG ID="img2"><IMG ID="img3"> and JavaScript like: document.getElementById("img1").src="1.jpg" document.getElementById("img2").src="2.jpg" document.getElementById("img3").src="3.jpg" (where 1.jpg displays 1, 2.jpg displays 2, and so on, to display the number 123). |


