Use the Outline Editor to manage and edit your HTML code in a hierarchical view that can be expanded and compressed to limit the amount of code you have to see at one time. Use the context menus within the Outline Editor to add HTML code and attributes, and use any of GoLive's drag-and-drop or point-and-shoot (Adobe sometimes refers to this as pick-whip) features to add elements through the Outline Editor:
1. | Select the Outline Editor tab in the Document window to display your source code in outline format, as shown in Figure 38.17.
Figure 38.17. The Outline Editor enables you to view, add, and edit code in outline mode. 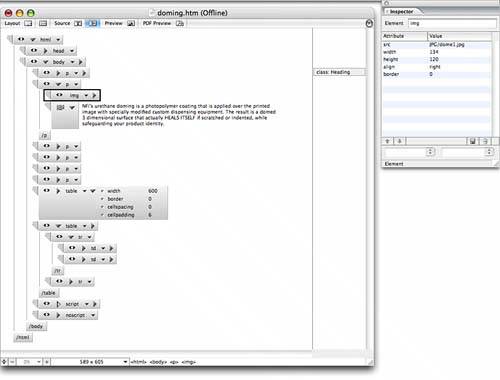
|
2. | Click the triangles (on the Mac) or the plus/minus signs (in Windows) to expand and contract sections of code.
|
3. | Click to select a tag, and either use the Inspector palette to edit the tag's attributes or click the attributes in the outline to edit them, as shown in Figure 38.18.
Figure 38.18. Selectively edit HTML codes and attributes within the Outline Editor or by using the Inspector palette in concert with the Outline Editor. 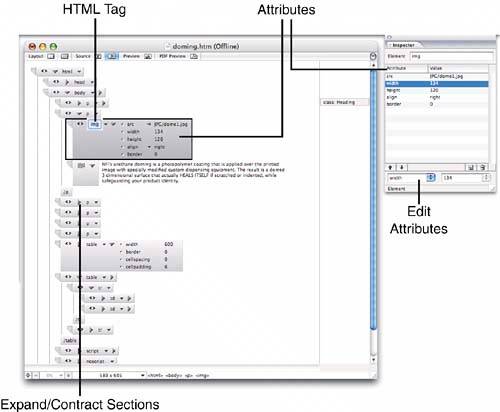
|
4. | If you click the right-pointing arrow, called the path pointer, the Select File dialog appears so you can select an object like an image, as shown in Figure 38.19.
Figure 38.19. Click the path pointer to select a file. 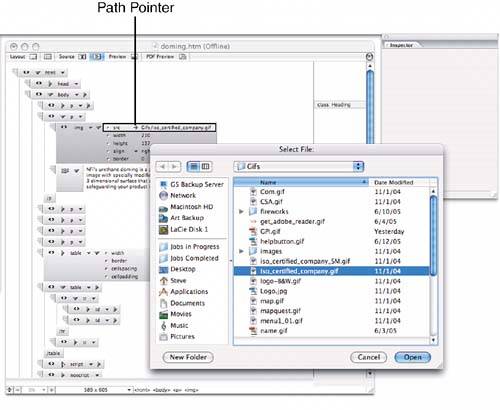
|
5. | Use the wedge-shaped icon at the beginning of each line of code to move the code by dragging and dropping. Click these same wedge-shaped icons to select sections, as shown in Figure 38.20.
Figure 38.20. Drag and drop the wedge icons to move sections of code in the Outline Editor. 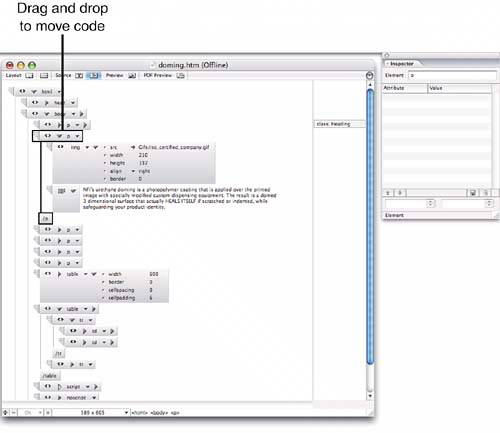
|
6. | Click the small arrows next to the attributes to display a list of available attributes for selection.
|
7. | Use the tools in the Main toolbar to add new code, comments, and text, as shown in Figure 38.21:
- Add new element button: Insert a new HTML element after the current selected element. Type the code for the new HTML element.
- Add new attribute button: Add attributes by first selecting an HTML code, and then clicking this button in the Main toolbar.
- Add new text button: Insert plain text after the currently selected object.
- Add new comment button: Add an HTML comment to your code after the currently select object.
- Add new generic item tool: Add special codes such as ASP and SGML.
- Unary and binary tags: Toggle between these tags to control whether the closing tags are dimmed (unselectable) or not. This feature reduces the amount of code displayed to make it easier to look at all the source code. If you need to edit a closing tag, toggle binary back on and make changes.
Figure 38.21. Add new elements using the tools in the Main toolbar. 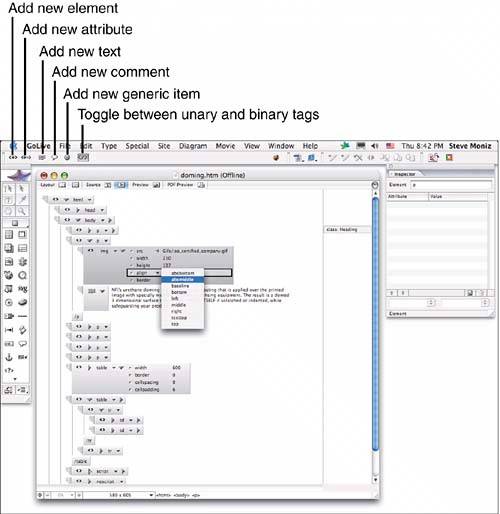
|
8. | Use the arrow keys on your keyboard to navigate within the Outline Editor. Use the Tab key to jump from one text block to another. Press Shift+Tab to jump to the previous text block.
|
9. | To view images within the Outline Editor, as shown in Figure 38.22, click the Images check box in the View palette. You can open the View palette by choosing Window, View. If you are using Low Source images with the lowsrc attribute of the <IMG> tag, click the Low Source check box in the View palette to display the low source images instead.
Figure 38.22. View images in the Outline Editor. 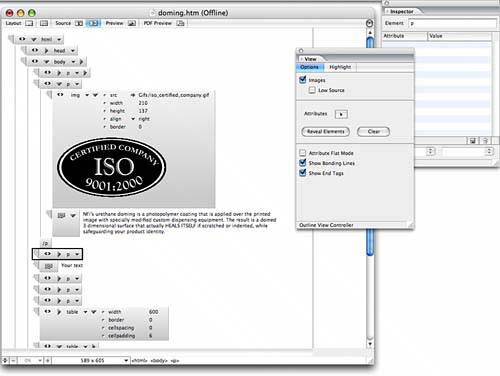
|
10. | Drag elements directly from the Basic Objects palette onto the Outline Editor to add elements, as shown in Figure 38.23.
Figure 38.23. Drag and drop elements from the Objects palette into the Outline Editor. 
|