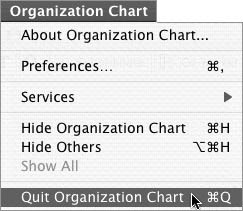
OLE Objects
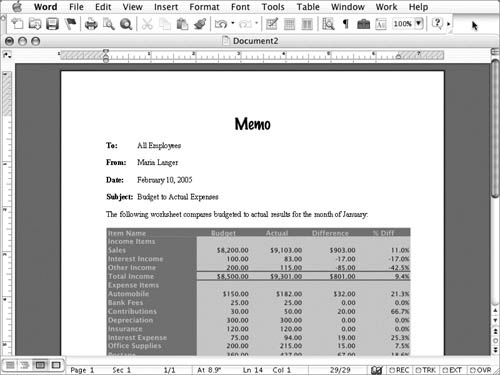
| An object is all or part of a file created with an OLE-aware application. OLE, or Object Linking and Embedding, is a Microsoft technology that enables you to insert a file as an object within a document (Figure 1)even if the file was created with a different application. Double-clicking the inserted object launches the application that created it so you can modify its contents. Figure 1. A Microsoft Organization Chart object inserted in a Microsoft Word document.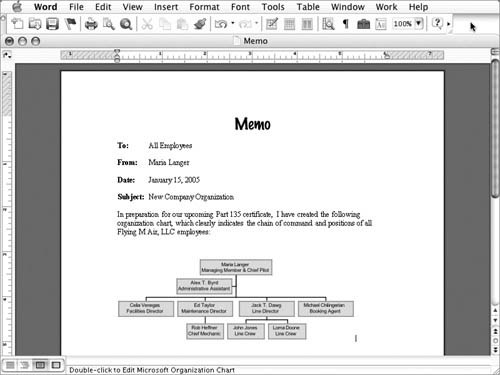 Word's Object command enables you to insert OLE objects in two different ways:
To insert a new object
To insert an existing object
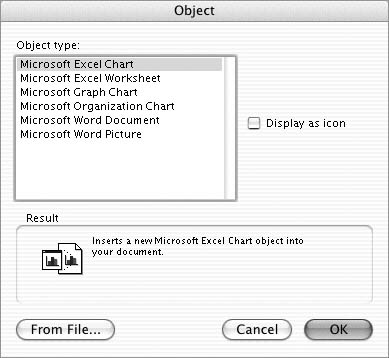
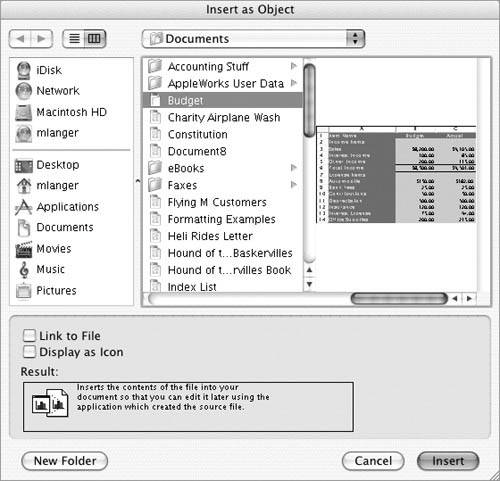
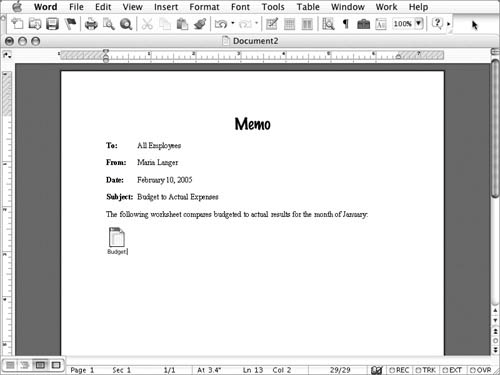
To customize an inserted objectFollow the instructions in the previous two sections to create and insert a new object or insert an existing object. In the Object (Figure 3) or Insert as Object (Figure 6) dialog, turn on check boxes as desired:
|
 Tips
Tips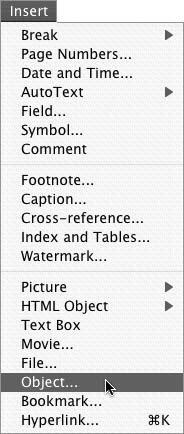
EAN: N/A
Pages: 199
- ERP Systems Impact on Organizations
- The Second Wave ERP Market: An Australian Viewpoint
- Data Mining for Business Process Reengineering
- Healthcare Information: From Administrative to Practice Databases
- Relevance and Micro-Relevance for the Professional as Determinants of IT-Diffusion and IT-Use in Healthcare