| Now that you have your frame structure in place and you've made the necessary modifications to attributes for every frame, you're ready to begin adding the content that will make up the shape of the site. Adding content to each frame is just as simple as adding content to an individual web page. For instance, let's begin by adding the header.gif image to the Header frame. You can do this by dragging the image out of the Images folder and dropping it onto the Header frame. The result looks similar to Figure 8.12. As you can see, the header.gif image in this project contains a grey area to coincide with the navigation frame's background color. This color scheme makes the site's frames appear seamless. Now let's add the navigation menu to the Nav frame: 1. | Place your cursor in the Nav frame and insert a new table by choosing Insert, Table. The Table dialog appears.
| 2. | Give your table 5 rows, 2 columns, a width of 175 pixels, a border of 0, cell padding of 0, and cell spacing of 3. Click OK. The new table appears in the frame.
| 3. | Add the icon_arrow.gif image to the five cells in the first column.
| 4. | Finish off the table by adding text that will eventually represent the links to our pages. Don't worry about linking them just yet. The completed navigation menu should resemble Figure 8.13.
Figure 8.13. Add the five text elements that will eventually become links. 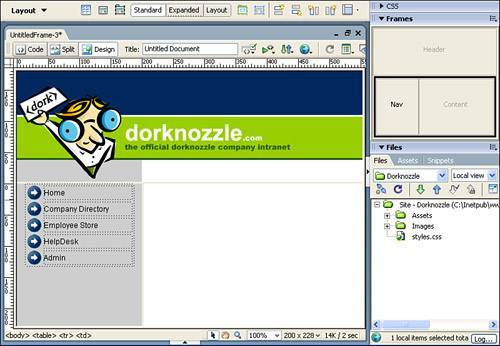
| 5. | Select the table and choose the Center option from the Align menu in the Properties Inspector.
|
You can finish off the design of the site by adding the final elements to the content frame. To do this, follow these instructions: 1. | Place your cursor in the Content frame and insert a new table by choosing Insert, Table. The Table dialog appears.
| 2. | Give your table 3 rows, 1 column, a width of 460 pixels (this arbitrary value seems reasonable for this web page), a border of 0, cell padding of 0, and cell spacing of 0. Click OK.
| 3. | The new table is inserted into the frame. Now add the subheader_about.gif image located in the Images folder into the first cell.
| 4. | Add the intranetsymbolism.gif image located in the Images folder into the third cell, select it, and select the Left option from the Align menu in the Properties Inspector.
| 5. | Add the content into the third cell. You can do this by simply dragging the welcome.txt file located in the Assets folder directly into the cell.
| 6. | The Insert Document dialog appears. Select Insert the Contents and click OK. The text should wrap nicely around the intranetsymbolism.gif image. The final design should resemble Figure 8.14.
Figure 8.14. The complete design should have a header in the Header frame, a navigation menu in the Nav frame, and content in the Content frame. 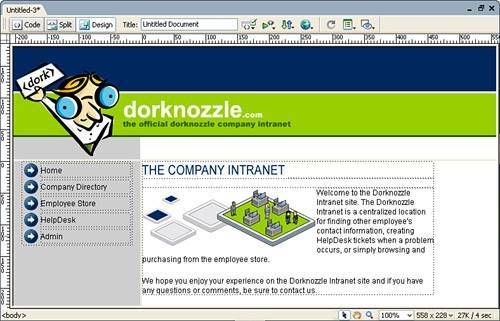
|
Now that the content is firmly in place, you're ready to save the frames and the frameset. Let's do that next. |