Saving Frames and Framesets
| Because our frameset appears to be complete, now would be a good time to save it. Saving frames and framesets however, isn't as straightforward as merely saving an individual page. With frames and framesets, you must first save all the individual frames and then save the frameset file. Let's do that now:
When you're finished, you'll end up with four HTML files in your Site Files list, as shown in Figure 8.15. Figure 8.15. After saving your frames and frameset, you should end up with four HTML files.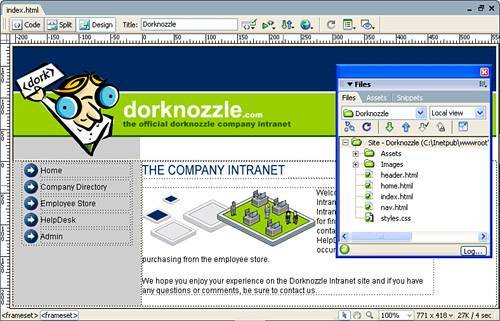 NOTE You might be wondering why we saved the content frame as home.htm. Because this is the home page, saving this page as home.htm makes more sense than saving it content.htm. People will link to home.htm, helpdesk.htm, companydirectory.htm, employeestore.htm, and admin.htm. Although the frame name content makes sense for the frame, the filename content.htm doesn't apply in our navigational scheme. Finally, preview your site in the browser by choosing the Preview in Internet Explorer option from the Preview/Debug in Browser menu in the Document bar. As you can see from Figure 8.16, the site looks seamless. As a matter of fact, it doesn't really look like it was created using frames at all; instead, it looks like our table-based siteexcept for the fact that we added the grey bar to the left. Figure 8.16. The complete frames-based site in the browser.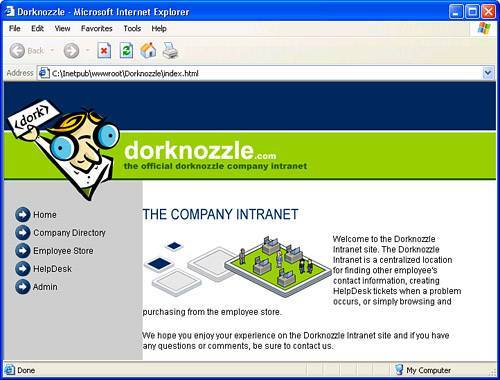 TIP You might find yourself constantly making changes to numerous frames. Rather than saving each individual frame and frameset every time, you can choose the File, Save All command to save all open files that have been modified since the last save. You can also just preview your page in the browser. Every time you select this option, Dreamweaver automatically saves all files that have been modified since the last save. However, this feature works only if the Preview Using Temporary File option is not enabled in the Preferences window. |
EAN: 2147483647
Pages: 237