| Before we can call our framed website complete, we'll want to add links to the navigation menu. Earlier, I mentioned that frames are unusual in that navigation menus can link to content that opens in other frames. What this means is that your navigation menu can remain static and doesn't have to load every timeonly the content being linked loads every time in an autonomous frame. This is possible because of targets. In Chapter 3, "Building a Web Page," we discussed four targets: _blank, _parent, _self, and _top. When working with frames, however, frame names can also become targets. You can create a hyperlink in the Nav frame that opens home.htm in the Content frame. To see this in action, let's create a simple link for the one page we have complete: home.htm: 1. | Highlight the Home text in the Nav frame. This text will become our hyperlink.
| 2. | Use the point-to-file icon located next to the Link text box in the Properties Inspector to point to the home.htm file located in the Files panel.
| 3. | Now we must set the target. To do that, select the Content option from the Target menu as shown in Figure 8.17. This option sets the Content frame as the target in which the home.htm file will open.
Figure 8.17. Select the Content option from the Target menu in the Properties Inspector. 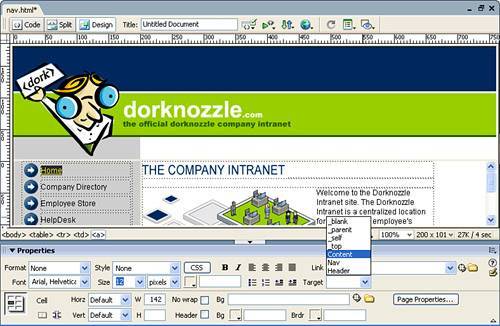
| 4. | Had we not set the Content target, the browser would default to _self. What this means is that when the Home link was clicked, the home.htm file would open in the Nav framenot exactly the effect we're going for. To finish off the link, apply a style to it by selecting the link option from the Style menu in the Properties Inspector.
|
You've effectively created a link for the home.htm file. To see the rest of the links in action, create some simple pages to link to. To do this, follow these steps: 1. | Create four new HTML files by choosing the New option from the File menu and selecting the HTML option from the Basic Page category. Click Create. You'll have to do this four times.
| 2. | With five tabs available in the Document window (including our frameset) add a subheader to each page. For example add the subheader_companydirectory.gif file to the Untitled-1 page, add the subheader_employeestore.gif file to the Untitled-2 page, and so on.
| 3. | When you finish adding the headers, save each page with the same names as their link counterparts in the navigation menu. You should now have companydirectory.htm, employeestore.htm, helpdesk.htm, and admin.htm.
| 4. | Repeat steps 14 at the beginning of this section for each link in the navigation bar, using the point-to-file icon to associate each text element as a link with its corresponding file in the Files panel. Each time you create a target, make sure that you select the Content option from the Target menu in the Properties Inspector and that you attach the link style from the Style menu to each hyperlink. When you finish, the navigation bar will resemble Figure 8.18.
Figure 8.18. All the links in the navigation bar should now be created. 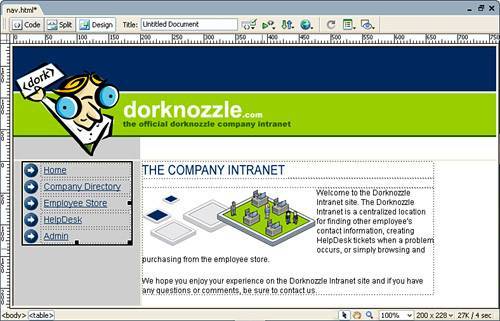
|
Preview your page in the browser and test the results of the link target. |