| < Day Day Up > |
3.7 Deploying portlets
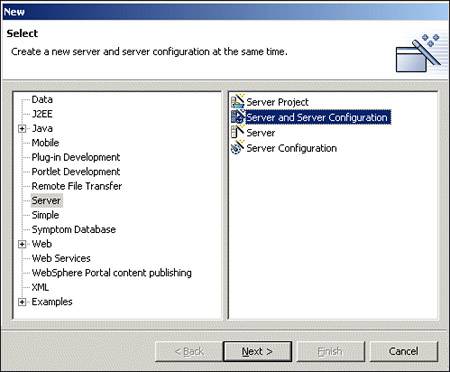
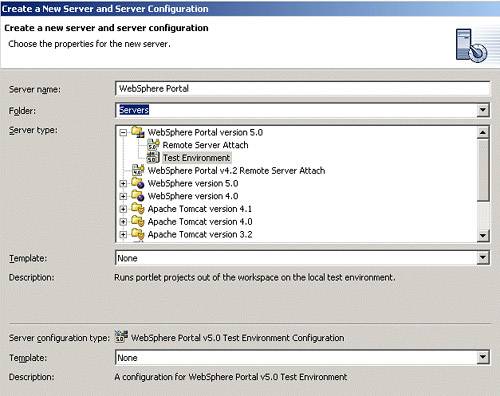
Once you have created, edited and configured your portlet application, you must deploy the portlet application. To deploy your portlet application in WebSphere Studio Site Developer, you have to configure a server and server instance and choose the option Run on Server . Configuring a server and server instance
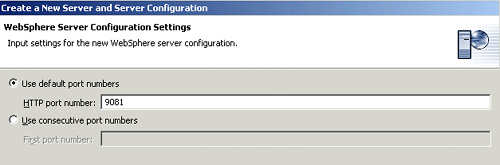
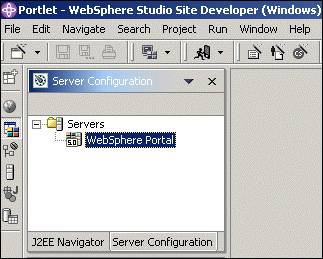
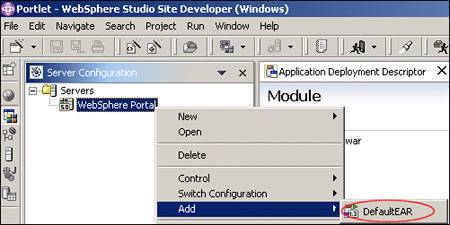
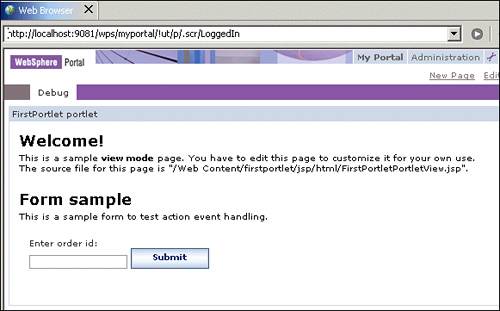
Figure 3-19. Server Configuration panel
Running the applicationTo publish the portlet in the target server, the EAR containing the WAR must be associated with the Server. In the Server Configuration panel, right-click the server name created and select Add-> DefaultEAR as shown in Figure 3-20. Figure 3-20. Associating EAR with a server
Once the project DefaultEAR has been added to the server configuration, you can switch back to the portlet perspective and select the portlet application you want to test. Right-click and from the context menu select Run On Server . The project will be published and the server will be started. Once the server has been published and started, an internal Web browser is used to call the Portal. Notice that you do not need to install the portlet or place it on a page. This is done for you, as shown in Figure 3-21 on page 149 Figure 3-21. Deployed portlet
|
| < Day Day Up > |
| < Day Day Up > |
3.8 Adding portlets to applicationsNormally, your application will need to contain more than one portlet. To add more portlets, select the portlet application where you want to add the new portlet, right-click and select New-> Other . You will see the window shown in Figure 3-22 on page 150; select Portlet Development in the left panel and Portlet in the right. Figure 3-22. Creating a new portlet
Select
Next
and you will begin to create a new portlet; the process is the same as when you created a new portlet application project. Now you can see the new portlet
|
| < Day Day Up > |
| < Day Day Up > |
3.9 ExamplesWebSphere Studio Site Developer provides some examples of portlet applications. In this section, we will explain how to add an example of Click-to-Action to your workspace and deploy it.
Figure 3-23. Creating a Click-to-Action demo
Select Next and you will see the options to define the portlet project. Figure 3-24. Defining the Portlet Project
When you click Finish , the project will be created and added to your workspace. If the repair server configuration window is prompted, click OK . The new project has added to the J2EE navigator window. Notice the directory structure, which is the same as we described in Figure 3-10 on page 137. Now there is a new folder called nls which contains properties files to support different languages. In the example, only english and default properties files have been created. If there are more projects in the application.xml file of the DefaultEAR, select the Module tab and remove them, except for the Click-to-Action war file. Save the file. Right-click the project and select Run on Server to test the application.
Note If you experience an error publishing to the server, go to Server Configuration and open the server by double-clicking. Click Yes in the window where you are prompted to update the entries of the server configuration and save the file. |
| < Day Day Up > |