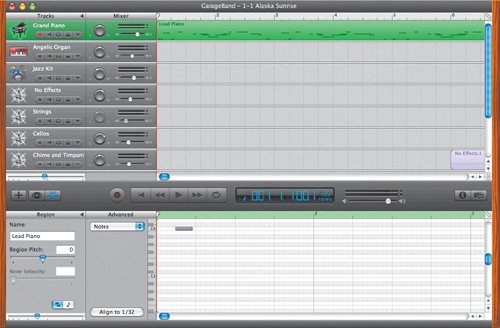
| Now that you're zoomed in to the Timeline, look at the green and purple regions visible in the Timeline. 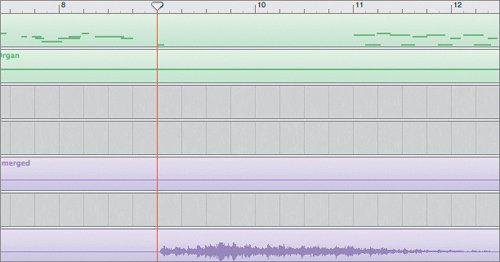 Notice that the green regions have a series of dashes and lines to represent the musical note events. The purple regions, on the other hand, show a waveform that illustrates the digital recording. The editor is a tool that lets you magnify and edit a particular region or track. Opening the Editor The editor can be used to edit an entire track or a specific region within that track. The editor differs depending on whether you're working with a Software Instrument or a Real Instrument. You can have only one editor open at a time because they occupy the same space in the lower third of the GarageBand window. Let's start with the editor for Software Instruments. Remember that the green regions are created by Software Instruments and can be edited in the editor. There are four ways to open the editor: Double-click the region you wish to edit in the editor. Click the editor button, located in the lower-left corner of the window. 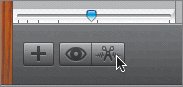 Go to the Control menu at the top of the screen and choose Show Editor. Press Cmd-E (the Command key and the E key at the same time).
Since we haven't used any of the menus in this lesson, this is a good time to try out the menus at the top of the screen. First, you need to select the track that you wish to open in the editor. | | 1. | On the top track of the Timeline, click the Grand Piano track header to select it (if it is not already selected).
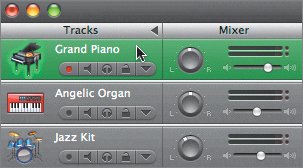 The track header turns green to indicate it has been selected. Note that the green color of the track header also shows that the regions within that track are Software Instrument regions. A track can either be a Software Instrument track and contain Software Instrument regions, or a Real Instrument Track that contains Real Instrument regions. You can't mix the types of regions within a track. Selecting a track also selects all of the regions within that track and turns on that track's Record Enable button.
Note Double-clicking a track header opens the Track Info pane at the right side of the GarageBand window. If you double-clicked the track header, press Cmd-I to close the Track Info pane. You'll work more with the Track Info pane later. | 2. | Choose Control > Show Editor.
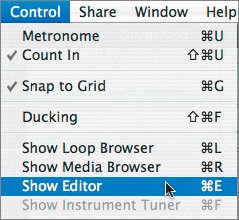 Note In this book, the shorthand for steps that involve menus is written as "Choose Control > Show Editor." In other words, Control is the title of the menu, and Show Editor is the selection within that menu. The editor appears in the lower third of the GarageBand window. The gray bars in the editor represent the individual note events displayed in Graphic view.
| | | 3. | Press Return or the Z key to move the playhead to the beginning of the Timeline and the editor.
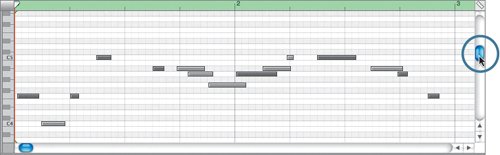
 Tip If you don't see many note events (bars) in the editor, you can drag the scroller on the right side of the editor to reveal additional notes. Dragging upward reveals notes played in higher octaves, and dragging downward reveals notes played in lower octaves. | 4. | Drag the vertical scroller at the right of the editor upward to reveal additional note events (bars).
 |
As described earlier, Software Regions display individual notes as note events. While in the editor, you can view and edit the MIDI note events in either Graphic view (bars) or Notation view (musical notes). 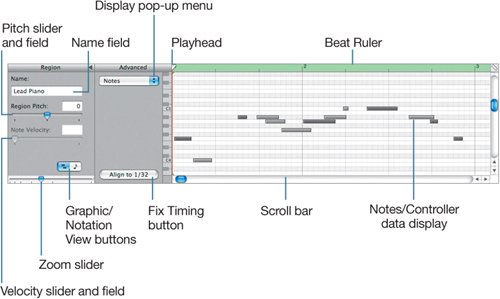 |