Using the Editor for Software Instruments


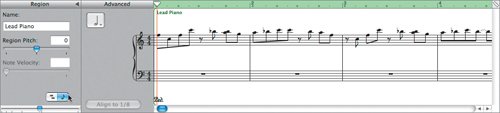
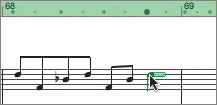
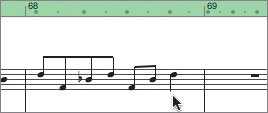
Let's take the editor out for a test drive. In this exercise, you'll work in Notation view to delete the last piano note in the song, then switch to Graphic view to extend another note within the Grand Piano track.

1.

Drag the Timeline Zoom slider to the left so that you can view the entire song in the Timeline.

2.

To view the Lead Piano notes in the Grand Piano track in Notation view, click the Notation View button, which looks like a musical note.

The Notation View button turns blue when it is selected, and the note events in the editor change to musical notation.

3.

Press the spacebar to play the song in the Timeline.

You can see the playhead move along the Notation view in the editor as it slides across the same notes in the Timeline.

4.

In the transport controls, click and hold the Fast Forward button to move the playhead through the song to the end.

You can use the left or right arrow keys to move the playhead one measure at a time toward the left or right.

5.

Click the left arrow key three times to move the playhead three measures earlier in the Timeline and play the ending of the song.

The last piano note sounds like it is continuing the melody and the song rather than ending.

6.

In the editor, locate the last note in the Lead Piano region. The last note is at the beginning of the 69th measure (bar 69).

7.

Click the last note to hear and select it.

The note turns green when it is selected. To change a note, you simply drag it up or down to a different location on the musical staff, or select the note and press the up or down arrow keys.

8.

Drag the note down to a different position on the musical staff.

You can hear the key of the note change as it moves to a different position. Now that you've demonstrated how to change a note's position and key, it's time to delete it from the song. This extra note isn't working in the song.

9.

Press the Delete key to delete the selected note.

The note is deleted from the song in both the editor and the Lead Piano region in the Timeline. Let's listen to the last two measures of the song to hear the revised ending.

10.

Press the left arrow key several times to move the playhead to the beginning of the 67th measure (bar 67).

The time display shows that the current playhead position in the Timeline is the 1st beat of the 67th measure.

11.

Play the last two measures and listen to the ending.

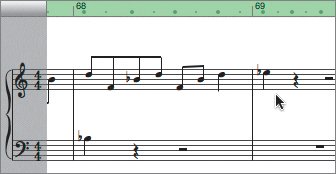
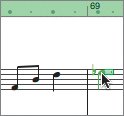
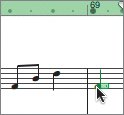
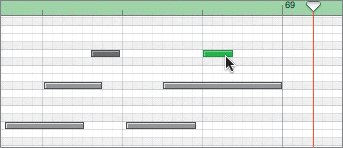
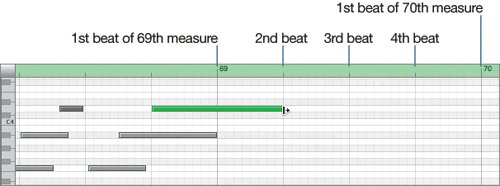
It sounds fine, but it might work even better if the last note was held a little longer instead of ending abruptly.

Extending the final note is a good example of editing notes in Graphic view.

1.

Click the last piano note to select it.

2.

Click the Graphic View button to change the editor back to Graphic view.

The selected note is green in Graphic view, just as it was in Notation view.

Notes in Graphic view appear as gray bars that vary in length and position. You'll work more with the editor in Graphic view in Lesson 3. For now, you'll focus on simply extending the last note.

3.

Drag the right edge of the selected note toward the right and extend it to the 2nd beat of the 69th measure (as shown in the screen shot).

4.

Click the Notation View button to see the change in the last note reflected in musical notation.

5.

Click the empty white space in the editor to deselect the last note.

Before extending note

After extending note

6.

Press the left arrow key three times to move the playhead back three measures, then play the end of the song.

Nice work. The last note sounds much better now that it holds longer at the end.

Note

You'll work more with the Region Pitch slider, Velocity slider, and Fix Timing button in a later lesson.


Apple Training Series GarageBand 3
Apple Training Series: GarageBand 3
ISBN: 0321421655
EAN: 2147483647
Year: 2006
Pages: 134
Authors: Mary Plummer

flylib.com © 2008-2017.
If you may any questions please contact us: flylib@qtcs.net