Zooming In to and Out of the Timeline


Now that you have identified the different regions and tracks, let's zoom in for a closer look.

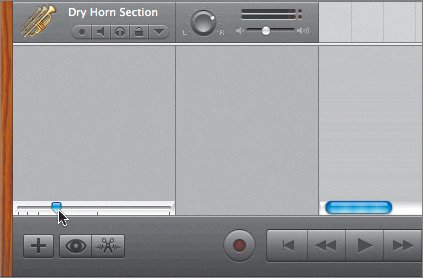
You can zoom in to and out of the Timeline by using the Zoom slider, located in the lower-left corner of the window, or by using a keyboard shortcut.

GarageBand zooms in to your current playhead position in the Timeline. For this exercise, let's start by zooming in to the beginning of the song.

1.

Press the Z key to move the playhead to the beginning of the Timeline (if it is not there already).

2.

Locate the Zoom slider in the lower-left corner of the window.

3.

Drag the slider to the right to zoom in to the Timeline at the playhead position. As you zoom in, the tracks in the Timeline get longer, and you can see more detail within a track.

No Effects region before zooming in to the Timeline

No Effects region after zooming in to the Timeline

4.

Drag the slider to the left to zoom out of the Timeline.

5.

Drag to the middle position on the slider.

Note

You can also zoom in and out with keyboard shortcuts. Pressing Ctrl-right arrow (press the Control key and the right arrow key together) zooms in; Ctrl-left arrow zooms out.


Apple Training Series GarageBand 3
Apple Training Series: GarageBand 3
ISBN: 0321421655
EAN: 2147483647
Year: 2006
Pages: 134
Authors: Mary Plummer

flylib.com © 2008-2017.
If you may any questions please contact us: flylib@qtcs.net