Quick Image Fixes in Studio
| < Day Day Up > |
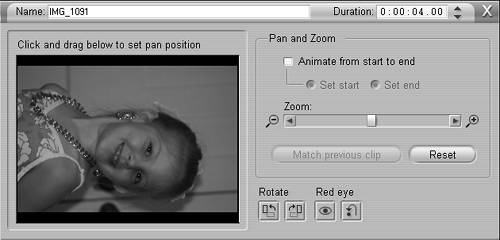
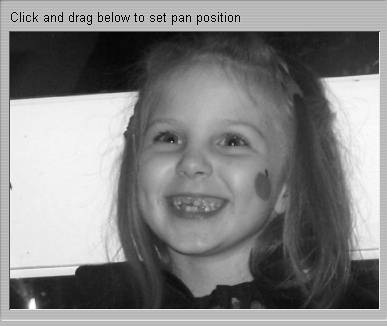
| Image editors like PhotoImpact and Photoshop Elements provide the perfect environment for perfecting your images, but sometimes it's faster to perform quick fixes in Studio. Here are the two corrections you can make quickly and easily within Studio. To rotate your image
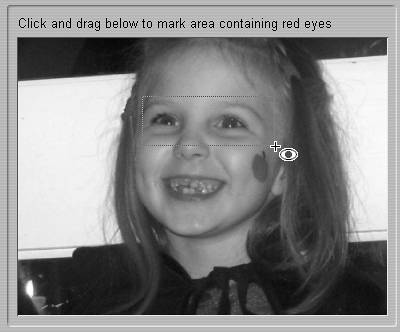
To remove red eye in an image
|

 Tips
Tips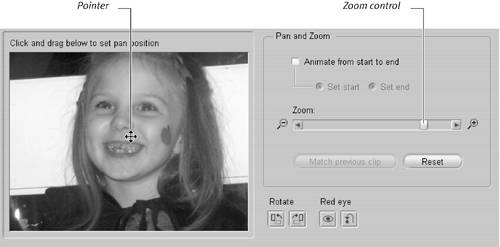
| < Day Day Up > |
EAN: N/A
Pages: 189