Other Borders
|
| < Day Day Up > |
|
Other Borders
Figure 11-1 shows the Borders dialog box. From here, you can place borders on selected paragraphs, on selected words , or on the cells of a table.
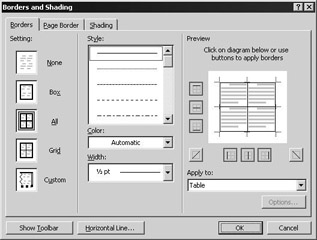
Figure 11-1: Borders Dialog Box for a Table
Prior to taking the above screen shot, I selected a table that already had borders applied on all cells so that you could see the preview of the borderlines that run vertically and horizontally through the middle.
Note how the borders in use in the preview are displayed around the preview. Clicking these buttons removes or applies the individual borderlines to the area shown in the Apply To box at the bottom.
Depending on the selection you make before choosing Format Borders and Shading, a different preview is shown.
Figure 11-2 shows the preview when a single paragraph is selected.

Figure 11-2: Borders Preview for a Single Paragraph
Figure 11-3 shows the preview when multiple paragraphs are selected.
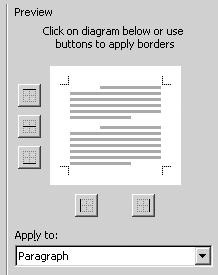
Figure 11-3: Border Preview for Multiple Paragraphs
Finally, Figure 11-4 shows the preview when only words are selected.
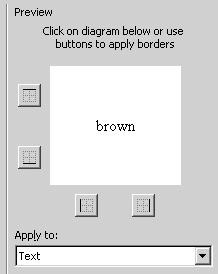
Figure 11-4: Border Preview for Words
Unfortunately, and even though the dialog leads users to believe that they can, you cannot use only one of the borderlines around words within a paragraph. If you choose any of the four border buttons shown in the Preview, you’ll get the same results:
![]()
Borders can be used to format styles so that, for instance, all of your Heading 1 style text can be centered inside of a box on a page, like this:
![]()
See how to create Styles on page 9-1. Borders are a nice way to break up the important areas of your document.
|
| < Day Day Up > |
|
EAN: 2147483647
Pages: 130