Creating Subdocuments
3 4
Once you've got the basic outline in place, you can determine how you want to divide up the master document. Create a subdocument by following these steps:
- Make sure that all headings and subheadings you want to include in the subdocument are displayed by clicking the Show Level down arrow on the Outlining toolbar and selecting Show All Levels.
- Click the symbol to the left of the heading of the portion you want to use for the subdocument. For example, if you want to create a subdocument of the "Introductory Remarks" in Figure 25-3, click the plus symbol and the entire topic is selected.
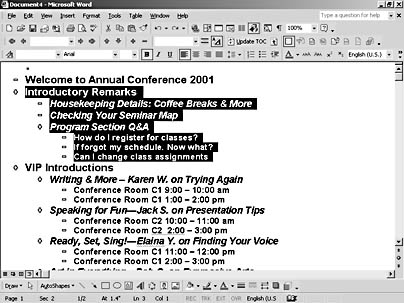
Figure 25-3. Be sure to display and select all text you want to include in your subdocument before clicking the Create Subdocument button.
- Click the Create Subdocument button on the Outlining toolbar. The topic is marked as a subdocument, as Figure 25-4 shows.
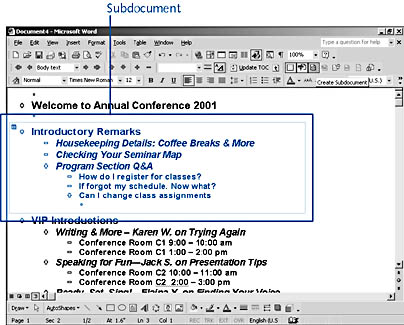
Figure 25-4. Word creates the subdocument and names it according to the text in the first line of the selection.
- Save the document. Word saves the subdocument as a separate file in the same folder. The Heading 1 text at the beginning of the file is used as the file name.
Caution
This is one of those reasons to create a different folder for each master document you work with—if there's any chance you'll have subdocuments with the same name in two different master documents, one subdocument might overwrite the other if you have too many files together. Better to be safe than sorry—create a new folder for each master document project.
Importing Data for Subdocuments
You can also create subdocuments by importing other files into your master document. In this case, you might have a partial outline you're working with, or you might start a new file for your master and then open existing files into it. However you choose to get the document pieces together, here are the steps for turning them into subdocuments:
- Start with the master document open on the screen.
- Place the insertion point where you want to add the subdocument.
- Click Import Subdocument on the Outlining toolbar. This opens the Insert Subdocument dialog box. (See Figure 25-5.)
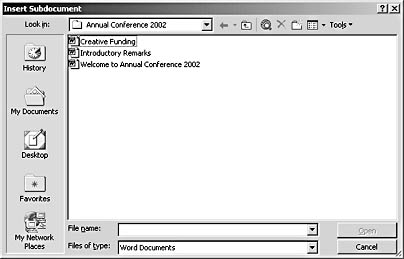
Figure 25-5. Importing an existing file into a master to be used as a subdocument saves you data entry and organizing time.
- Navigate to the file you want to import, select it, and click Open. The subdocument is added to the master document at the insertion point.
- Add or create other subdocuments as needed. When you're finished creating subdocuments, save the file. Word saves the master and the subdocuments in the folder you specify.
EAN: 2147483647
Pages: 337
- Structures, Processes and Relational Mechanisms for IT Governance
- Measuring and Managing E-Business Initiatives Through the Balanced Scorecard
- A View on Knowledge Management: Utilizing a Balanced Scorecard Methodology for Analyzing Knowledge Metrics
- Technical Issues Related to IT Governance Tactics: Product Metrics, Measurements and Process Control
- Governing Information Technology Through COBIT