Creating a Master Document
3 4
You have two different options for creating a master document—and both procedures are simple ones:
- You can start with an existing document and turn it into a master document by creating subdocuments within it.
- You can create a master document from scratch, creating the outline headings and subdocuments as you go along.
Starting with an Existing Document
If you have a document you want to use as a master document, start by opening the file you want to use by choosing File, Open, navigating to and selecting the file you want, and clicking Open. Change to Outline view by choosing View, Outline. The document appears in Outline view, with the heading styles you've selected. (See Figure 25-2.)
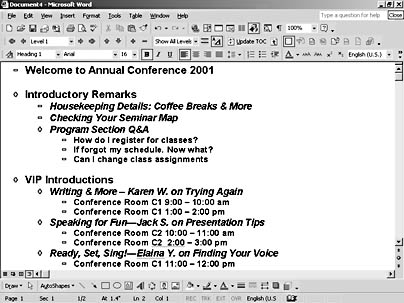
Figure 25-2. When you start with an existing document for your master, Word displays the existing heading levels in Outline view.
The heading styles you've assigned to the text in your document tell Word which headings to use for the master document outline. You divide the master by selecting the portion you want to mark as a subdocument; then Word inserts a link in place of the actual text in the master and saves the text as a subdocument. In the section "Creating Subdocuments" you'll learn how to select sections and create the subdocuments you need.
Troubleshooting
Document Headings Don't Appear as Headings in Outline View
When you change to Outline view, you might find that Word doesn't show your headings as the headings you thought they were. If you created your own styles and didn't base them on Word's Heading 1 or Heading 2 styles, or you simply entered the headings using the Normal style, Word won't recognize your headings.
To fix this easily, click the Promote button to raise the text to Level 1, which also assigns the Heading 1 style. You can easily modify your custom styles and base them on the Heading 1 style so that you can get the look you want and still be able to work with the Outline view and Master Documents. For more on setting up and working with styles, see Chapter 10, "Using Styles to Increase Your Formatting Power."
Starting from Scratch
You can create a master document right from the beginning of your project. Once you've got a concept and thoughts for a beginning outline, you can create the outline in Outline view and then make the assignments for your subdocuments as needed. Here are the steps for starting a new master document from scratch:
- Start a new document and change to Outline view by choosing View, Outline.
- Enter the headings for the document title and subdocument titles. Word automatically creates the headings with the default style Heading 1. Make sure each heading you intend to turn into a subdocument is assigned the Heading 1 style. This is the style Word will use in dividing into subdocuments.
- Create subheadings (sections within the subdocument) by clicking Demote to assign Heading 2 to subhead text.
- When you've got your outline the way you want it, save the file by clicking the Save button on the Standard toolbar, typing a name for the file, and clicking Save.
Tip - Create a backup copy
If you think you might like to keep a copy of your outline before it's been divided into subdocuments, use Save As to save a backup copy of the outline file. Although you can easily remove subdocument divisions and integrate subdocuments into the master at a later time, that's a lot of hassle if you simply want an original version of the outline to play around with.
EAN: 2147483647
Pages: 337