Importing Resource Information
After you have gathered, entered, and refined your resource data in the source .mpp file, you’re ready to import the resources into your pool. If you’ve provided values for mapping all the required field values, this process will complete very quickly. To start the import wizard, log onto Project Server using Project Professional with an administrator account and select Tools ![]() Enterprise Options
Enterprise Options ![]() Import Resources to Enterprise. The Import Resources Wizard Welcome screen displays, as shown in Figure 11-15.
Import Resources to Enterprise. The Import Resources Wizard Welcome screen displays, as shown in Figure 11-15.
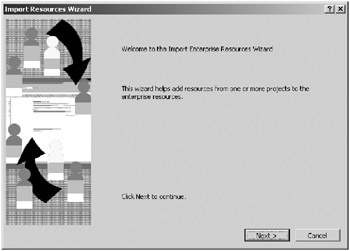
Figure 11-15. The Import Resources Wizard Welcome screen
-
Click Next and the Open from Microsoft Project Server dialog box displays, as shown in Figure 11-16.
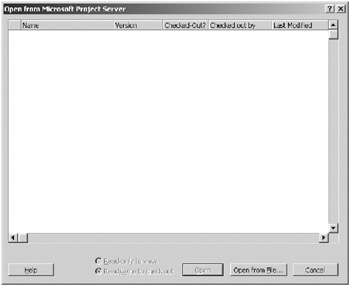
Figure 11-16. The Open from Microsoft Project Server dialog box -
Click the Open from File button to open a standard file browser with the title Import Resources, as shown in Figure 11-17.
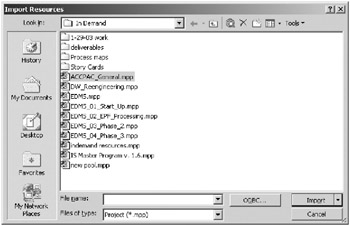
Figure 11-17. The Import Resources file browser -
To point to a data source, such as an SQL database or another database, click the ODBC button to open the Select Data Source dialog box, where you can select an existing file or system DSN or create a new DSN as shown in Figure 11-18. Otherwise, browse to your source file and select it.
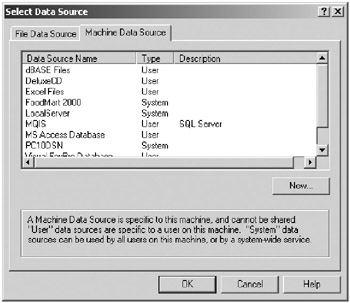
Figure 11-18. Browse to select an existing DSN or create a new one. -
Once you’ve chosen a file or DSN connection to a database, the Import Resource Wizard presents the mapping screen shown in Figure 11-19. You must select each from field on the left and map it to an enterprise field on the right. You may map values contained in nonenterprise fields to enterprise fields in this screen. You must map a value for each enterprise field that’s marked as required in order to continue.
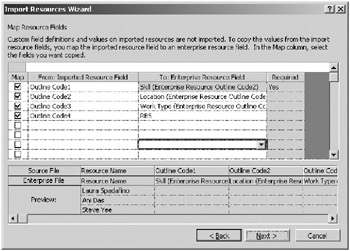
Figure 11-19. Map resource fields in the dialog box. -
The system displays the resources and highlights any errors in the field values to be imported. The system won’t allow resources with invalid required field values to be imported. These are deselected automatically, but you may provide the correct value manually. Use the horizontal scroll bar to review the field mappings and make alternate selections next to the resources with errors, as shown in Figure 11-20.
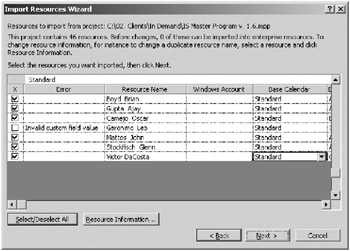
Figure 11-20. Provide correct values for required fields or the resources won’t be imported.
Once you’ve mapped the field values correctly, click the Next button to continue. Heed any warnings displayed by the system before continuing. Upon continuing, the resources with valid required field values import to the system and the wizard reports success.
EAN: 2147483647
Pages: 185