Annotating Files in Bulk
| In Bridge you can annotate images by adding information such as a star rating, keywords, and other metadata so that retrieving those files in the future is easier and faster. Every bit of metadata you add to an image is information you don't have to remember, because the metadata travels with the image. Using metadata also liberates images from inflexible folder structures. For example, if you have a photo of a bear in the woods in Washington state, do you store the photo in a folder named Bears, a Woods folder, or a Washington state folder? You can't store it in all three folders at once, and if you decided to make three copies of the image, you'd quickly tire of managing (and updating) duplicate files. Metadata solves this problem: If you annotate the image with the keywords bear, woods, and Washington state, it doesn't really matter where you store the imageif you use a program like Bridge that can search on keywords, you can store the image in any folder you like, perhaps in a folder for the shoot or the date of the shoot. You certainly aren't limited to using Bridge to search by metadata; digital asset managers such as iView Media Pro do so, too. If you aren't already annotating your files, you can see how doing so can greatly improve your efficiency. Before you can annotate multiple files in Bridge, let's review where you can apply different types of annotations:
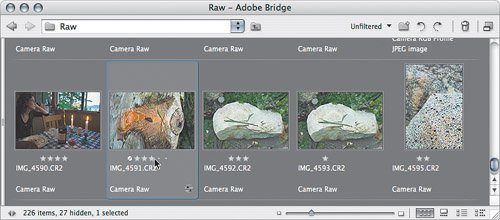
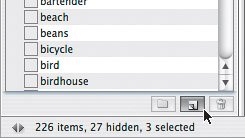
Now let's look at some ways you can annotate many files quickly. With any annotating method, clearly you'll get more done faster if you perform multiple selections as often as possible. For example, if you have a folder full of landscape photos and you want to annotate all rock images with the keyword rock, select as many rock images as you can and then enable the rock keyword checkbox in the Keywords tab (Figure 6.12). If the keyword you want to apply doesn't exist, click the New Keyword button at the bottom of the Keyword tab (Figure 6.13), name the new keyword, and press Enter or Return. Figure 6.12. Applying a keyword to multiple selected images.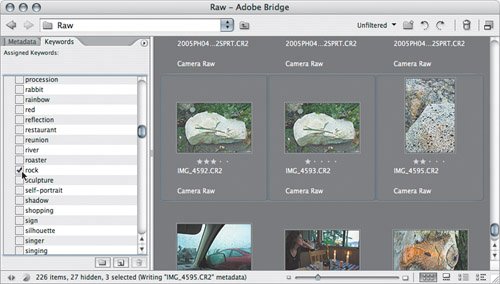 Figure 6.13. Clicking the New Keyword button. When a folder contains more images than you can see at once in a browser window, don't obsess about selecting every last image containing a rock before applying the keywordthere's more of a chance that you'll make a selection mistake that applies the wrong metadata to some images. Instead, you might want to select and tag images a screenful at a time. If you need to apply the same group of keywords to many images throughout a shoot, create a keyword set. Click the New Keyword Set button at the bottom of the Keyword tab, name the new keyword set, and then with the set selected, choose New Keyword to add each keyword to the set. To apply all keywords in the set, enable the checkbox next to the name of the keyword set (Figure 6.14). There's no problem with having the same keyword in different keyword sets, and you can drag a keyword from one set to another. You can also use keyword sets to organize your keywords when the list gets long. Figure 6.14. Enabling the checkbox next to a keyword set name to apply all keywords in the set.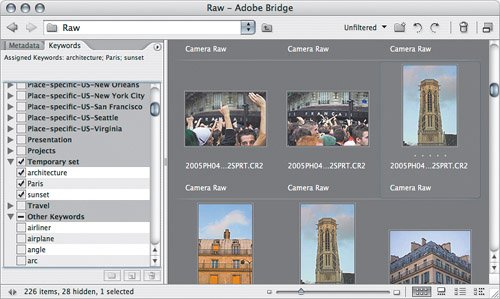 Some types of metadata, such as a copyright notice, apply to every one of your images. In that case, you want to choose Edit > Select All and then apply the metadata so that it applies to all images in the folder. Whenever you apply metadata to a large number of images, it may take a while for Bridge to record the changes to them allyou can check progress in the status bar at the bottom-left corner of a browser window. You may want to apply several metadata fields at once, such as the country and city where images were shot, to many or all images in a folder. That can go much faster if you use a metadata template. See the sidebar "Using Metadata Templates."
|
EAN: 2147483647
Pages: 161