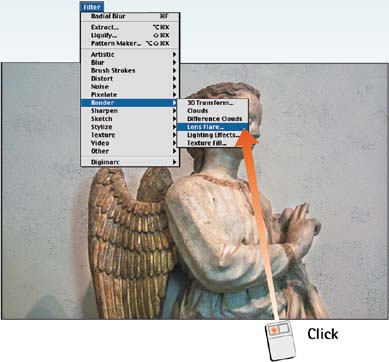
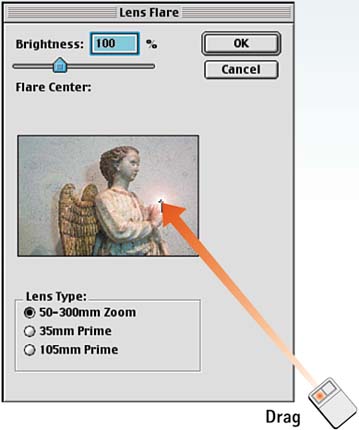
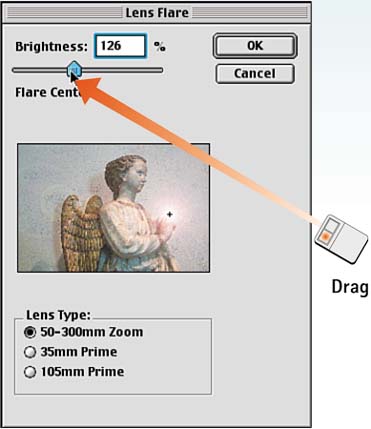
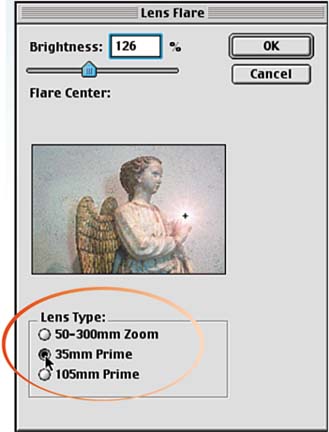
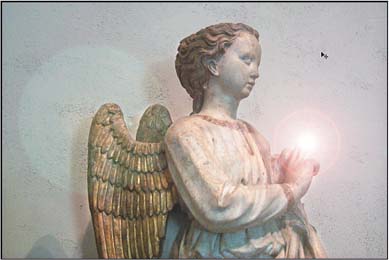
Task 6 How to Add a Lens Flare

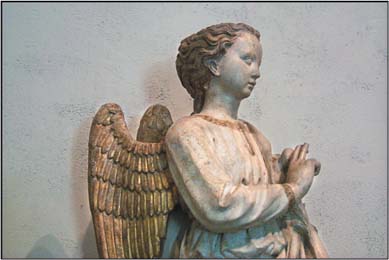
Adding a lens flare to an image creates a bright spot of light that simulates the lens flare created when a photographer points a camera lens into the sun. Although this is a bad thing for photographers, the lens flare effect often works as a design element, adding a specular accent (a white highlight) to a digital composite.

  1. Open the File

    Choose File, Open and select the file you want to modify.

    graphics/p13_06fig01.jpg

  2. Select the Lens Flare Filter

    Choose Filter, Render, Lens Flare to open the Lens Flare dialog box.

    graphics/p13_06fig02.jpg

  3. Move the Flare Center

    A small lens flare preview appears in the Flare Center thumbnail of the dialog box. Click and drag the cross at the center of the flare to reposition it in relation to the image.

    graphics/p13_06fig03.jpg

  4. Set the Brightness

    Adjust the Brightness slider to control the intensity of the flare. Observe the effect in the preview window.

    graphics/p13_06fig04.jpg

  5. Choose the Lens Type

    Select one of the three options at the bottom of the dialog box to specify the type of lens simulated in the effect. Each lens effect mimics the effect of a different focal-length camera lens.

    graphics/p13_06fig05.jpg

  6. Apply the Effect

    Click OK to close the Lens Flare dialog box and apply the filter.

    graphics/p13_06fig06.jpg

How-To Hints

Building Lens Flare Animations

The Lens Flare is a perfect filter to use when building a progressive GIF animation, as described in Part 12, Task 4, "How to Build Filter-Based GIF Animations." Increase the brightness progressively in the animation to create the effect of a starburst.


How to Use Adobe Photoshop 7
ISBN: 0789727706
EAN: 2147483647
Year: 2005
Pages: 144

flylib.com © 2008-2017.
If you may any questions please contact us: flylib@qtcs.net