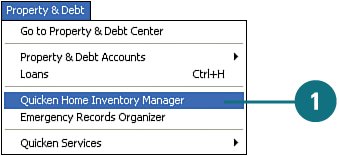
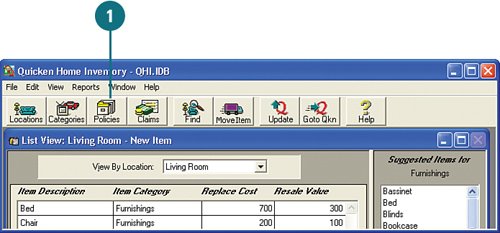
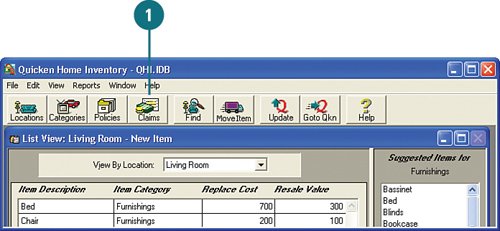
| I must admit that taking and keeping inventory of my belongings is not one of my favorite things to do. That's right up there with doing taxes, as far as I'm concerned. However, after enduring such destructive and action-packed hurricane seasons the past few years, it behooves everyone to take inventory of his or her belongings. No matter where you live, accidents and disasters can happen. Since luck favors the prepared, everyone should take inventory of their homes and the Quicken Home Inventory tool makes keeping track of your belongings easy and painless. This tool steps you through a process of logging your belongings, room-by-room, and even tracks the contents of your safety deposit box, and anywhere else you might have important belongings and papers. In addition, you can log claims that you've filed and details of your insurance policies. After you have the information in Quicken, if ever you need to file a claim due to loss of any of your belongings, all the information is at your fingertips. However, I highly recommend that you run an inventory report that contains all of your items after you are finished and keep it with your insurance and other emergency papers. You may not have access to your computer in some emergency situations. Record Inventory Items  From the Property & Debt menu, select Quicken Home Inventory Manager. From the Property & Debt menu, select Quicken Home Inventory Manager.
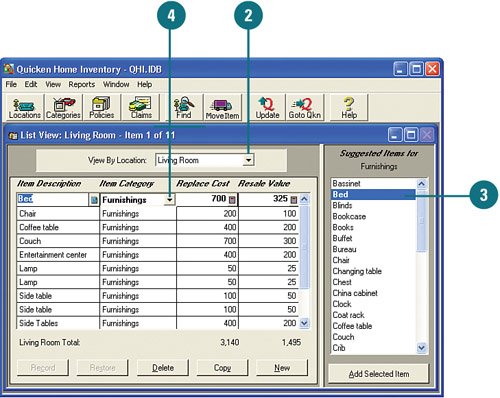
  From the View by Location drop-down menu, select the room or area you would like to start the inventory. From the View by Location drop-down menu, select the room or area you would like to start the inventory.
 To enter items in the inventory log for the room you selected, click in the first row and from the Suggested Items For section, select the name of the item and click Add Selected Item. To enter items in the inventory log for the room you selected, click in the first row and from the Suggested Items For section, select the name of the item and click Add Selected Item.
 From the Item Category drop-down menu, select the category for the item you added. From the Item Category drop-down menu, select the category for the item you added.
 Did You Know? Create categories to meet your needs. If the categories, policies, or claims you have to choose from do not meet your needs, you can create new ones, edit existing ones, or delete the ones you don't need. To change categories, from the button bar, click Categories. Click New to create a new category, type the name, and click OK. To change the name of a category, select the category, click Edit, change the name, and click OK. To remove a category, select it and click Delete. Click Close when you are finished. |
 If you selected the item from the Suggested Items For list, an estimated replacement cost and resale value are already filled in for you. Don't worry about the replacement and resell costs just yet. We will cover costs and other details later. If you selected the item from the Suggested Items For list, an estimated replacement cost and resale value are already filled in for you. Don't worry about the replacement and resell costs just yet. We will cover costs and other details later.
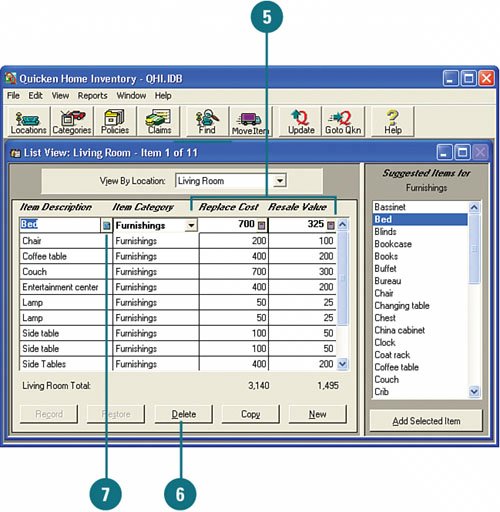
 To delete an inventory item, select it and click Delete. Or to copy an item to a new line to use some of the same information for another inventory item, click Copy. To delete an inventory item, select it and click Delete. Or to copy an item to a new line to use some of the same information for another inventory item, click Copy.
 Continue entering all the items for the room and when you are finished, click the detail view icon in the Item Description column next to the first inventory item. Continue entering all the items for the room and when you are finished, click the detail view icon in the Item Description column next to the first inventory item.
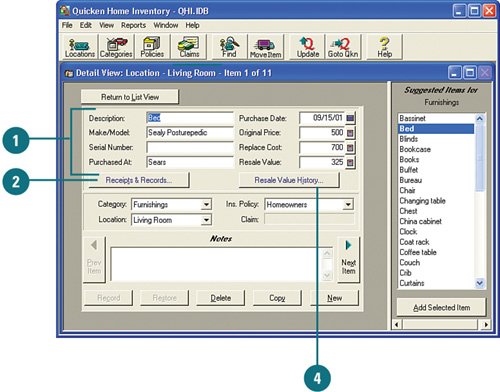
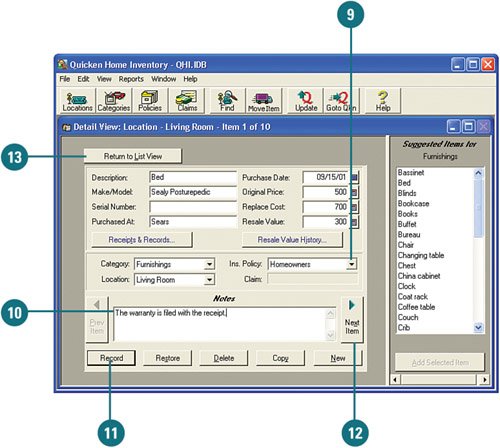
Record Inventory Item Details - Enter as much information as you can for the item. If you are unsure of some of the information, leave it blank for now. You can always update it later.
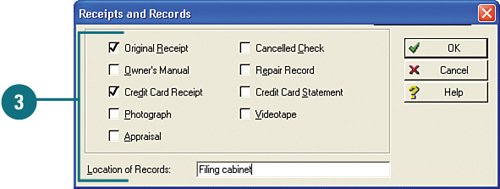
- To track any paperwork, such as receipts, you have for the item, click Receipts & Records.
 - Select the types of receipts and paperwork you have for the inventory item. Then, in Location of Records, type where you keep the paperwork, and click OK.
 Did You Know? Use the calendar and calculator icons to insert dates and amounts. You can use the calendar icon next to Purchase Date to select the date for the purchase date. Use the calculator icon to calculate and select amounts for Original Price, Replace Cost, and Resale value fields. |
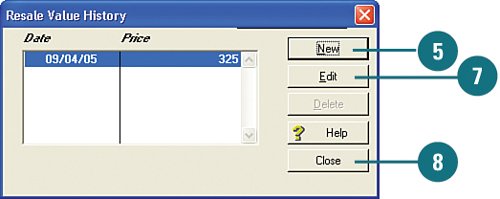
- To add or change resale value information, click Resale Value History.
TIMESAVER To quickly change the resale value of an item, you can click in Resale Value in the Detail View window and change the amount.
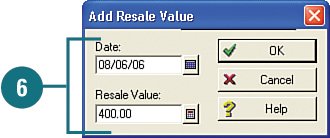
- To add a new resale value, keeping the old one for historical tracking, click New.
 - Type the new value and click OK.
 - To edit an existing value instead of creating a new one, select it, click Edit. Then change the value and click OK. Click Close.
 Click the Ins. Policy drop-down list and select the policy under which the inventory item is covered. If the item is not covered, select Unassigned. Click the Ins. Policy drop-down list and select the policy under which the inventory item is covered. If the item is not covered, select Unassigned.
 If you have any additional information you want to add about the itemfor example, information about the warrantyclick in the Notes field and type it. If you have any additional information you want to add about the itemfor example, information about the warrantyclick in the Notes field and type it.
 Click Record to save the changes. Click Record to save the changes.
 Click Next Item to enter information about the next inventory item. Click Next Item to enter information about the next inventory item.
 Complete each item in the inventory and when you are finished, click Return to List View. Complete each item in the inventory and when you are finished, click Return to List View.
  Repeat steps 213 for each room or location. When you are finished, Quicken saves all of your inventory items in a QHI.IDB file, which you can back up for safekeeping. Repeat steps 213 for each room or location. When you are finished, Quicken saves all of your inventory items in a QHI.IDB file, which you can back up for safekeeping.
Did You Know? Search for inventory items. After you get all of your items in the Quicken Home Inventory tool, the list can be long. Trying to find a specific item could be time-consuming, because you have to scroll through all the lists. Using the Find Item window is a much quicker way of finding what you are looking for. To search for an item, from the toolbar, click Find. In the Search For box, type the name of the item you want to find, for example, chair. Ensure that Item Description and Notes are selected (this provides a better chance of finding the item) and then click Find All. The items found are listed in the List of Found Inventory Items window. Select an item and click View to go to that item. |
Manage Policies - To add a new policy, change an existing one, or delete one, from the toolbar, click Policies.
 - To create a new policy, click New.
 - Complete the policy information.
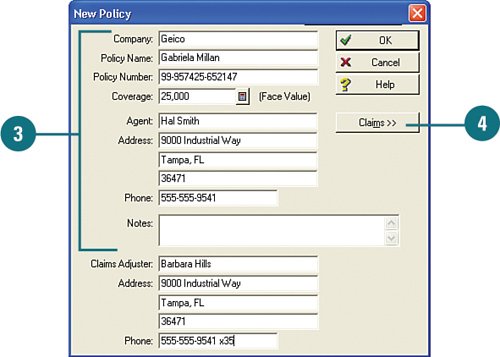 - To add information about the claims adjuster, click Claims and enter that information. Click OK.
- To make changes to a policy, select it, and click Edit. Then make your changes and click OK.
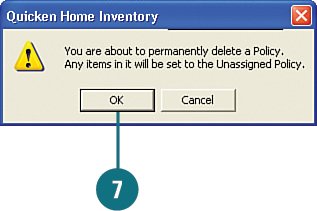
- To delete a policy, select it and click Delete. A message appears telling you that any items currently assigned to this policy will be reassigned to the Unassigned policy.
- Click OK to go ahead and remove the policy or click Cancel to keep the policy.
  When you are finished making changes to policies, click Close. When you are finished making changes to policies, click Close.
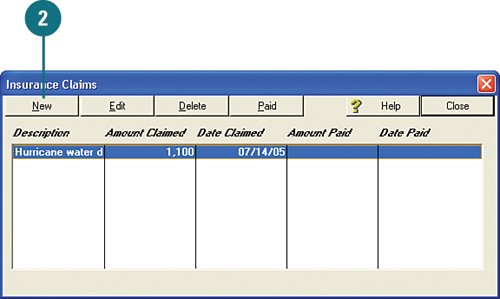
Create a New Claim - From the toolbar, click Claims.
 - To create a new claim, click New.
 - Review the claim instructions (not shown) and click OK.
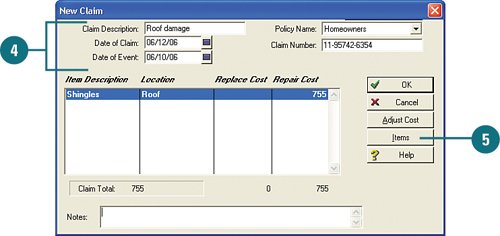
- Complete the claim information.
- To add the item(s) for which the claim is being made, click Items.
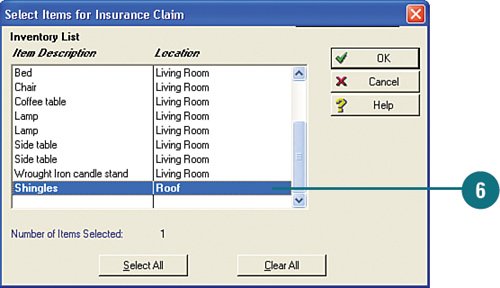
 - Select the item(s) you want to include and click OK.
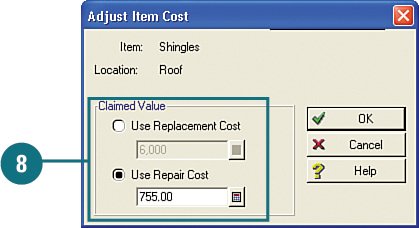
 - To change the repair or replacement costs, click Adjust Cost.
 - Select whether the cost is for replacement or repair, type the amount, and then click OK.
 - To add more detail about the claim, click in the Notes field and type the information.
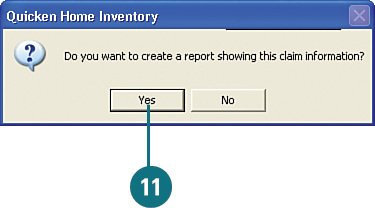
- Click OK to save the claim. A message appears asking if you want to create a report for the claim.
- Click Yes to create the report. You can print the report to keep in your records or to send to your insurance company.
Manage Claims - To edit a claim, select it, click Edit, make your changes, and click OK.
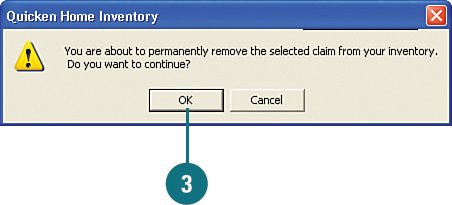
- To remove a claim, select it and click Delete. A message appears asking if you want to remove the claim.
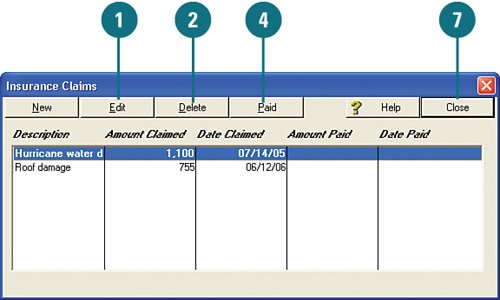 - Click OK to remove the claim or Cancel to keep the claim.
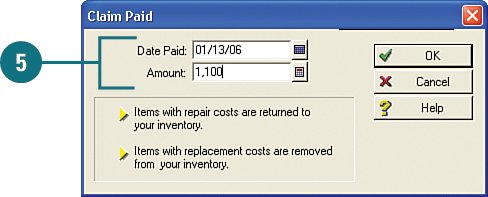
 - When a claim is paid, select the claim and click Paid.
- Type the date the claim was paid and the amount you received, and then click OK. A message appears asking if you want to create a report for the claim.
 - Click Yes to create the report or No to not create it (not shown).
- When you are finished managing your claims, click Close.
Viewing Home Inventory Reports There are reports that you can run to get specific information about your inventory. For example, a summary of the value of your items, a detailed report about every itemincluding specifics about each itemor reports about insurance and claims. These reports come in handy for insurance or claims purposes, or to keep in a safe place with your emergency papers. To view Home Inventory Reports, from the menu, click Reports and select a report you want to view. |
|