STEP 10 motion in PERSPECTIVE
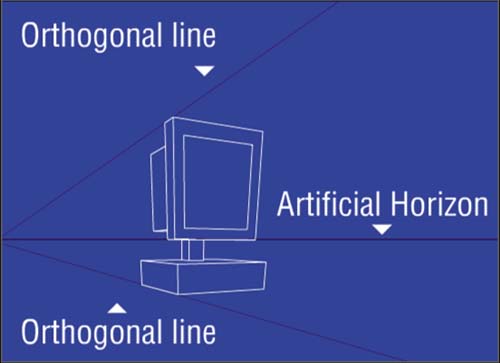
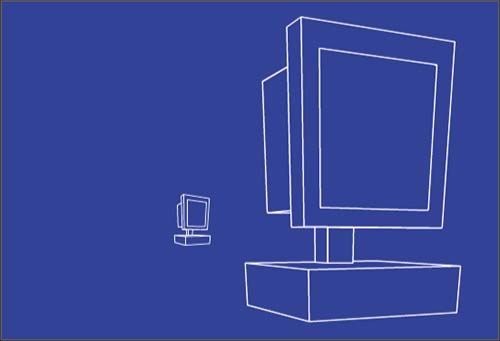
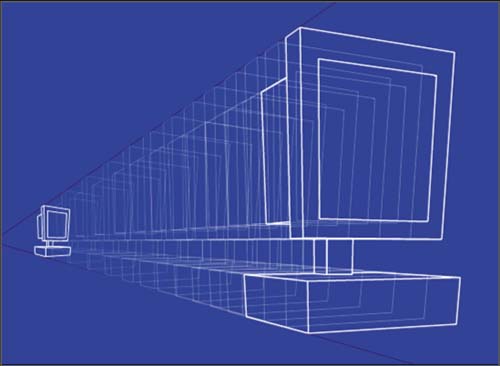
| One of our favorite 3D Flash techniques takes advantage of an object's natural perspective to create the illusion of 3D motion. We love this one because it only requires a single frameunlike a 3D rotation in Flash, which requires several frames . We employed the technique in the ad for the CPU's final appearance. As shown in figure 05:19, the CPU makes a split-fade and then disappears from view. The ad then moves on to show the client brand and user call-to-action. The split-fade is made from a couple of instances of the same symbolnothing really new. The twist is that it's done in 3D (see (see figure 05:19). Figure 05:19. This was accomplished using Flash's scaling feature to animate a single image along lines of perspective. Objects or images that appear to be in 3D often have natural lines of perspective built into them. These lines, also referred to as orthogonal lines, point to an artificial horizon line somewhere behind the image (see figure 05:20). Figure 05:20. To create the illusion of 3D using an object's built-in perspective, follow these steps:
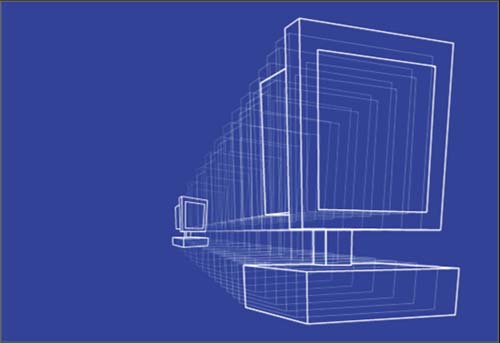
In figure 05:23, we've drawn in the lines of perspective for emphasis. When you tween the two keyframes, the result will be a CPU that animates perfectly along the correct lines of perspective using only a single image. |
EAN: 2147483647
Pages: 192
- Article 362 Electrical Nonmetallic Tubing Type ENT
- Article 702 Optional Standby Systems
- Annex D. Examples
- Example No. D2(a) Optional Calculation for One-Family Dwelling Heating Larger than Air Conditioning [See Section 220.82]
- Example No. D5(b) Optional Calculation for Multifamily Dwelling Served at 208Y/120 Volts, Three Phase