Technique #38. High-Contrast Fashion Look Here's another popular effect that's often used to create a high-fashion, high-contrast look. It tends to work best with portraits, but of course, you could try this effect on many different types of photos. key concept
filters 
blend modes 
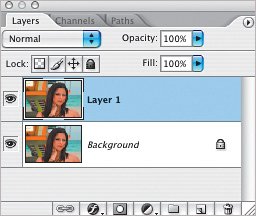
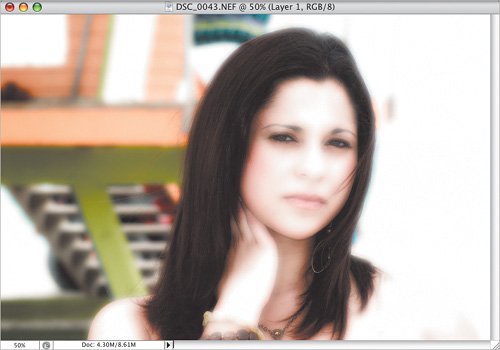
layer masks   Here's the original image I used. 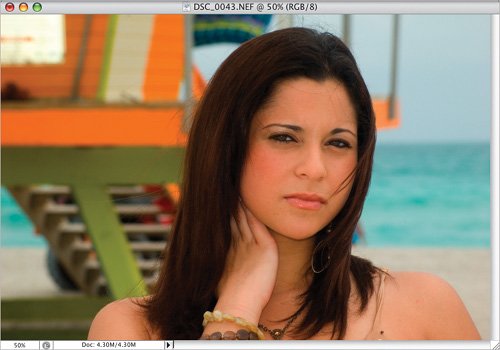 | | Step One. | Press Command-J (PC: Control-J) to duplicate the Background layer.
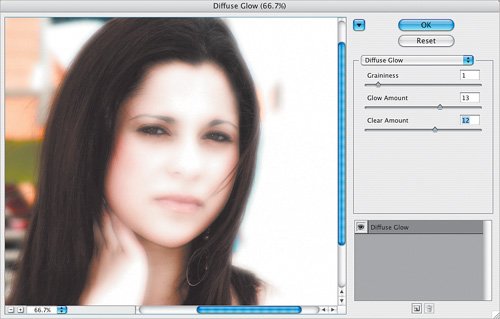
 | Step Two. | Choose the color you want to use for the Diffuse Glow filter and make that color your Background color (yes, I said Background not Foreground). In general, you'll probably want to use white, or a very light color chosen from the image. Once your Background color is chosen, go to Filter>Distort>Diffuse Glow. As always, feel free to play with the numbers here, but I'd suggest starting with a pretty low value for Graininess and fairly high numbers for Glow Amount and Clear Amount. Click OK.
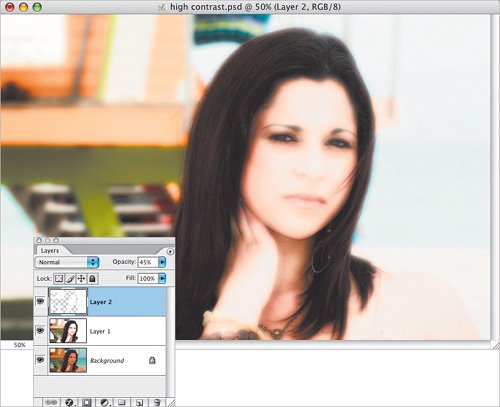
  | | | Step Three. | If the effect is too pronounced, lower the opacity of the layer (I used 70% in this example).
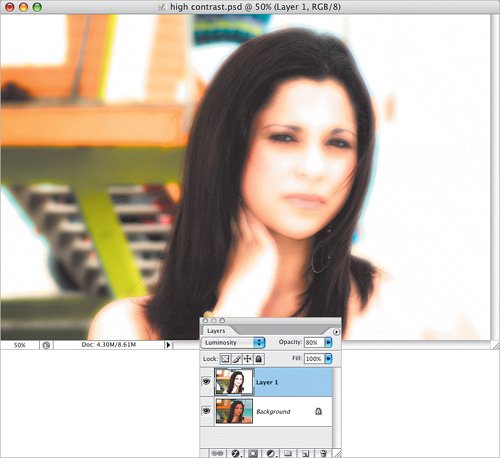
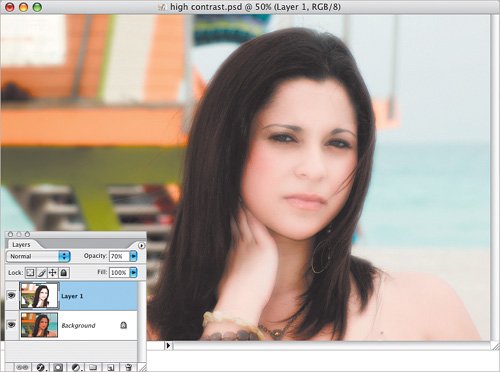 If you want to bring back the original colors just a little more, try changing the layer blend mode to Luminosity and lowering the opacity slightly. If you want to bring back the original colors just a little more, try changing the layer blend mode to Luminosity and lowering the opacity slightly.
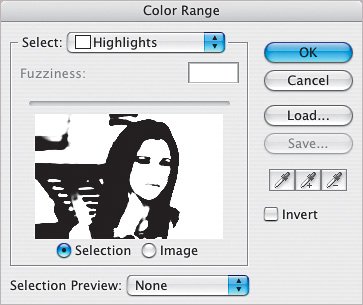
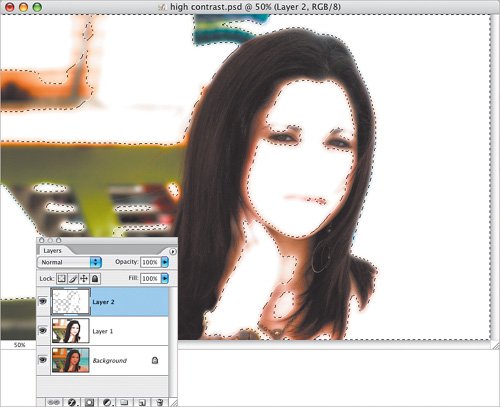
 | Step Four. | You could stop after the Diffuse Glow filter, or add a little more of a bright highlight in the next two steps. Click on the Background layer to activate it and from the Select menu, choose Color Range. From the Select pop-up menu in the Color Range dialog, choose Highlights, then click the Selection radio button at the bottom, and click OK. This will select all the highlights in the image.
 | | | Step Five. | Add a new layer at the top of the layer stack by clicking on the top layer, then clicking on the Create a New Layer icon at the bottom of the Layers palette. Press D to set your Foreground and Background to the default colors, and press Command-Delete (PC: Control-Backspace) to fill the selection with white. Press Command-D (PC: Control-D) to Deselect. Lower the layer's opacity until the effect is not quite so obvious (I used 45%, in my example).
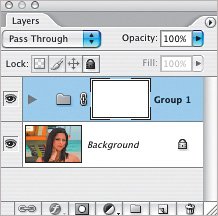
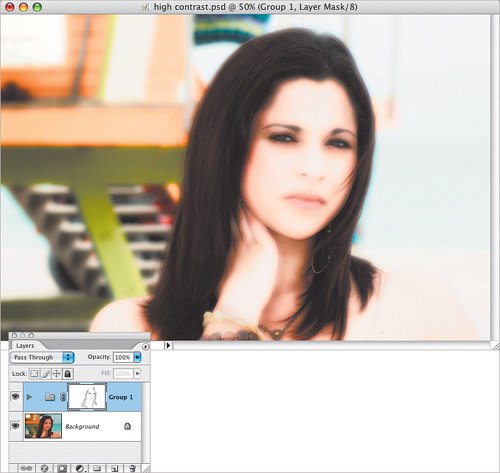
  Again, you could stop there or, if you like, bring back a little bit of the shadow details in key areas such as eyes and lips (assuming of course, you're working with a portrait). To do this, Command-click (PC: Control-click) on the two layers above the Background layer to select them and press Command-G (PC: Control-G) to put them into a Group. Then, click on the Add Layer Mask icon at the bottom of the Layers palette to add a layer mask to the Group. Using the Brush tool (B), choose a soft-edged brush from the Brush Picker, set the Opacity to 2030% in the Options Bar, and with black as the Foreground color, paint over the shadow and detail areas. Again, you could stop there or, if you like, bring back a little bit of the shadow details in key areas such as eyes and lips (assuming of course, you're working with a portrait). To do this, Command-click (PC: Control-click) on the two layers above the Background layer to select them and press Command-G (PC: Control-G) to put them into a Group. Then, click on the Add Layer Mask icon at the bottom of the Layers palette to add a layer mask to the Group. Using the Brush tool (B), choose a soft-edged brush from the Brush Picker, set the Opacity to 2030% in the Options Bar, and with black as the Foreground color, paint over the shadow and detail areas.
  |
Variations To create a slight color tint, I added a Solid Color adjustment layer above the Background layer (by clicking on the Create New Adjustment Layer icon at the bottom of the Layers palette), chose the color I wanted, changed the layer blend mode to Color and lowered the Opacity to 70%. 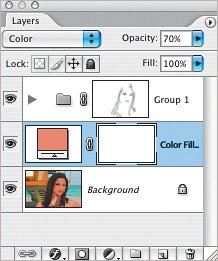
Variation 1: Solid Color adjustment layer 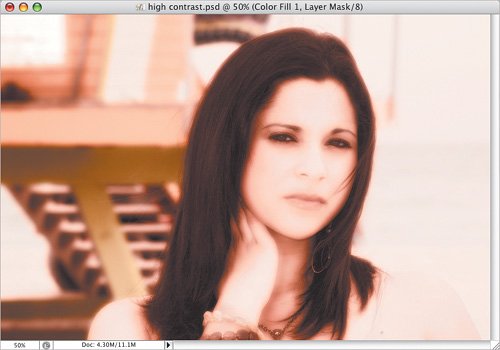 And just to show that this technique is not only for portraits, here's the same effect applied to this photo of two windows. 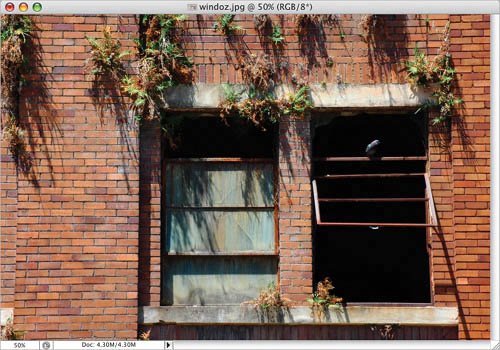
Variation 2 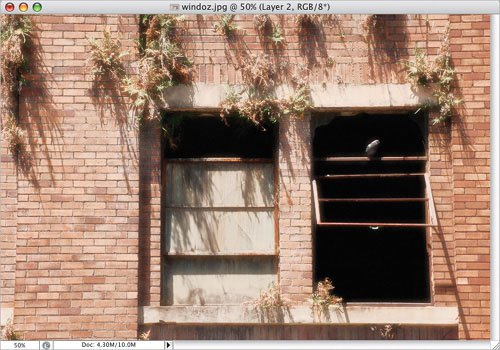 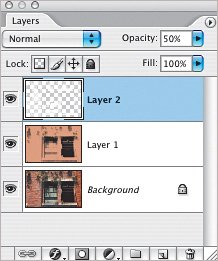 |
|