Variations In this example, I added a Gradient Map adjustment layer (above the Channel Mixer adjustment layer), using a simple black-to-white gradient. 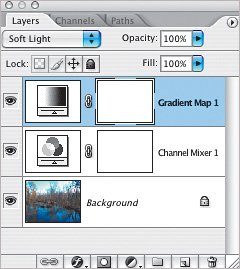
Variation 1: Black-to-white Gradient Map adjustment layer 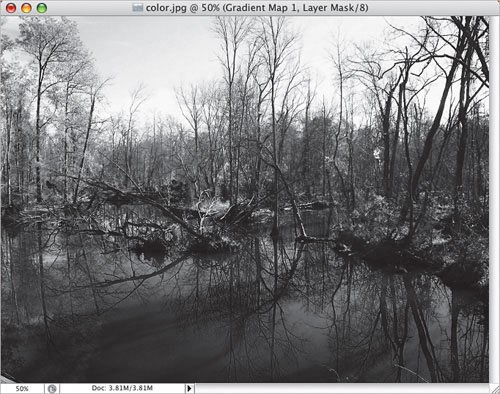 Here I changed the blend mode of the Gradient Map adjustment layer to Luminosity. 
Variation 2: Luminosity Gradient Map adjustment layer 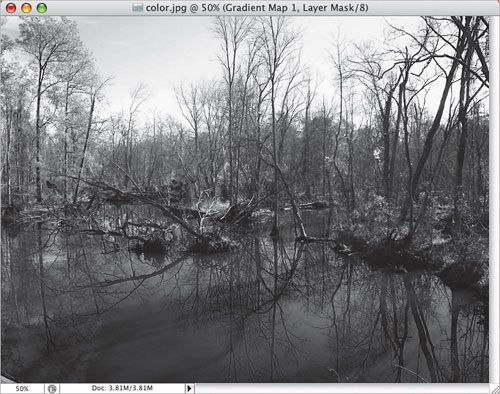 This time I changed the blend mode of the Channel Mixer adjustment layer to Hue.
Variation 3: Hue Channel Mixer adjustment layer 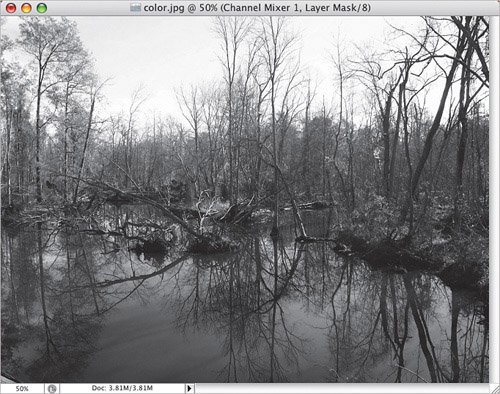 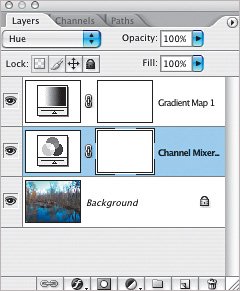 In order to fade the effects of the two adjustment layers (to make the photo have a slight color tint), I selected both layers and, from the Layers palette's flyout menu, chose New Group from Layers. Then I lowered the Opacity of the Group (folder) in the resulting dialog to 75%.
Variation 4: Faded adjustment layers 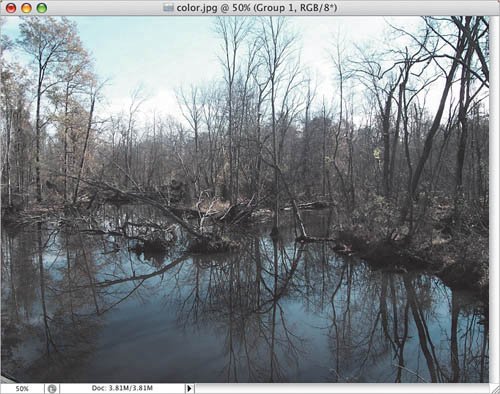 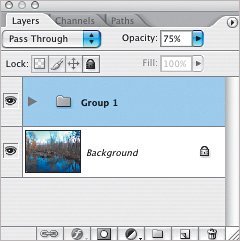 | 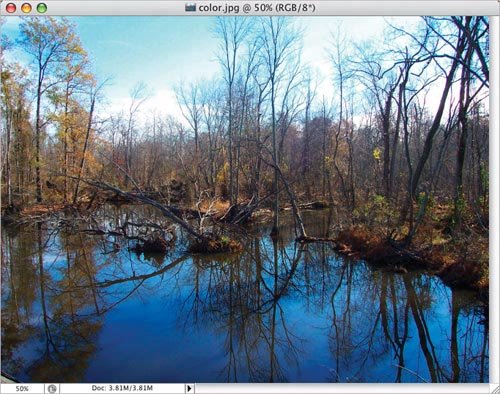
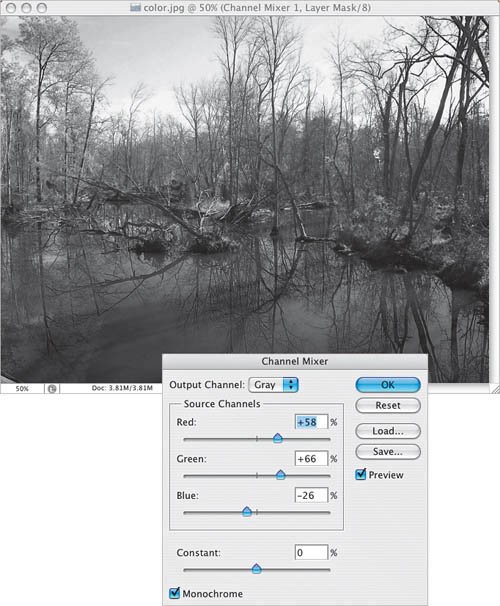
 You can experiment with a variety of combinations, but be careful to avoid blowing out any areas of the photo (unless you want that to happen). In this example, the settings for the three channels were quite different but still added up to around the 100 mark.