Texturing Your Levels
Our level is ready to go and has the default entities, but from the Editor view, we can already tell it looks bad because of the texture that it defaulted to. Go into Brush Select mode (press B) and select the wall brushes in the map (holding Ctrl to multiple select) and then click on the Textures tab on the left panel.
Scroll through the Texture browser on the left panel and choose a nice wall texture. You can add your own textures to a library and create new texture packs using the RF Pack Utility (found in your RF\tools directory).
| Note | If we had created our level out of a single hollow box, texturing would have been a bit more complicated. If you use individual solid brushes, you have more control over the texturing and don’t need to worry about changing unwanted faces when texturing. This is something that becomes an issue with larger, more complicated levels. |
Our sample uses a green brick texture. Click Select to apply the texture to our selected brushes. Next, select the floor and choose a floor texture and select the roof and apply a roof texture. You can come up with something that looks like Figure 28.11.
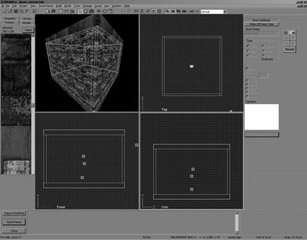
Figure 28.11: The final level.
We can now compile this level and see what it looks like in the engine.
EAN: 2147483647
Pages: 168