| Longer documents typically include elements such as a cover page and headers and footers to provide identifying and organizing information. To reinforce key concepts and also alleviate the monotony of page after page of plain text, they might also include elements such as sidebars and quotations pulled from the text. To simplify the creation of professional visual text elements, Word 2007 introduces building blocks, which are available from the Building Blocks Organizer. 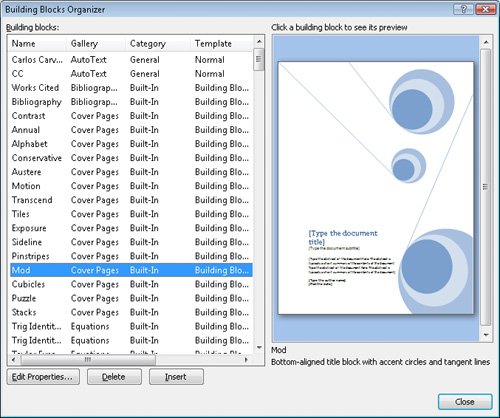 The names of the building blocks that come with Word indicate the graphic theme of the elementin most cases, an entire family of building blocks is available in a theme, including page elements such as: Cover pages Page headers Page footers Page numbers Quotes Sidebars
Other page elements, such as bibliographies, tables, equations, and watermarks, aren't specific to a theme. The Gallery column indicates the page element created by the building block. More information about each building block is available by scrolling the Building Blocks list to the right. 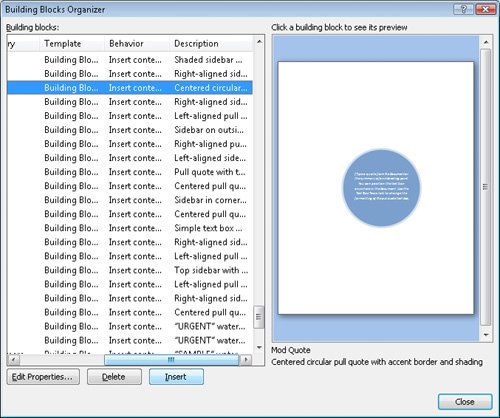 The Behavior column indicates whether Word inserts the building block in the existing text, in its own paragraph, or on its own page. The Description column includes information about the building block, and in some cases, recommendations for its use. Tip You can display the entire contents of a column by pointing to the right column header border and then, when the pointer changes to a double-headed arrow, dragging to the right, into the preview pane. (In the case of the Description column, you drag into the preview pane.
Some building blocks are also available from the Ribbonfor example, you can add headers and footers from the Header & Footer group on the Insert tab. If you frequently use a specific element in your documents, such as a formatted title-subtitle-author arrangement at the beginning of reports, you can define it as a custom building block. It is then available from the Building Blocks Organizer. In this exercise, you will insert several ready-made building blocks in a document. You will also save an element of the document as a custom building block. USE the 01_Parts document. This practice file is located in the Chapter08 subfolder under SBS_Word2007. OPEN the 01_Parts document.
1. | With the insertion point at the beginning of the document, on the Insert tab, in the Text group, click the Quick Parts button, and then click Building Blocks Organizer.
 Troubleshooting If you or your organization have made custom building blocks available from your computer, clicking the Quick Parts button displays them in the Quick Parts gallery. If no custom building blocks are available, clicking the Quick Parts button displays a list of building block-related commands. The Building Blocks Organizer opens. The left pane displays a complete list of all the building blocks available on your computer; clicking a building block in the left pane displays a preview in the right pane.
Tip The Building Blocks list you see on your computer includes AutoText entries for your user name and initials. To change either of these entries, click the Microsoft Office Button, click Word Options, and then on the Popular page of the Word Options window, update your information and click OK. | 2. | Scroll through the Building blocks list, and preview a few of the building blocks.
Notice that page elements of the same theme are coordinated and that page elements with different themes contain similar information.
| 3. | If the Gallery column of the Building blocks list is not sorted alphabetically, double-click the Gallery column heading. Then in the list of Cover Pages, click the Pinstripes cover page, and click Insert.
Word inserts the cover page at the beginning of the document, adds the title, company name, and user name that are attached as properties to the document, and indicates with placeholders where you should type the subtitle and date.
 | 4. | Click anywhere in the subtitle placeholder, and type Information Sheet. Then click the date placeholder, click the arrow that appears, and in the calendar, click today's date (indicated by a red box).
| 5. | Move to Page 2 (which was originally the first page of the document), and click anywhere on the page. Then display the Building Blocks Organizer, scroll to the list of Text Boxes, click Pinstripes Quote, and click Insert.
Word inserts the quote box half way down the right side of the page. Placeholder text in the quote box tells you how to insert your own text and format the block.
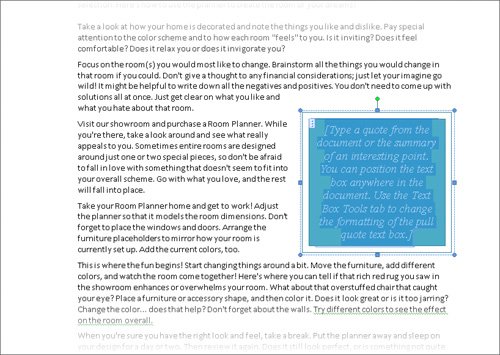 | 6. | Select and copy the last sentence of the fourth paragraph (Go with what you love...), and then click the quote box to select the placeholder text.
| 7. | On the Home tab, in the Clipboard group, click the Paste arrow, and in the list, click Paste Special. Then in the Paste Special dialog box, click Unformatted Text, and click OK.
 The copied text replaces the placeholder, and because it was pasted as unformatted text, it retains the formatting of the placeholder text. The quote box automatically resizes to fit its new contents.
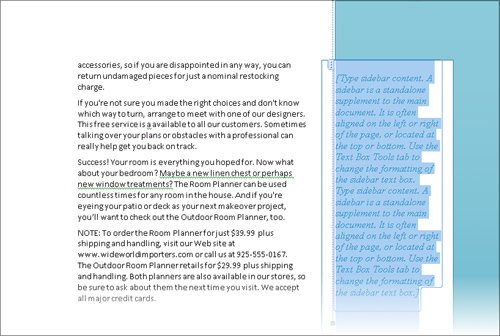
Tip You can reposition the quote box by dragging it to another location in the document. You can change the outline and fill colors by using the commands in the Text Box Styles group on the Format contextual tab. | 8. | Move to Page 3, and click anywhere on the page. Then display the Building Blocks Organizer, scroll to the list of Text Boxes, click Pinstripes Sidebar, and then click Insert.
Word inserts the sidebar on the right third of the page.
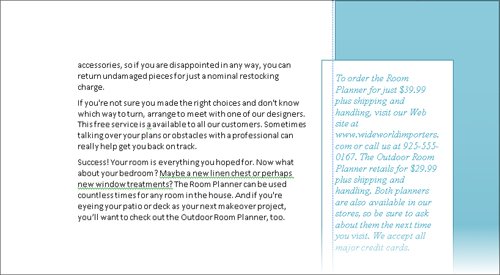
 | 9. | Delete NOTE: (including the colon and following space) from the beginning of the last paragraph of the document, select the paragraph, and then in the Clipboard group, click the Cut button.
Cut  | 10. | Click the sidebar to select the placeholder text, and then in the Clipboard group, click the Paste arrow, and in the list, click Paste Special. Then in the Paste Special dialog box, click Unformatted Text, and click OK.
The sidebar is too narrow to completely hold the Web site address, so you need to widen it.
 | 11. | Drag the blue handle on the left edge of the white sidebar placeholder to the left, until it sits slightly to the left of the frame of the text block.
| 12. | On the Insert tab, in the Text group, click the Quick Parts button, and then click Save Selection to Quick Part Gallery.
Troubleshooting If you click the text in the sidebar or elsewhere in the document after resizing the sidebar, it will no longer be selected and the Save Selection To Quick Part Gallery command will not be available. If this happens, click the sidebar's sizing handle to reselect the sidebar, and then repeat Step 12. The Create New Building Block dialog box opens.
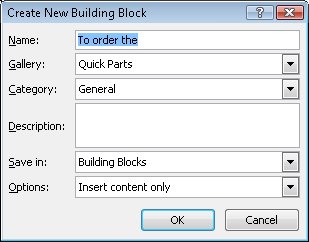 The options in this dialog box correspond to the columns of information displayed in the Building Blocks Organizer. You can save this building block in the Building Blocks template or the Normal template.
| 13. | Replace the text in the Name box with Order Sidebar, and then click OK.
You can now insert this custom sidebar from the Quick Parts gallery into other documents.
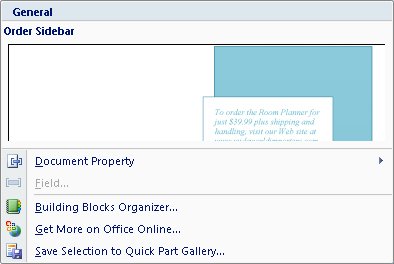
| 14. | In the Text group, click the Quick Parts button.
The Order Sidebar custom building block appears at the top of the Quick Parts gallery.
 | 15. | Display the Building Blocks Organizer, and click the Category column heading to sort the Building blocks list by that column. Then scroll to the General category.
The General category includes your custom building block and the AutoText entries.
| 16. | In the list, click Order Sidebar once.
In the preview pane, Word displays the building block you just created.
Tip To delete a building block from your computer, select it in the Building Blocks Organizer, and then click Delete. | 17. | Close the Building Blocks Organizer dialog box.
|
CLOSE the 01_Parts document without saving your changes.
Important When you quit Word after saving a custom building block, you will be asked whether you want to save changes to the template in which you stored the building block. If you want the building block to be available for future documents, click Yes; otherwise, click No.
|