Project2.Fun Family Photo Christmas Cards
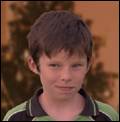
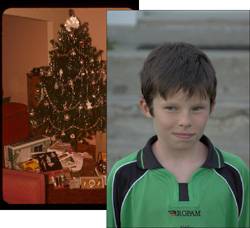
Project 2. Fun Family Photo Christmas CardsChristmas and other holidays can be fairly stressful as we all rush to meet obligations, family and otherwise. One of the things that might get pushed aside as time gets tighter is the obligatory holiday family photo. If you find you've run out of time, gather a few snapshots of the family, hunt for an old holiday photo (you likely have tons of them in slide form, negatives, and 4"x6" printsthey're up in the bedroom closet behind the baseball gear, next to your cycling helmet...) and get them together. The photos that is, who knows where your family is at this time of the year. To get started with this project, you'll need two photos. I'll be using a scan of a very old slide of a Christmas tree and a digital camera photo of one of the boys who live next door to me. If you don't have any photos of this nature, you can download the ones I'm using (Xmas Tree.tif and Older Brother.tif) from the book's companion website. The colors in these two images differ widely. The slide is of a bit faded, is poorly lit, and is an indoor photo, so it's very warm in color, tending toward the reddish-orange. The other is a recent shot from a fairly new-tech digital camera taken outside in diffused shade, so it's fairly cool tending toward a blue-ish tint. Therefore, some color correction will be needed. But first, let's start with creating a Christmas shot from two completely different photos.
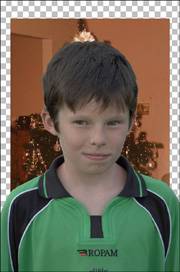
Removing the BackgroundYou'll need to remove the background material behind the portrait so the Christmas tree shows through behind the young man.
Here's a shooting tip. If you want to be able to do this type of project, and ones like the Halloween project, you should try shooting some of your portraits using a plain background. I often use 4-feet squares of black foam core, available at your local art supply store. Your local photo supply store should also have stands you can use to hold the foam core in place. I often simply stand them against furniture or use a chair to prop them up. For bigger shots, you can get some black fabric from your local fabric store and hang it using thumbtacks. At the same time, you can also get some white foam core or fabric and experiment with using it to help reflect light back onto your portrait subjects. You will be amazed at the difference it can make in your photography. With a solid background behind your portraits, you'll be able to remove the backgrounds more easily.
Adding a Little Holiday CheerNow that the background has been successfully removed, it's time to add the holiday image.
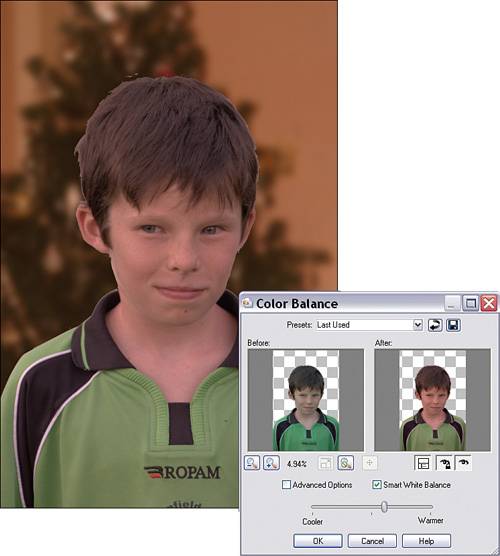
Doing a Little Color CorrectionTo help the two images match up, the portrait needs to have some color correction applied. We could, of course, apply the correction to the background, but portraits look better warmer than they do cooler. Color correction can be a difficult chore. Luckily, Paint Shop Pro 10 has some awesome tools that can make the process painless. I'll show you how to match up the two images in this project with a couple of mouse clicks and a click and drag or two.
Blending the Two Images TogetherThe image of the young man looks pasted in. Of course it is, but the whole point is that it shouldn't look like it is. Depending on the images, there are probably a million techniques to help blend two images together. Because we've blurred the background photo, we can use that to our advantage by simply adding a small edge blur to the portrait. Here's how:
|


EAN: 2147483647
Pages: 109