Task 3 How to Create Clipping Masks
| Clipping masks in Photoshop use the transparency of the bottom layer of a sequential stack of layers as a mask for the other layers. This means that the upper layers are visible only through the "window" created by the transparency of the bottom layer (anything that appears on top of a transparent area is hidden). You also can use a layer mask for the bottom layer in the group instead of actually erasing part of that layer to create transparency (see Task 8, "How to Add a Layer Mask"). When layers are clipped, the thumbnails in the upper layers in the Layers palette are indented and shown with arrows, and the layer name of the clipping mask layer is underlined. 1. Open the FileSelect File, Open or click the Go to Bridge icon on the options bar and select the image file you want to modify.
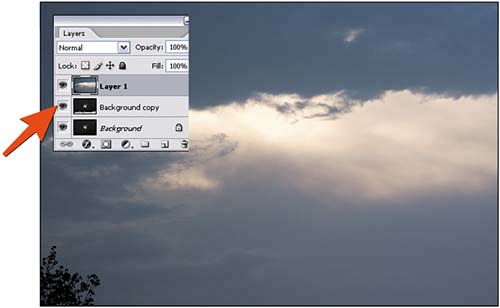
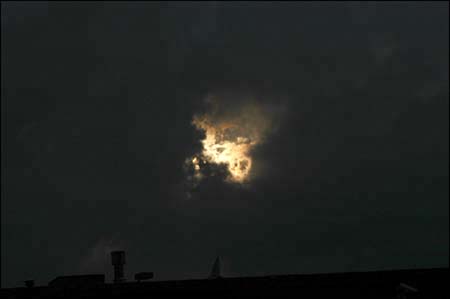
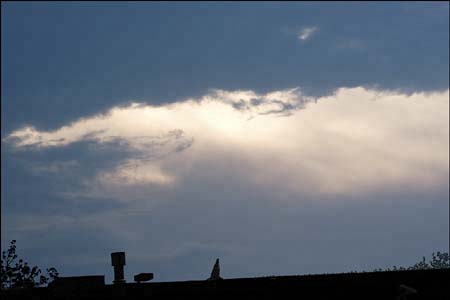
2. Arrange LayersSelect Window, Layers to display the Layers palette. Move the layers you want to clip so they are adjacent; make sure the layer to serve as the clipping mask is positioned immediately below them. In this example, the Background layer is at the bottom of the stack, followed by a copy of the Background layer with the rooftop erased (this will be our clipping mask) and an image layer that has been pasted in from another file (this will be the clipped layer).  3. Clip LayersClick the first layer to be clipped to make this the active layer. Select Layer, Create Clipping Mask. Alternatively, hold down the Alt key (Windows) or the Option key (Mac) and click the line separating two layers (the pointer changes to two interlinked circles). Repeat this process for any additional layers to be clipped. You can identify clipped layers by the arrow icons to the left of the layer thumbnail and the way the layer names are indented above the clipping mask layer. The clipping mask layer be identified by its underlined layer name.
4. Examine the ResultsNotice how the topmost image layer is visible only in the areas that are transparent in the clipping mask layer under it. Neither of the two image layers has been altered in any way, yet we now have an entirely new image made from the combination of the two.
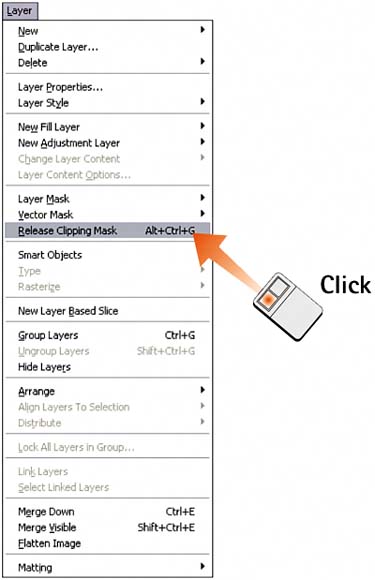
5. Unclip LayersIf you want to unclip a layers, first select the clipped layer in the Layers palette; then select Layer, Release Clipping Mask. Alternatively, you can hold down the Alt key (Windows) or the Option key (Mac) and click the boundary line between the clipped layer and the layer below it. If you unclip the layer immediately above the clipping mask layer, that action unclips any remaining clipped layers.
|
EAN: 2147483647
Pages: 184


