| Maya provides all sorts of premade particle effects to set objects on fire, emit smoke, produce lightning, even make a river flow through a valley. You can produce all of these effects with particles on your own, but the presets provide a quick and easy way to get started on common effects. None of these look ideal by default, so you'll need to adjust them to get a more polished effect. When you choose an effect from the menu, Maya creates a whole new network of particles and shaders automatically. In some cases, it also adds its own attributes and expressions to make adjusting the effect easy. When you make fire using the Create Fire effect, for example, Maya automatically connects Turbulence, Gravity, and Drag fields to the particles, as well as a premade shader and special expressions to give you added control. Here is a brief description of each of the seven premade effects: Create Fire Produces an emitter that has Gravity, Drag, and Turbulence fields attached to a Cloud particle. You can set Density, Radius, Direction, and Intensity using the Options menu. Fire can be emitted from a surface, curve, or directional point. A directional point emits fire particles in a specified direction from any point in space (Figure 18.62). Figure 18.62. The Fire effect. 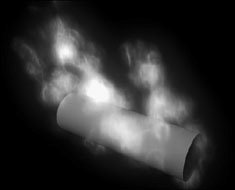 Create Smoke Produces an emitter that uses Sprite images instead of Clouds or Points (Figure 18.63). To use a particular set of images, select Sprite Wizard from the Particles menu. A default set of images and directions are included with the program. You can set Lifespan, Opacity, Direction, Spread, and Speed in the Options menu. Figure 18.63. The Smoke effect. 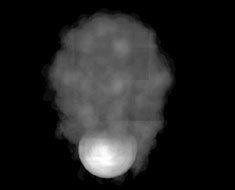 Create Fireworks Produces a cluster of rockets and explosions according to the options you set (Figure 18.64). Figure 18.64. The Fireworks effect. 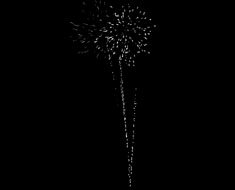 Create Lightning Creates an animated electric bolt between two or more objects (Figure 18.65). You can adjust Thickness, Spread, Jagged Sections, Glow, and Light Intensity in the Options menu. Figure 18.65. The Lightning effect. 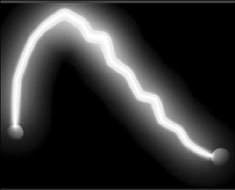 Create Shatter Lets you break apart an object into a specified number of pieces (Figure 18.66). There are three types of Shatter: Surface, Solid, and Crack. Figure 18.66. The Shatter effect. 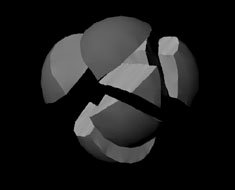 Create Surface Flow Creates manipulators that direct particles to flow along a NURBS surface (Figure 18.67). Figure 18.67. The Surface Flow effect. 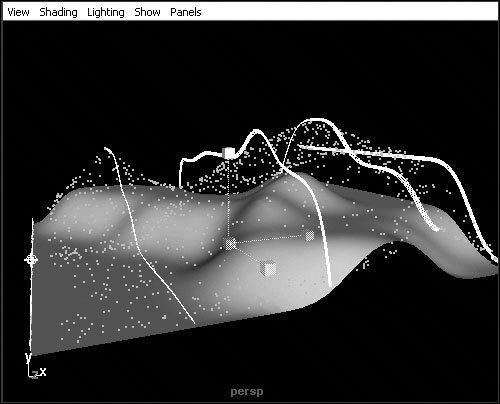 Create Curve Flow Produces manipulators to control the flow of particles along a curve's path (Figure 18.68). Figure 18.68. The Curve Flow effect. 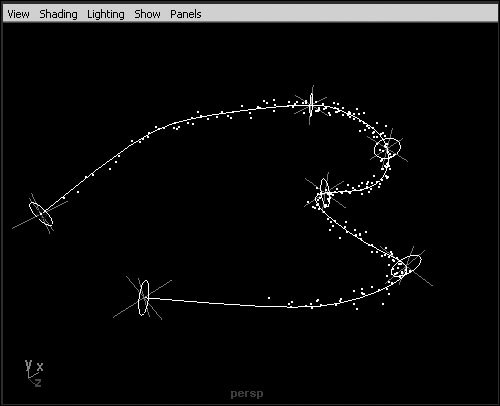
To make an object emit fire: 1. | Create a polygon cylinder. Rotate and scale it to represent a log (Figure 18.69).
Figure 18.69. A cylinder used to represent a log. 
| 2. | Select the cylinder, and, from the Effects menu, select Create Fire.
| 3. | Click Play  to start the fire simulation (Figure 18.70). to start the fire simulation (Figure 18.70).
Figure 18.70. The fire effect during playback. 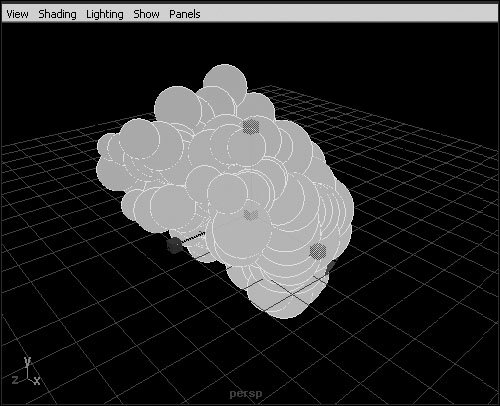
| 4. | Click Stop  at any point in the timeline, and render the Perspective view to see the results. at any point in the timeline, and render the Perspective view to see the results.
| 5. | Select the particles, and open the Attribute Editor. Go to the particleShape1tab.
| 6. | Under Extra Attributes, change Fire Density to 20, Fire Lifespan to 0.2, and Fire Speed to 10; then play back the animation to see the effect (Figure 18.71).
Figure 18.71. Extra attributes to affect the fire particles. 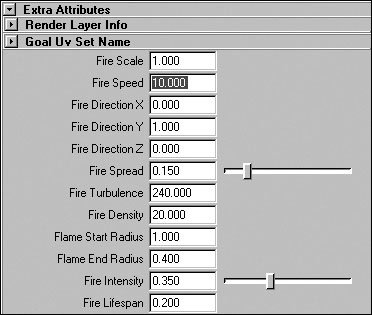
Try changing these and other attributes to get a different type of fire effect.
| 7. | Make your changes. Rewind, play, stop, and render to see the results.
|
 Tip Tip
To create realistic fire, you may wish to place several different fire systems on the same object and tune each one separately. That way, you can get different effects in the same fire, such as small flickering flames around the edge, big roaring flames in the middle, and sparks coming off the whole thing.
To create lightning: 1. | Create two spheres, and translate them so that they aren't overlapping (Figure 18.72).
Figure 18.72. Two spheres used to create a lightning effect. 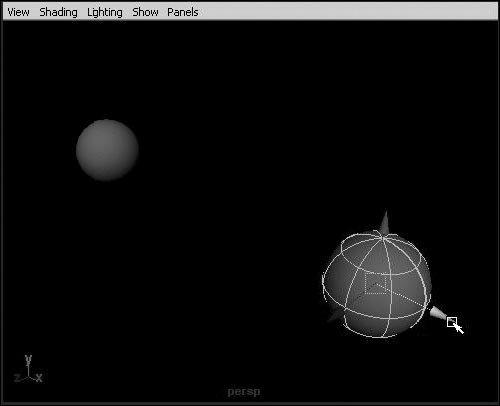
| 2. | Select both spheres.
| 3. | From the Effects menu, select Create Lightning.
A zigzag appears between the two spheres. Also created are two locators, a light, and a selection handle.
| 4. | Select one of the locators, and translate it away from the objects.
The lightning now has a curve in its trajectory (Figure 18.73).
Figure 18.73. Select the locator, and move it to put an arc in the lightning bolt. 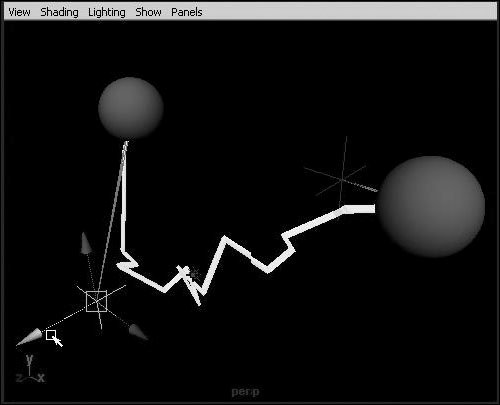
| 5. | Select the selection handle in the middle of the lightning object (Figure 18.74).
Figure 18.74. The selection handle for the lightning effect. 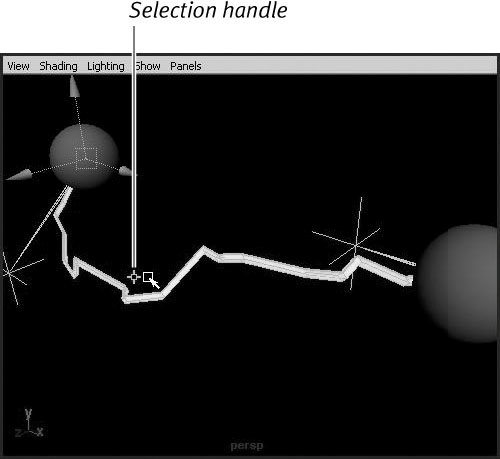
| 6. | In the Channel Box, adjust the attributes for Thickness, Start and End, and Color to get the desired effect.
You can also find these attributes in the Attribute Editor on the Lightning1 tab in the Extra Attributes section.
|
Tip
|