11.3 Introduction to Images
| A picture is worth a thousand words. Whether it's a slide show, banner, movie, or photo album, the Web contains a huge collection of images. Any time you buy something online, there is usually an image associated with the item, maybe a small image, and then a bigger image if you want more detail. Whatever it is, a book, a house, a pair of shoes, or a toy, we like to see it before we put it in our virtual shopping cart and pay the money. Images can be links, clickable image maps, banners, marquees, billboards, or rollovers ”you name it. With HTML, the images you load are static, and just sit on the page. They cannot be changed without loading a brand-new page, and loading a lot of images takes time. JavaScript brings a new dimension to working with images. Instead of viewing a static image on the page, now you can create rollovers, slide shows, cycling banners, and more. You can create dynamic images that can be changed on the fly, adding animation and drama to your Web page. Before getting into the fun of images, we will look at how JavaScript views the image. In Chapter 12, "Handling Events," and Chapter 15, "Dynamic HTML: Style Sheets, the DOM, and JavaScript," you utilize what you learn here to see the full potential of image creation with JavaScript. 11.3.1 HTML Review of ImagesBefore using images with JavaScript, the following section reviews the basics of using images in a static Web page. Table 11.21. HTML image tags.
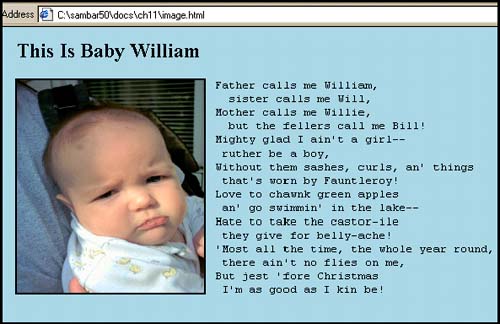
Using an Image in an HTML Web PageThe following example is an HTML file linked to an image. In this example, we review the way inline images are created in a document. Example 11.32<html> <head><title>HTML Images</title></head> <body bgcolor="lightblue"> <h2> This Is Baby William</h2> 1 <img src="baby.jpg" alt="baby" border=2 align="left" hspace="10" 2 width="220" height="250"> 3 <pre> Father calls me William, sister calls me Will, Mother calls me Willie, but the fellers call me Bill! Mighty glad I ain't a girl-- ruther be a boy, Without them sashes, curls, an' things that's worn by Fauntleroy! Love to chawnk green apples an' go swimmin' in the lake-- Hate to take the castor-ile they give for belly-ache! Most all the time, the whole year round, there ain't no flies on me, But jest 'fore Christmas I'm as good as I kin be! </pre></body> </html> Eugene Field, Jest 'Fore Christmas , in Childcraft , Vol. 2, (Chicago: Field Enterprises, Inc., 1949). EXPLANATION
11.3.2 JavaScript and the image ObjectThe image object is a property of the document object and gives you access to the images that have been loaded into a document. It corresponds to the HTML <img> tag. As each HTML form is a JavaScript element of the forms[] array, each image is assigned to the images[] array [3] in the order in which the image appears within the document. The first image would be represented as document.image[0] , the next as document.image[1] , and so on. As with forms, images can also be named. The properties for the image object correspond to the HTML attributes of the <img> tag, such as width, height, border, vspace, and hspace , are shown in Table 11.22. [4] As of Netscape 6 and Internet Explorer 4, it is possible to assign values to these properties to dynamically change the size, shape, and border of the image. There are no common methods for the image object.
JavaScript also provides the image object with event handlers that are triggered when the image is loaded, a mouse crosses the image, or the image is replaced when the user clicks on a link. The event handlers are discussed in Chapter 12, "Handling Events." For preloading offscreen images, JavaScript provides an image constructor. The constructor is used if you have large images that will take time to download or images that are being replaced dynamically within the page. The images are preloaded into memory (but not displayed) and available from the cache when the user requests them, thus making the response time much faster. Table 11.22. image object properties.
Replacing Images Dynamically with the src PropertyBy changing the src property of an image, it is possible to dynamically replace one image with another. You can create an array of images with the Array() constructor, and dynamically assign any one of these images to the src property of the JavaScript images[] array. Example 11.33<html> <head><title>HTML Images</title> <script language="JavaScript"> 1 var myImages=new Array("baby1.jpg", "baby2.jpg", "baby3.jpg", "baby4.jpg"); 2 index_val=0; 3 function next_image(){ 4 index_val++; 5 if (index_val < myImages.length){ 6 document.images["display"].src = myImages[index_val]; // could say document.display.src or // document.images[0].src } 7 else{ index_val=0; document.images["display"].src = myImages[index_val]; } } 8 function previous_image(){ index_val--; 9 if (index_val >= 0){ document.images["display"].src = myImages[index_val]; } 10 else{ index_val=myImages.length - 1; document.images["display"].src = myImages[index_val]; } } </script> </head> <body bgcolor="cornflowerblue"> <h2> Baby Gallery</h2> 11 <img name="display" src="baby.jpg" width="220" height="250" > <br> 12 <a href="javascript:next_image()"> Go to next baby<br> </a> 13 <a href="javascript:previous_image()"> Go to previous baby<br> </a> </body> </html> EXPLANATION
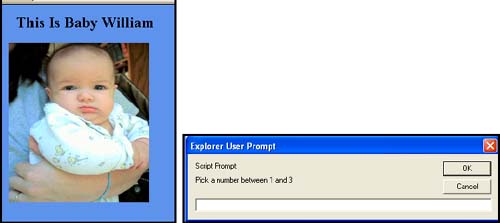
Example 11.34<html> <head><title>HTML Replacing Images</title></head> <body bgcolor="cornflowerblue"> <h2> This Is Baby William</h2> 1 <img name="display" src="baby.jpg" width="220" height="250" > <script language="JavaScript"> 2 var myImages=new Array("baby1.jpg", "baby2.jpg", "baby3.jpg"); 3 var n = prompt("Pick a number between 1 and 3",""); 4 n--; 5 document.images["display"].src = myImages[n]; // document.images[0].src = myImages[n] </script></body> </html> EXPLANATION
Preloading Images and the Image() ConstructorIf you assign a new image to the src property of an image object, there may be some lag in the time it takes to download the image from the server. And if you have a slow connection, this can be a real turnoff, to the point that you don't even bother to wait for the image to load. To solve this problem, the Image() constructor allows you to preload an offline image; this puts the image in the browser's cache before it is used. This technique of caching the image makes the response time much faster, especially when you have large images, animation, rollovers, and the like. The Image() constructor can also define the size (height and width, in pixels) of the cached image. For seamless transition when replacing one image with another, both images should be of the same size. To use the Image() constructor, see below. FORMAT var newImage = new Image(); var newImage = new Image(height, width) newImage.src="image.gif"; Example: var myImage = new Image(200,300); myImage.src="baby.gif"; A Simple Rollover with a Mouse EventWe talked about event handlers with the form object and now we will demonstate the use of an event handler with the image object. For a complete discussion, see Chapter 12, "Handling Events." The objective of the next example is to change the image when the mouse rolls over a link, and to change it back when the mouse moves away from the link. There are two images involved: the image that initially appears on the page and the image that replaces it when the mouse rolls over the link associated with it. Both of the images are preloaded with the Image() constructor. The JavaScript onMouseOver event handler is triggered when the user's mouse moves onto the link, and the onMouseOut event is triggered when the mouse moves away from the link. Example 11.35 <html> <head><title>Preloading Images</title></head> <h2> This Is Baby William</h2> <script language="JavaScript"> 1 if(document.images){ 2 var baby1=new Image(); // Preload an image 3 baby1.src="baby1image.jpg"; } if (document.images){ 4 var baby2=new Image(); // Preload an image 5 baby2.src="baby2image.jpg" ; } </script> <body bgcolor="cornflowerblue"> 6 <a href="#" onMouseOver="document.willy.src=baby2.src;" 7 onMouseOut="document.willy.src=baby1.src;" > 8 <img name="willy" src="baby1image.jpg" align="left" alt="baby" border=2 hspace="10" width="220" height="250"> </body> </html> EXPLANATION
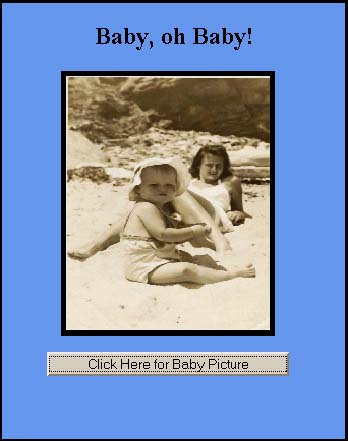
Randomly Displaying Images and the onClick EventBy using the Math object's random() method, it is sometimes fun to randomly generate pictures from a list of images. Example 11.36 demonstrates how to change the src attribute of an image object by using a random number as the index of an elment in an image array. All of the images are preloaded by using the Image() constructor, greatly improving on the time it takes to load the images. Example 11.36 <html> <head><title>Preloading Images</title></head> <script language="JavaScript"> 1 ImageHome=new Array(3); 2 for(var i=0; i<3; i++){ ImageHome[i]=new Image(); } 3 ImageHome[0].src="baby1.jpg"; ImageHome[1].src="baby2.jpg"; ImageHome[2].src="baby3.jpg"; 4 function myRandom(){ 5 var n=ImageHome.length - 1; 6 var randnum=Math.floor(Math.random() * (n + 1)); 7 document.images["display"].src = ImageHome[randnum].src; } </script> </head> <body bgcolor="cornflowerblue"><center> <h2> This Is Baby William</h2> 8 <img name="display" src="baby.jpg" border=5 width="200" height="250" > <p> <form> 9 <input type="button" value="Click Here for Baby Picture" 10 onClick="myRandom()" > </form> </center> </body> </html> EXPLANATION
|
 0, we are still within the boundaries of the array.
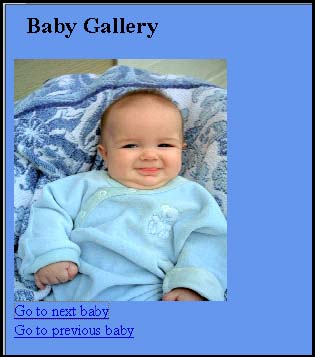
EAN: 2147483647
Pages: 150