Locking an Object on the Layers Tab


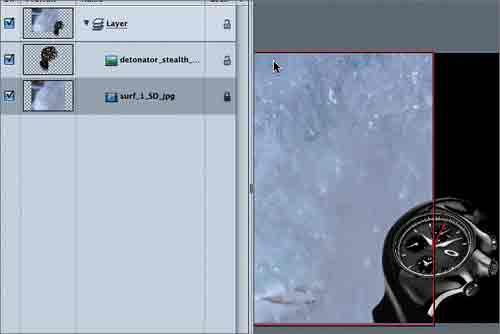
It's a good idea to lock your objects or layers if they have been precisely aligned. If you lock an object or layer, it can't be modified until you unlock it. This prevents accidental moving, dragging, cropping, deletion, and other hazards known to happen in an active Canvas.

Motion provides three ways to lock an object:

  • Choose Object > Lock.

  • Press Ctrl-L.

  • Click the Lock button next to the object on the Layers tab.

Let's try the last method: using the Lock button on the Layers tab. The Lock button looks like a padlock; it appears open when the layer is unlocked and closed when the layer is locked. All new objects and layers start as unlocked by default.

Unlocked (default)

Locked

1.

Press Cmd-4 to open the Layers tab in the Project pane.

2.

Click the Lock button next to the surf_1_SD object to lock it.

If you select a locked item in the Canvas, you'll see a red line around the object to show that it is locked.

3.

Click the surf_1_SD object in the Canvas to select it.

A red line appears around the object in the Canvas to show that it is locked, and diagonal lines appear across the object's region in the mini-Timeline.

4.

Press Cmd-4 to close the Layers tab.

5.

Press Cmd-S to save your progress.

Congratulations! You've positioned, cropped, and locked the video clip. Now it's time to add the first watch image.


    Apple Pro Training Series Getting Started with Motion
    Apple Pro Training Series: Getting Started With Motion
    ISBN: 0321305337
    EAN: 2147483647
    Year: 2005
    Pages: 283
    Authors: Mary Plummer

    flylib.com © 2008-2017.
    If you may any questions please contact us: flylib@qtcs.net