Making Adjustments, Rendering, and Exporting
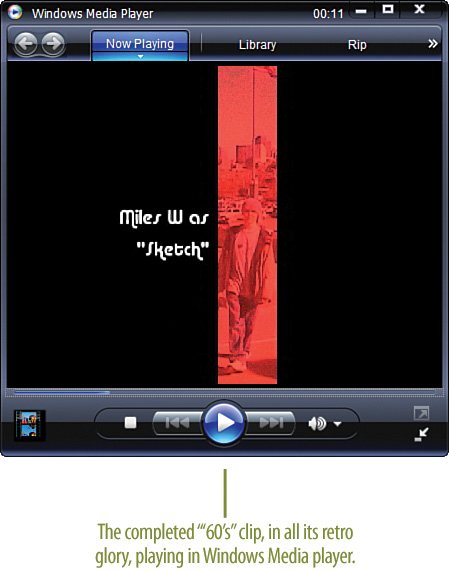
| Well, you've done it! All of the pieces are in place and fully animated, your music track is ready, and you have your '60s-style opening and closing credits. Test your production by pressing the Spacebar to see how it all fits together. If it's not quite right tweak the timing (move the keyframes around a bit, or add a couple of new ones here or there as needed, shorten the soundtrack, and so on) until it's just right. Then, press the ENTER key on your keyboard to render (apply all effects and transitions to the clips) your project. Finishing the Project
|
EAN: 2147483647
Pages: 274
- Using SQL Data Definition Language (DDL) to Create Data Tables and Other Database Objects
- Creating Indexes for Fast Data Retrieval
- Using Keys and Constraints to Maintain Database Integrity
- Understanding Transaction Isolation Levels and Concurrent Processing
- Monitoring and Enhancing MS-SQL Server Performance