Flylib.com

Books Software


Creating a Title to Set the Scene


Creating a Title to Set the Scene

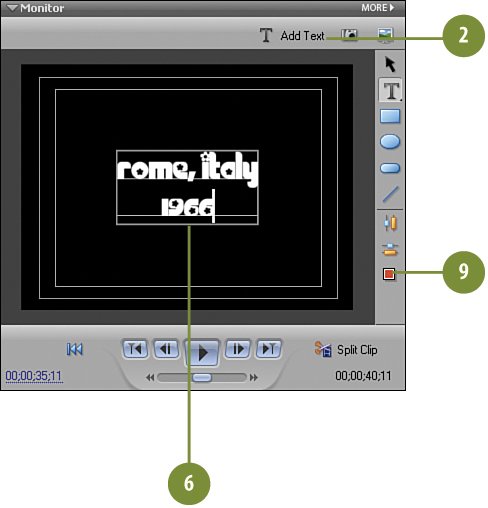
This is the final clip for this project: the scene-setting title that will appear at the end of the movie, just before the movie fades out. We're setting our caper in Rome, Italy, circa 1966, so we need to create a title to communicate this. We also need to create a "freeze frame" for the last image of our video by taking one last snapshot and adding it to the end of the clip. The "freeze frame" image will also be used as the back drop for our end title.

Add a '60s-style Scene-Setting Title

Press the End key on your keyboard to send the CTI to end of the Timeline.

Click the Add Text button on the Monitor panel.

Change the font to Chick .

Change the font size to 72 .

Click the Center Text button to change the alignment to center-aligned.

Type rome, italy to replace the Add Text text (you may need drag your mouse across the Add Text text first to select it). Press the ENTER key on your keyboard and type 1966 .

Click the Vertical Center button.

Click the Horizontal Center button.

Click the Color Properties button.

On the Color Properties dialog box, enter the following value for the color:

  • R: 250

  • G: 100

  • B: 230

Create a drop shadow by clicking the Drop Shadow check box and then setting the following:

  • Angle: 130

  • Distance: 10

  • Softness: 10

Click OK .

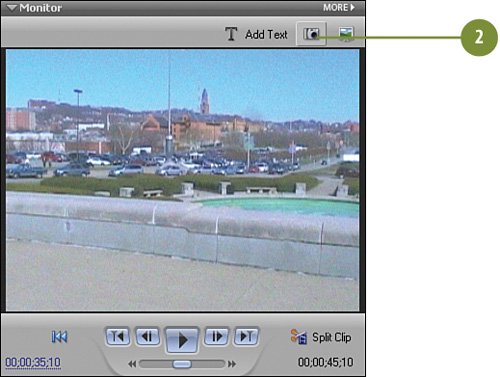
Add a Final Freeze Frame and a Transition for the Closing Title

Move the CTI to 00;00;35;10 .

On the Monitor panel, click the Freeze Frame button.

On the Freeze Frame dialog box, click Insert in Movie .

Move the Title 05 clip from the Video 1 track to the Video 2 track, directly above the retrotitle_FF_3.bmp clip, as shown in the illustration.

Click the Effects and Transitions button on the Media panel to switch to the Effects and Transitions view, if necessary.

In the Effects and Transitions panel, type swirl in the text box.

Drag the Swirl video transition and drop it onto the front (head) of the Title 05 clip on the Video 2 track on the Timeline.

In the Properties panel for the Title 05 clip, click the triangle next to Opacity and then click the Fade Out button.


Adding a Little "Retro" Music to the Timeline

For this effect to really work, we need just the right music. A bit of instrumental music by a quintessential '60s group such as Herb Alpert and the Tijuana Brass or Sergio Mendes and Brazil '66 would be perfect. Nonetheless, on the DVD supplied with this book, we've given you the next best thing: a little retro-lounge music that we believe works just as well. This music clip is supplied to us by UniqueTracks ( www.uniquetracks.com ). In this step, we'll load the clip, add it to an audio track, and we're done!

Add Little Lounge Music to the Movie

Press the HOME key on your keyboard to return the CTI to the beginning of the Timeline tracks.

Click the Get Media from button on the Media panel to access the Get Media from view, if it's not already active.

Select DVD, Digital Camera, Mobile Phone, Hard Drive Camcorder, Card Reader .

When the Media Downloader displays, click the Advanced Dialog button to switch to Advanced mode.

Select the shag-party.mp3 clip.

Click the Get Media button. Premiere Elements copies the shag-party.mp3 clip from the DVD onto your hard drive and adds it to the Available Media list for this project.

Select the shag-party.mp3 clip on the Media panel and drag and drop it onto the Timeline in the Audio 2 track.

Note

Make sure that the shag-party.mp3 clip starts at the very beginning of the Timeline and matches the start of the video clips.

In the Properties panel, click the triangle next to Volume to reveal the effect's controls, if necessary, and then click the Fade Out button.