| To start using layers effectively, you must know the basics of inserting layers and manipulating them inside of Dreamweaver. There are a couple of ways to insert layers into a document. The first is the more casual way, which is reviewed in this section. The second way offers precise placement and control, using the CSS Styles panel, which is covered in a later section of this chapter. Before you start drawing and inserting layers, I'd like to mention that you have the option of adding as many layers as you need into your document. However, with a high number of layers, it can sometimes take a browser a while to render them all. Additionally, many layers may drain the system resources of your computer as you develop inside of Dreamweaver. Overlapping Layers You can even draw layers on top of existing content within the document as well as draw them on top of one another. If you are overlapping layers, you're locked into using layers; there is no way to convert the layered content into tables. Furthermore, if the end user is viewing the page with a browser that doesn't fully comprehend or support the layer tag information, the design can yield unpredictable results. Drawing Layers One of the easiest ways to create a layer is to draw one. To draw a layer, make sure the Insert panel is visible. In the Insert panel, be sure to have the Layout tab highlighted. Under the Layout tab, it's important to have the Standard View selected. This offers two options on the far-left side of the panel, as shown in Figure 11.1. These options are for inserting a Table and for inserting a Layer. Figure 11.1. Two options are available under the Layout tab of the Insert panel for inserting either a table or a layer.
Click the Draw Layer button and notice that your cursor changes to a crosshair. This crosshair indicates that you can draw out a layer. Simply click and drag out a layer, much like you're drawing a square in a graphics program. When you're happy with the size, stop dragging; notice that a layer is now in the document, as shown in Figure 11.2. Figure 11.2. The layer is placed in the document where you drew it.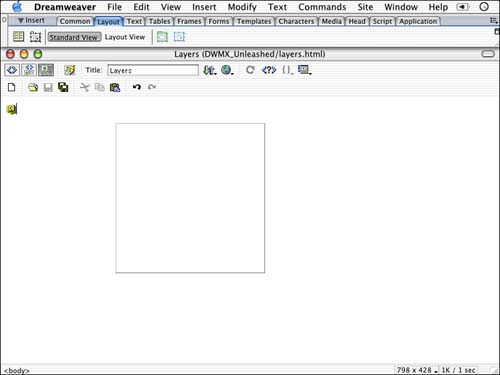
When the layer is not selected, it has a beveled gray border as shown in Figure 11.2. You can select the layer by clicking the handle of the layer in the top-left corner, or you can click the small layer icon that appears in the top-left corner of the document, as shown in Figure 11.2. If the small layer icon is not visible, choose View, Visual Aids, Invisible Elements. If it's still not visible, you have to adjust the invisible elements to be shown in the Preferences dialog box, accessible by choosing Edit, Preferences. Finally you can open the Layers panel by choosing Window, Others, Layers. This opens the Layers panel as shown in Figure 11.3. Here you can click the layer name to select the layer. Notice when the layer is selected, a bounding box appears around the layer with resize handles (also shown in Figure 11.3). Figure 11.3. When the layer is selected, resize handles surround the layer like a bounding box.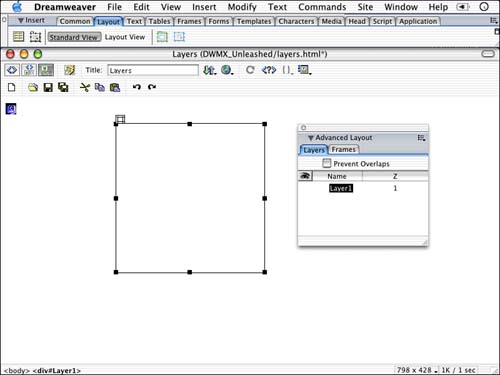
Inserting Layers You can also insert layers, which automatically places a layer in your document at a default size. To do this choose Insert, Layer. You can change the default dimensions of a layer by choosing Edit, Preferences. This launches the Preferences dialog box. Click in the Layers category, and there you have the option of changing the default size, as pictured in Figure 11.4. Figure 11.4. In the Preferences dialog box, you have the option of changing the default size of an inserted layer.
Setting Defaults of Layers Quite a few options exist for the default setting of an inserted layer, as Figure 11.4 suggests. Here's a breakdown of what the different preferences offer. These options are located in the Properties Inspector: Tag This option sets Dreamweaver to use either the <div> or <span> tags when inserting layers. The <div> tag is the most common and it's selected by default; however, you can opt to use the <span> tag. If you want the page to be compatible with Netscape Navigator 4.0, you can't create layers in Dreamweaver in the WYSIWYG environment. You must hand code the layers using the <layer> or <ilayer> tags. Visibility This option determines the initial state of the layer. The options are Default (determined by the end user's browser), Inherit (takes on parent's setting in a nested layer), Visible, or Hidden. This option affects both inserted and drawn layers. Width This option sets the default width of an inserted layer. The measurement unit is set to pixels. The default is 200. Height This option sets the default height size of an inserted layer. This value is based on pixels and the default value is 115. Background Color This option sets a background color for an inserted or drawn layer. You can select from any one of the 216 Web-safe colors using the swatch that pops up from the inkwell. Background Image This option sets a graphic to appear in the background of either an inserted or drawn layer. To select an image, either type in a path to where the image is located or click the Browse button to search for one. Nesting Option With this option selected, anytime you insert or a draw a layer, it will be nested or placed inside another. Netscape 4 Compatibility This adds code to your HTML document to help position the layers properly in Netscape Navigator 4. Often, Netscape 4.0 will lose the positioning coordinates of a layer. |

