Starting the AutoContent Wizard
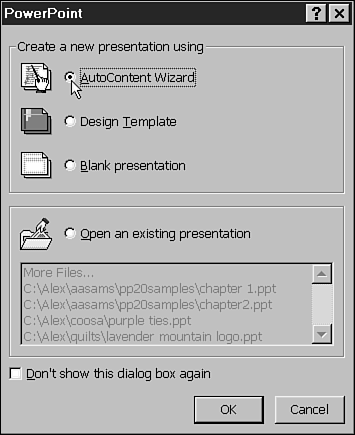
| Every time you start PowerPoint, the PowerPoint dialog box is displayed, as shown in Figure 22.1. You can use it to choose the method for starting your PowerPoint session. The main choices are creating a new presentation or opening an existing presentation. Figure 22.1. The PowerPoint dialog box enables you to choose different layouts for your slides.
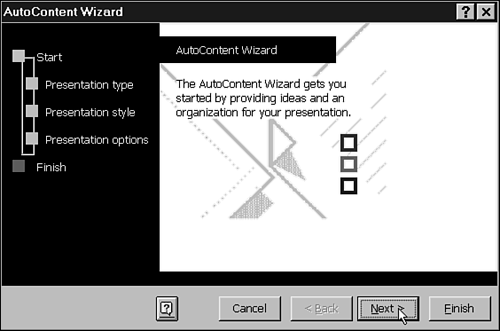
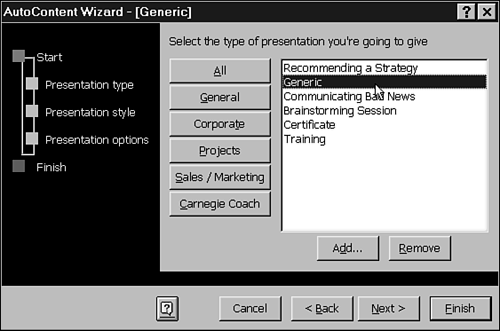
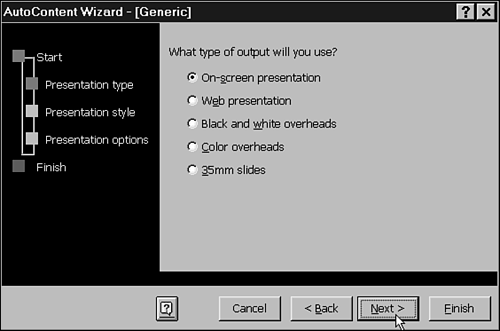
The first option in the PowerPoint dialog box list is the AutoContent Wizard , the best method for starting a presentation if you're new to PowerPoint. It's also a great tool to use if you need to create a presentation quickly. The AutoContent Wizard is a guide composed of several screens that help you create professional presentations. It leads you through a series of questions so you can choose the best layout for your presentation. You can select from several predefined content templates. The AutoContent Wizard supplies not only the design for your presentation, but also ideas, starter text, formatting, and organization. It's an excellent tool to use if you don't know where to start. When the AutoContent Wizard starts, the first screen displayed is the start screen, shown in Figure 22.2. It provides explanatory text that introduces you to the AutoContent Wizard. Look over the text, and then click the Next button. That advances you to the next screen in the AutoContent Wizard. Figure 22.2. The start screen of the AutoContent Wizard enables you to begin using the wizard. The second screen in the wizard defines the presentation type. You use this screen to select the type of presentation you're going to create. You can scroll through the list of all the available types or click a category button to narrow the list of choices. If you don't see a presentation type that fits your needs, just click the General button and select the Generic presentation type. For example, if you were going to create a presentation on basket weaving, an unsupported topic, click the General button and select the Generic presentation type, as shown in Figure 22.3. After you have selected a presentation type, click the Next button. Figure 22.3. The AutoContent Wizard's presentation type screen is shown with the Generic presentation type selected. The AutoContent Wizard's third screen contains the Presentation style options, as shown in Figure 22.4, where you select the target output format for your presentation. You have five choices:
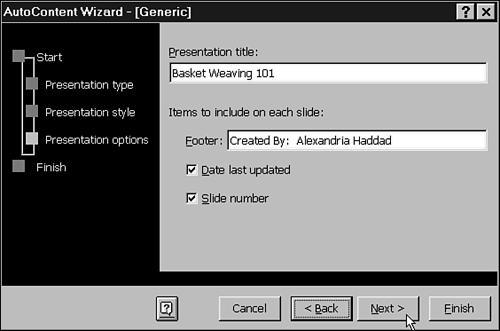
Figure 22.4. The Presentation style screen of the AutoContent Wizard gives you many different display options. The next screen is the Presentation options screen, as shown in Figure 22.5. Here you get to give your presentation a title, and include a footer if you want. Simply click in the appropriate text box and enter your information. When you have completed this screen, click the Next button. Figure 22.5. In the Presentation options screen, you can choose to let PowerPoint enter the title, footer, date, and slide number automatically.
After you have set the Presentation style for your presentation, click the Next button. The last AutoContent Wizard screen is the finish screen. The AutoContent Wizard has finished its question-and-answer session, so it's time to generate the presentation file. If you need to change any previously set options, now would be a good time. You can use the Back button to go backward through the wizard screen by screen and change any option you want. You can also just cancel the whole darn thing and go to lunch . If you've decided to take the plunge, all you need to do is click the Finish button to view your generated presentation. |
EAN: 2147483647
Pages: 474
