| Tables are often used to construct the layout of a page with multiple images or to reassemble an image that has been sliced. An image can be sliced into several smaller images for it to be optimized for the Web (the process of optimizing includes decreasing the file size of the image while maintaining the highest possible image quality). The resulting pieces need to be aligned with each other using a table. Many graphic editing programs, such as Adobe Photoshop and Macromedia Fireworks, allow you to designate slices that are exported automatically along with the creation of the necessary table in a corresponding HTML document. In this exercise, you'll create a table that can be used on pages in the Yoga Sangha project site. This same layout can be done with the use of CSSwhich you'll work on creating throughout the remainder of the book. 1. | Create a new HTML page, save it as yoga-table.html in the Lesson_06_Tables folder, and title it Yoga Sangha.
This page will contain a number of tables.
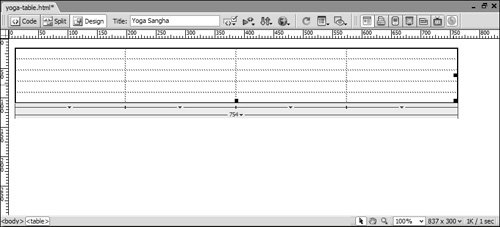
| 2. | Create a new table with the following settings: 5 rows, 4 columns, 754 pixels wide, 0 Border Thickness, 0 Cell Padding, and 0 Cell Spacing. Set the Header to None, leave the Caption text field blank, and type Yoga Sangha Content in the Summary text field.
Tip Each time you use the Table dialog box, Dreamweaver will automatically populate all options with the same values as you used for your last table. The table you create should look like the following example.
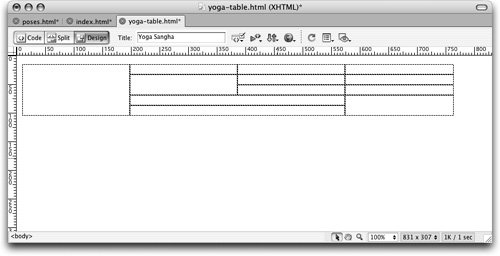
 Note Be sure to type the number 0 into the Border, Cell Padding, and Cell Spacing text fields. Leaving these fields blank will result in an actual value of 1 for both the Cell Padding and Cell Spacing fields. | | | 3. | Select all five cells in the first column and merge them. In the second column, select and merge the two cells in the second and third rows from the top. In the fourth row, select and merge the two cells in the second and third columns. In the fifth row, select and merge the two cells in the second and third columns. In the fourth column, select and merge the two cells in the fourth and fifth rows.
Your table should now look like the following example.
 Tip The structure of your table is represented by dotted lines because you defined the border as 0. With the cursor positioned over the green line that spans the with of the table in the gray Table Width bar, you can press Cmd (Macintosh) or Ctrl (Windows) to see the table structure displayed in a solid red line. | | | 4. | Place the insertion point in the single cell of the first column and use the Vert menu on the Property inspector to change the vertical alignment of the cell to Top. Insert into the cell the green-bar.gif from the Lesson_06_Tables/Images folder. In the Image Tag Accessibility Options dialog box, choose <empty> from the Alternative text menu and leave the Long description field as-is.
The green bar you just inserted will now stay at the top of this column, regardless of how tall the table eventually becomes.
This image serves as a visual design element, so alternative text is unnecessary. As mentioned in Lesson 3, avoid specifying alternative text for images that serve only layout or design purposes. Such images should use the <empty> optiondo not leave the Alternative text field blank.
When you insert images into cells in Dreamweaver, the empty cells have a tendency to collapse and look as if they are no longer there. They are actually still there, but they have just been squished together. You can see this happen if you click outside of the table or into another cell. You should not try to resize the cells at this point. When cells become squished together, you have several options for moving through the tables. Avoid dragging the borders of your table and its columns and rows in these casesinstead, navigate through tables using the arrow keys as well as the Expanded Tables mode, which you will learn to do in the following steps.
| 5. | Click the Expanded button in the Layout category on the Insert bar.
 Tip You can also use the keyboard shortcut F6 to turn this mode on and off, or switch modes by choosing View > Table Mode and selecting the desired viewing mode from the submenu. An introductory dialog box, Getting Started In Expanded Tables Mode, appears. You can click OK to close the dialog box when you are done reading it.
A bar that reads "Expanded Tables Mode [exit]" appears across the top of the Document window, just under the toolbar, to indicate that the Expanded Tables mode is active. You can return to Standard mode by either clicking the [exit] link on the bar or the Standard button in the Layout category on the Insert bar.
The Expanded Tables mode appears to enlarge your tables slightly and simultaneously gives the illusion of increasing the border, cell spacing, and cell padding. These appearance changes happen only in this modeno actual changes are made to the size of your table or the properties of border, cell spacing, and cell padding. This mode does not represent the way tables appear in browsers. Given the distortion that occurs when viewing your page in this mode, you should refrain from making any size changes to your tables in this mode. If possible, resize tables in Standard mode.
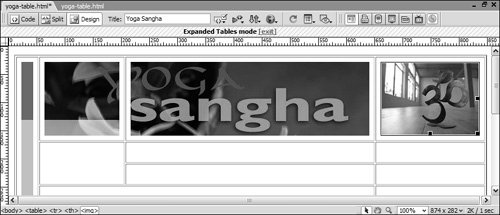
| | | 6. | Place the insertion point in the second column of the first row and use the Horz menu on the Property inspector to change the horizontal setting of the cell to Center. Insert above-nav.jpg from the Images folder. In the Image Tag Accessibility Attributes dialog box, select <empty> from the Alternative text menu and leave the Long description field as-is.
This image, now located in the center cell of the top row, is a minor graphic for visual effect for the Yoga Sangha site. Using the alternative text to communicate the same message that is contained in the image is an important step. If it doesn't convey any information, choose the <empty> option.
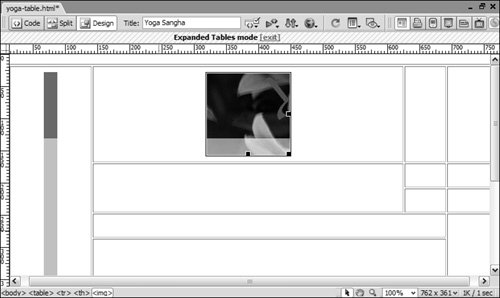 | | | 7. | Click to place the insertion point in the cell that is located in the first row of the third column. Insert yoga-s-header.jpg from the Images folder into the cell. Use Yoga Sangha as the Alternative text.
Because the Expanded Tables mode is active, you can easily click inside the cell.
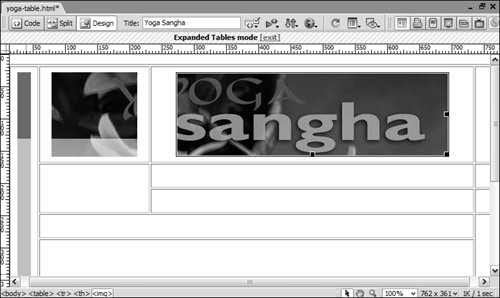 Note If you were using Standard mode, you could still navigate through a collapsed table by using the arrow keys. To do so, you would select the title image Yoga Sangha and press the right arrow key once to move off the image. The insertion point would then be in the cell that contains the nav_titlebar.gif image, directly to the right of that image. At the right edge of the image, you would see a blinking cursor the same height as the image. You would press the right arrow key once more to move into the next (third) column and then use the down arrow key once to move the insertion point into the third row. When columns collapse completely, it can be difficult to see the blinking cursor between the dotted lines that indicate the boundaries of the cells. Refrain from dragging the borders of the table and resizing it to see columns that have collapsed. Resizing your table changes its dimensions by adding height tags and width tags. The dimensions defined by those tags could create problems, such as causing the images to not line up flush with each other. If height or width tags are created, you can select the table and click the clear row heights and clear column widths buttons on the Property inspector. You might need to redefine the width of the table after clearing column widths. After the pointer is in the correct cell, typing a small amount of text causes the cell to expand, which might help you see the columns more clearly. If you use this method, it is very important to be sure that you delete the text or replace it with the appropriate text or image(s). Extra characters can cause problems in some tables, particularly if you've calculated the table size solely for specific images. | 8. | Click to place the insertion point in the cell that is located in the first row of the fourth column. Insert om.jpg from the Images folder into the cell. Use OM as the Alternative text.
The image now appears in the cell.
 | | | 9. | Click the Standard button in the Layout category on the Insert bar to switch back to Standard mode.
In Standard mode, the columns now align flush with the images. In the following exercises, using Standard mode allows you to see how the tables and images work together to create a seamless layout. You need to make sure that extra spaces don't get worked into the tables you create, which is difficult to watch for in Expanded mode because that viewing mode causes additional spacing.
As you insert images, if your tables contain images that line up flush with one another as they do in this table, they might obscure the dotted lines separating the individual cells.
Note As you work with tables, keep in mind that the dotted lines, which Dreamweaver uses to indicate the cell and table borders, each take up one pixel of space. Those extra pixels of space created by the dotted lines do not exist when the document is seen in a browser. However, those pixels of space might cause tables viewed within Dreamweaver to look slightly larger than they really are. For example, you might have two tables of the same width in a document. The first table might have five columns, and the second table might have only one column. The first table would appear in Dreamweaver to be four pixels wider than the first, even though both tables would be the same width if viewed in a browser. You can always turn off table borders by choosing View > Visual Aids > Table Borders. On the other hand, table borders are generally very useful, and it can be very difficult to work with tables when you have them turned off. | 10. | Place the insertion point in the cell located in the second row of the third column, and insert flower.jpg with <empty > alternative text. Place the insertion point in the cell located in the third column and third row, and insert tag-bkg.jpg with <empty > alternative text. Place the insertion point in the cell located in the second column that spans the second and third rows of the table. Insert the image cell-nav.jpg from the Images folder into the cell. Place the insertion point in the cell that is located in the fourth column, second row and insert teaching.jpg with Teachers at Yoga Sangha for the alternative text. In the cell below that one, insert class.jpg with Classes at Yoga Sangha for alternative text. Click outside the table.
|
When you click outside the table, Dreamweaver causes the table to refresh, and the cells now fit exactly around the edges of the images. At times you might need to make use of a spacer imageoften a small, one-pixel by one-pixel GIF that can be either transparent or the same color as the backgroundwhich is used to hold the dimensions of rows and columns in tables that are necessary to create the final look of a page. Tables often need images to force them to hold the dimensions you want. Without an image to hold that space, your columns may shift around. You can use spacer GIFs (usually 1 x 1 pixel transparent files) stretched to fill the dimensions you want to ensure your columns size correctly. Tip When working with small images in tables, using the arrow keys can make it easier to navigate through the tables as you're creating and modifying them.
Your table now looks similar to the following example. 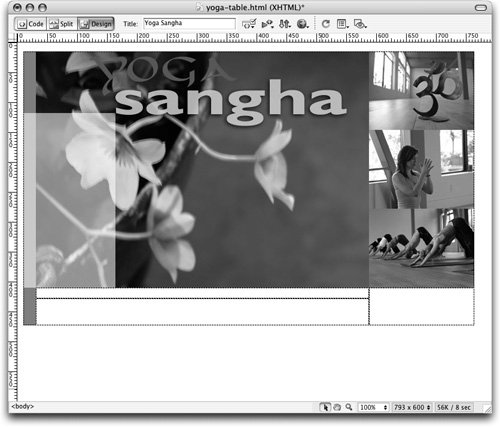 Tip If your table doesn't look like this, it may be that Dreamweaver is adding spaces to your cells. Open the Preferences dialog box, select the Code Format category, and verify that No Break After TD is checked.
|