| The big moment is finally here. It's time to capture some analog video. To capture analog video 1. | Using your camcorder controls, position your tape about 30 seconds before the initial frame you want to capture.
| 2. | Click the Start Capture button on the Diskometer (Figure 4.23).
Figure 4.23. Click the Start Capture button on the Diskometer to start capture. 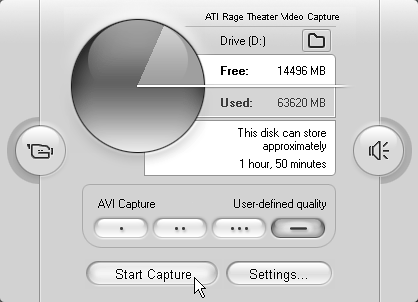
The Capture Video dialog box opens (Figure 4.24), and the Start Capture button changes to Stop Capture (Figure 4.25).
Figure 4.24. You can name your file before capture and elect to capture for a specified interval. Capturing for a particular interval is useful, for example, when you want to capture a 60-minute tape while you're away from the computer. 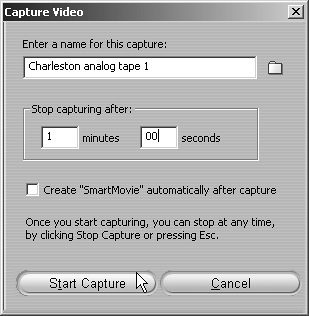
Figure 4.25. Click the Stop Capture button on the Diskometer to stop capture, or press the Esc key on your keyboard. 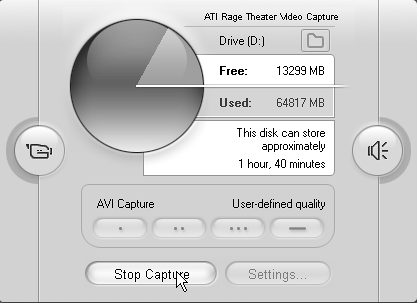
| 3. | For this test, enter a duration of 1 minute and 00 seconds in the Capture Video dialog box, as shown in Figure 4.24.
When the Capture Video dialog box first appears, it displays the maximum duration of video your hard disk can store, which is limited by either the file size or the version of Windows you're running or the file system your hard disk is using (for more information, see the "Windows File Size Limitations" sidebar in Chapter 3).
If the duration shown in your program is less than 1 minute, either your capture disk is almost full or you're pointing toward the wrong disk. (See "Selecting Your Capture Drive" in Chapter 2 for more information.)
| 4. | Press Play on your camcorder to start the video rolling.
| 5. | Watch the video in the Player and click Start approximately 10 to 15 seconds before you actually want capture to begin.
Some capture devices take a few seconds to start capturing; starting early ensures that you capture the desired frames and provides additional frames for fade-in and fade-out or for inter-scene transitions during editing. You can always trim out any unwanted footage later on.
| 6. | Studio will capture one minute of video. To stop capture before then, do one of the following:
- Click the Stop Capture button on the Diskometer.
- Press the Esc key on your keyboard.
Assuming that you enabled scene detection by video content, Studio takes a moment after capture stops to rescan the file for scene changes (Figure 4.26). Then your captured scenes appear in the Album (Figure 4.27).
Figure 4.26. After analog capture, Studio takes a moment to detect scenes in the content. 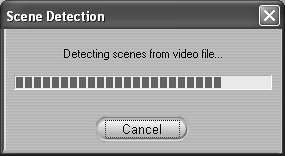
Figure 4.27. Then your scenes appear in the Album in all their glory. Note that the scenes are in default Scene view in 4:3 mode. 
Note that this footage was shot in 16:9 mode. However, it appears in Figure 4.27 in 4:3 mode because the default view in the Album is Scene view in 4:3 mode. To ensure that Studio recognizes that this footage is actually 16:9 video, we'll change to 16:9 view in the next section.
|
 Tips Tips
You may not always hear audio during capture (I didn't using All-in-Wonder). Even if you do, there's no guarantee that the audio was properly captured in the file. For this reason, check the presence, quality, and volume of audio frequently during the capture process. If you attempt to capture 4:3 and 16:9 footage from the same tape during the same capture session, you'll see the error message displayed in Figure 4.28. Figure 4.28. Studio won't capture 4:3 and 16:9 footage from the same tape during the same capture session. 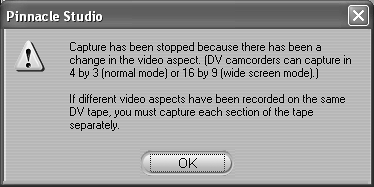
Note the Frames Dropped counter under the Player in Figure 4.27. Dropped frames are frames that the computer couldn't capture, usually because the hard disk wasn't fast enough to keep up with the incoming video. This counter updates in real time during capture; if you drop more than one or two frames during capture, stop capturing and consult the Studio Help files to diagnose and fix your problem.
|