Customizing Menus
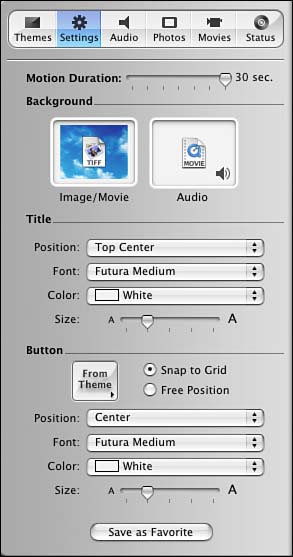
| While Drop Zones add a lot of opportunity to make a theme your own, customizing a menu by adding your own overall background or theme music is something you might want to do. You can drag elements into two wells in the Background section of the Settings area in iDVD (see Figure 19.14). Figure 19.14. The Image/Movie and Audio wells in the Background section of iDVD's Settings tab. To add a new background image to a DVD project, you must have an image prepared that you want to drag in. It could be something like a digital picture you have taken, an image you have downloaded from the Web, or an image that you've prepared in a program such as Adobe Photoshop Elements (or its professional equivalent, Photoshop). Apple suggests you make sure your image is sized to 640x480 in order to fit the screen exactly. To import a new background image:
The new background file becomes the new image you see in your DVD screen (see Figure 19.15). Figure 19.15. The new background image that was dragged into iDVD.
Task: Adding a Sound to a DVD MenuIf you want to add a sound to your DVD menu, you can drag it into the Audio well in the Background area of the Settings tab.
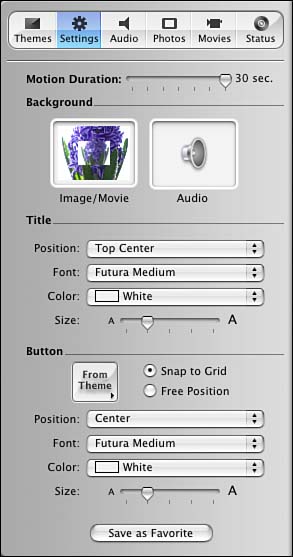
The icon in the Audio well changes to reflect the type of file that you're dragging in. For example, compare the new icon in Figure 19.14 with the icon of the file that's being added in Figure 19.16. Notice the Motion Duration slider near the top of Figure 19.16. The automatic setting is for 30 seconds, which is the time that the sound/music plays before repeating. This also holds true for the video portion of a motion menu. If you decide that you no longer want the sound that you've added to a project, drag the sound file icon from the audio well to anywhere outside the iDVD window. When no audio file is set as the menu's background, the audio well will appear as in Figure 19.17. Figure 19.17. This menu is not accompanied by sound.
|

EAN: 2147483647
Pages: 349