Finding a Video Host
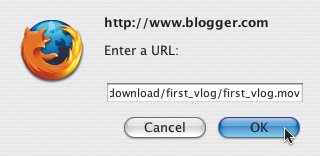
| Now you've created a blog, but you still need to find a video host. As we explained earlier, your video will be hosted, or stored, by a different service than your blog. Then your video will be linked to your blog to make it a videoblog. Until recently, storing videos on the Internet was a pretty expensive proposition. That's because even in their compressed form, video files take up a lot of bandwidthway more than photos and text. In fact, entire Web sites often take up less space than a single video. And Web servers, which host Web pages and have limited bandwidththey can only handle so much data per second. But as Web server prices have gone down, free video hosting services have begun to appear. One prime example of free media hosting is provided by the partnership of The Internet Archive (http://archive.org), and Ourmedia (http://ourmedia.org). The mission of The Internet Archive, aka The Archive, is to document all human knowledge in one place, kind of like a huge, online library or enormous multimedia encyclopedia (say that 10 times fast). The site's tagline is "Universal access to human knowledge," and on The Archive you'll find archives of audio, video, text, and live music (Grateful Dead fans, this is your heaven). Ourmedia, which calls itself "the Global Home for Grassroots Media," is a nonprofit online community "dedicated to spreading grassroots creativity" in all its digital forms. Together they offer videobloggers the amazing opportunity to post media files for free, forever (at least, if all goes according to plan)no gimmicks, no joke. Basically, The Archive has agreed to host media files posted by Ourmedia members. If The Archive is like a vast online library system, Ourmedia is like a local branch library that makes uploading and storing media easy. Opening an Archive AccountTo upload your videos to The Archive via Ourmedia, you need to set up an account and get a virtual library card. It's a quick, two-step process. First, open your browser and go to http://archive.org to open an account at The Archive. Click the tiny Join Us link in the upper right corner of the site (Figure 7.11). Figure 7.11. The Archive just may be the coolest multimedia library on the planet.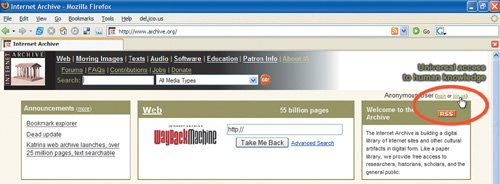 Second, fill in the fields with your email address, a password, and a Screen name. Click Get Library Card (Figure 7.12). Figure 7.12. Getting your virtual library card is quick and easy.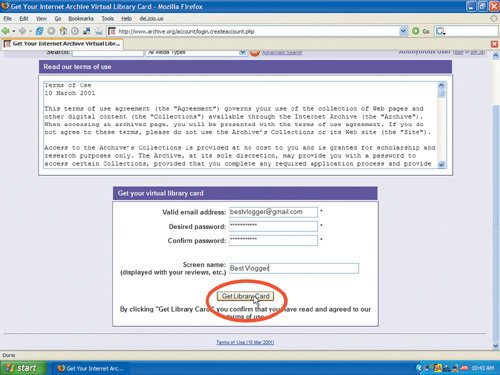 You will see a quick Congratulations screen and then you'll be redirected to the home page. It's that simple. Uploading Your VideoWith your Archive account set up, you'll log on to the Ourmedia site and upload your media file. Then we'll show you how to link your video to your blog so people can view it. Don't let the number of steps fool you. The entire process is easy, and you'll quickly become an expert. First, go to the Ourmedia homepage at http://ourmedia.org. Click the Log in button in the upper right corner of the page (Figure 7.13), which will take you to the "my page" section of the site. You'll need to sign in to the service by using your password and user ID from The Archivewhich, oddly enough, is your email address and not your screen name. Now follow the directions in Figures 7.14 to 7.19 to upload your video. Figure 7.13. Setting up a free account is quick and easy.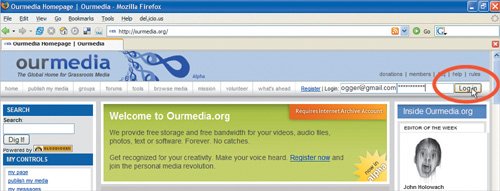 Figure 7.14. Find My Controls in the left column of the page, and click the Publish My Media link.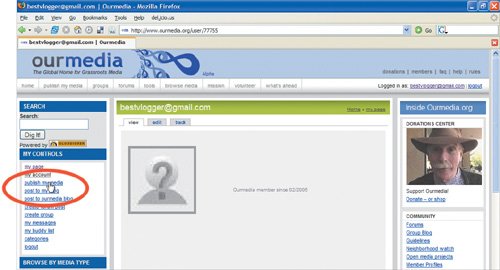 Figure 7.15. In the Publish My Media section, click the Video icon.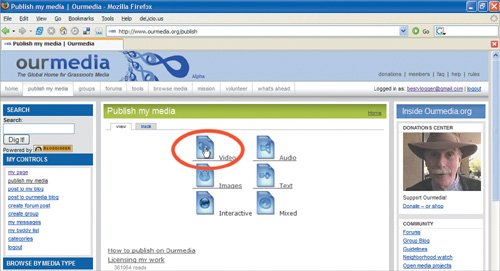 Figure 7.16. In the Submit Video area, fill in all required fields (those with red asterisks). Be sure that the Description of work is at least five words long. This description will not appear on your blog, but the words you enter could be used as keywords to search through the archive for your video.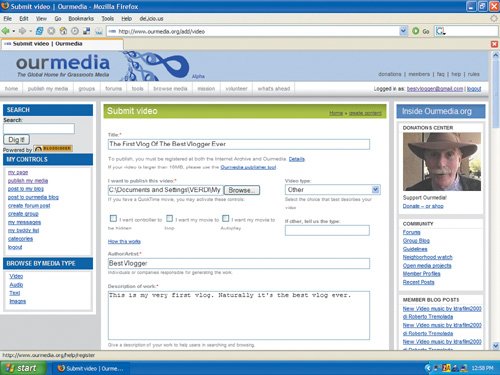 Figure 7.17. Under the Basic Details section is the Creative Commons license menu. The most common license used by videobloggers is Attribution Noncommercial Share Alike (by-nc-sa), but you can decide which options best suit your video.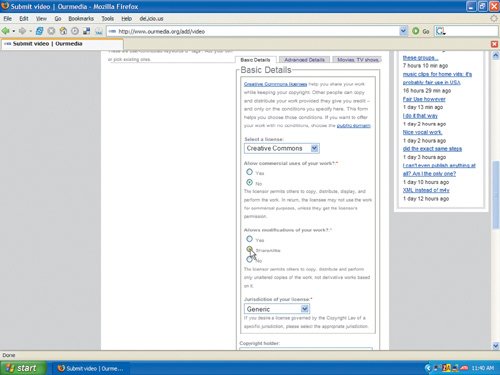 Figure 7.18. Click Submit to upload your video. Be patient, this can take a little while depending on your connection and file size. While your video uploads, it will look as if nothing is happening.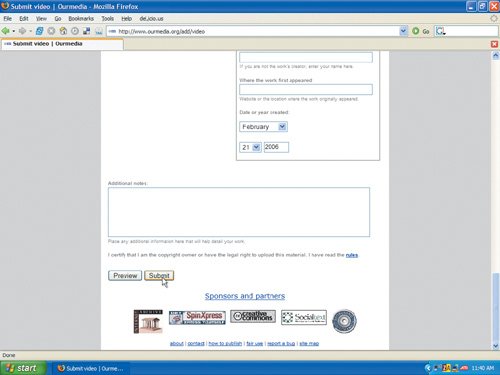 Figure 7.19. When your video has been uploaded, a new page with your media will appear. You'll need to copy the video file address or URL for linking on your blog. Underneath the video itself, there is a link that says "This media file's URL: Link." Right +click (or Ctrl + click, if you're on a Mac) and select Copy Link Location. Keep this copied while you create a post and paste it into your blog.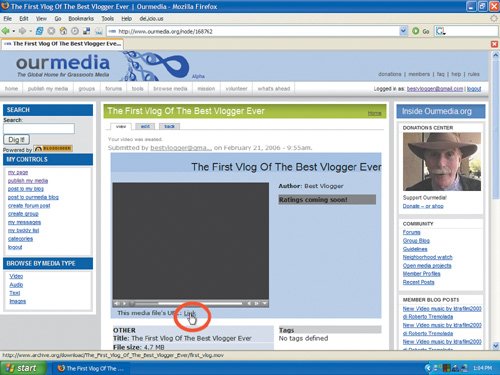 Note Make sure you don't accidentally click the video's URL and copy the URL in the address bar. This is a temporary URL that will eventually stop working. Back to Blogger for More PostingGreat work! You've uploaded your video and copied the URL. Now, you need to go back to your blog to create a new post specifically for your video. Remember the screenshot you took in the previous chapter? Here's where that comes in. If you've logged out of Blogger, log back in and click the New Post button in your Blogger Dashboard (Figure 7.20), then follow the steps shown in Figures 7.21 to 7.26. Figure 7.20. If necessary, log back in to Blogger.com and click the New Post button in your Blogger Dashboard.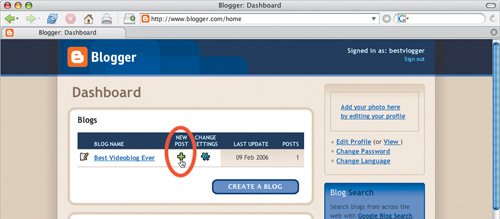 Figure 7.21. Type a title for your videoblog post in the Title field. Click the Add Image button to upload your screenshot to your blog post.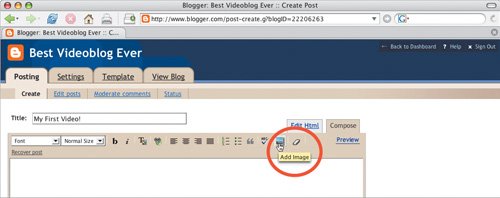 Figure 7.22. Click the Browse button under Add another image from your computer section on the right side of the window. Look in your Videoblog Projects folder and attach your video's screen shot JPEG.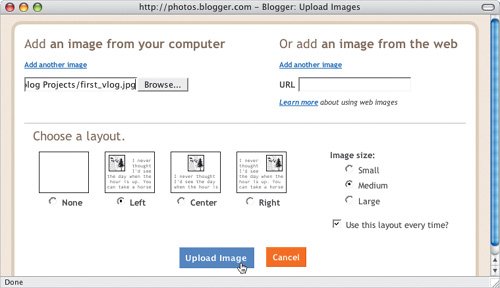 Figure 7.23. Be patient while your photo uploads. When it's done, click the Done button in the pop up window so the image will be placed in your blog post. If you don't click Done, the image will not show up in your post.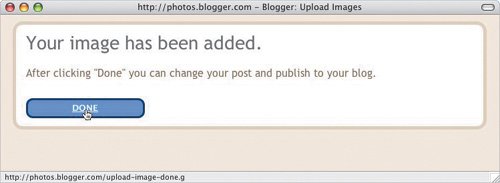 Figure 7.24. Once your image is uploaded, select it by clicking on it. You will know it's selected by the resize box options that appear around it. Click the Link button to link your video URL to the screenshot image.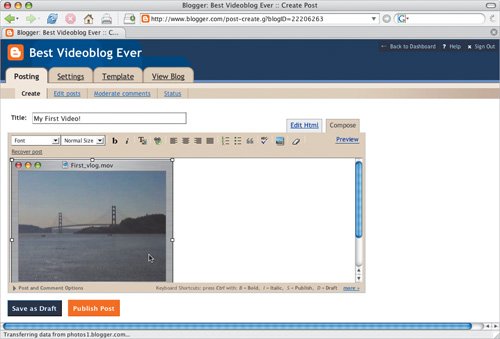 Figure 7.25. Paste your video's URL into the dialog that pops up, then click OK to link the video to your photo. (This will allow your viewers to click on the image and go right to your video.)
Figure 7.26. After you click the orange Publish button on the bottom of the post page and Blogger finishes publishing, click the View Page link to see the finished product.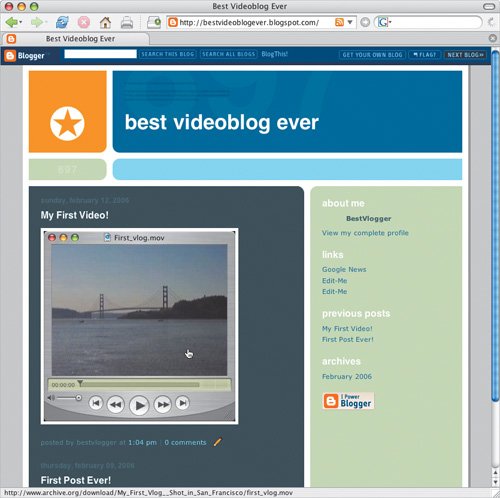
If you've created a blog and posted your video in the previous steps, you're ready for the next chapter. If you want to explore alternatives to Blogger and Ourmedia, read on. |
EAN: 2147483647
Pages: 81