4.5 Using the Address Book with .Mac
| < Day Day Up > |
| If you use Mac OS X's Address Book application for storing and managing your contacts, you can make them available for use with .Mac's web-based Mail as well. All you need to do is use iSync to synchronize your Address Book data to your iDisk, which instantly makes your contacts available for use with Mail. 4.5.1 Syncing Your Mac's Address Book with Your .Mac AccountOf course, it isn't necessary to maintain an Address Book online, but it sure makes it easier when you're on the road and you can't remember someone's phone number or email address. If you have used iSync to synchronize data from your Mac to your iDisk (see Chapter 9), one thing you can do is pair up the contacts you have stored in the Address Book application on your Mac with the online Address Book.
Once your Address Book data has been synced to your iDisk, you'll need to flip the proverbial switch to make it all work seamlessly. To do this, log in to your .Mac account and follow these steps:
Figure 4-30. Before the Address Books can be synced, this message will be displayed.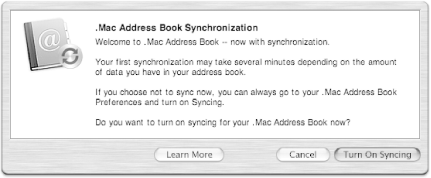 As the message states, it could take a few minutes to create your online Address Book the first time you sync your Address Books. This is because the data stored on your iDisk (in /Library/Application Support/Sync/CONT ) needs to be pulled out and formatted as a viewable/usable contact list. As the information in your Address Books sync, the message shown in Figure 4-31 is displayed. Apple even went as far as creating an animated GIF that has iSync's icon spinning around, just as it does in the Dock when iSync is in progress. Figure 4-31. This message will be displayed as the data stored on your iDisk gets formatted into an online Address Book.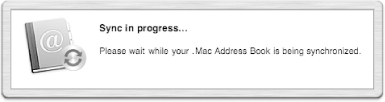 Once the synchronization process has completed, you can now use your Address Book contacts online with .Mac's web-based Mail. 4.5.2 Adding an Address to an EmailOnce your Address Book contacts have been synchronized with the .Mac servers, you can pull addresses from your online Address Book rather quickly. The first step is to click on the Compose icon in the toolbar to bring up a blank message, as shown in Figure 4-32. Figure 4-32. A blank email message...your slate is clean.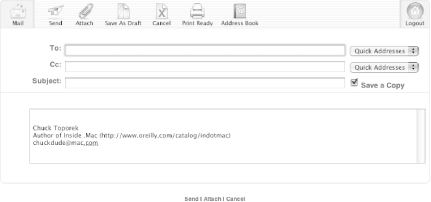 Now just follow these steps:
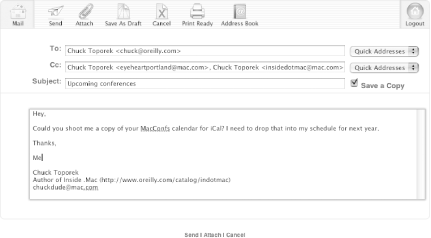
If you look closely at how the multiple email addresses are listed in the Cc: line, you'll see that they take the form of: FirstName LastName <email_address>, FirstName LastName <email_address> with the person's email address placed between angle brackets, followed by a comma and a space before the next address. Keep this in mind for times when you want to type this in manually. 4.5.3 Setting Up Quick AddressesWouldn't it be great if there were a way you could quickly pop in an address for someone you email frequently? Well, there is. If you look off to the right of the To: and Cc: lines when you go to Compose a new email message (see Figure 4-32), you'll see pop-up menus next to these fields that say Quick Addresses on them. The Quick Addresses menus can contain up to 10 email addresses, which you can then use to quickly insert names and their associated email addresses in the To:, Cc:, and Bcc: fields. To configure the Quick Addresses menus, follow these steps:
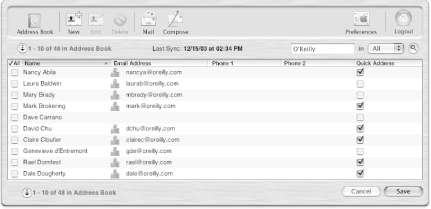
You cannot have separate Quick Address lists for the To:, Cc:, or Bcc: fields; the 10 people whose names you selected will appear in all of the Quick Address menus, as shown in Figure 4-37. Figure 4-37. Use the Quick Addresses menu to insert names and email addresses into the To:, Cc:, and Bcc: fields.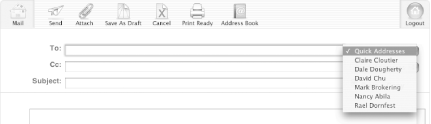 To remove a name from your Quick Addresses menu, simply go back into your online Address Book, search for the name of the person, and then uncheck the box in the Quick Address column next to their name.
4.5.4 Creating a New Address Book Record OnlineEven though you've synced your Address Book contacts to your iDisk, you can still add new contacts to your Address Book online. To create a new contact for your online Address Book, follow these steps:
Then, the next time you use iSync on your Mac, the new contact you've added will get merged with the contacts on your Mac. |


 Preferences
 | < Day Day Up > |