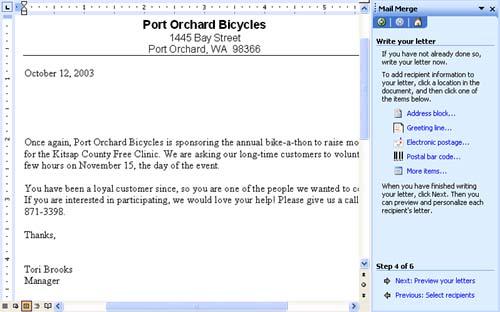
Completing the Main Document
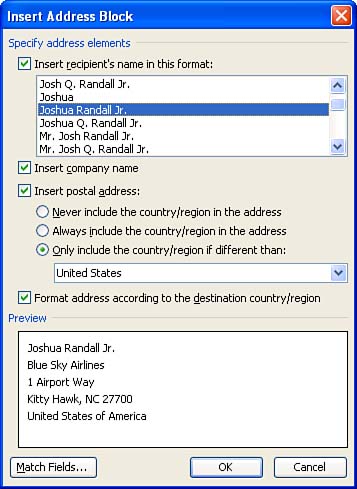
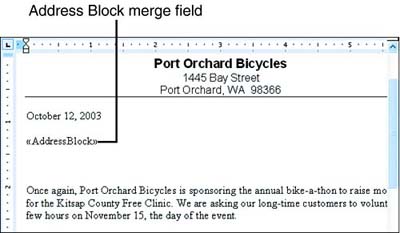
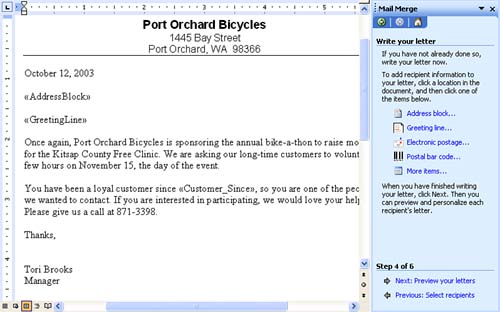
| In this phase, you finish the main document. This entails typing and formatting the text (if you started your main document from scratch) and inserting the merge fields that tell Word where to insert the data from your data source. Follow these steps to complete the main document:
The next step in the process is to preview the merged letters in the section that follows . |

EAN: 2147483647
Pages: 315
- Chapter VIII Personalization Systems and Their Deployment as Web Site Interface Design Decisions
- Chapter XIII Shopping Agent Web Sites: A Comparative Shopping Environment
- Chapter XVI Turning Web Surfers into Loyal Customers: Cognitive Lock-In Through Interface Design and Web Site Usability
- Chapter XVII Internet Markets and E-Loyalty
- Chapter XVIII Web Systems Design, Litigation, and Online Consumer Behavior