| Many CD and album covers are works of art (though many aren't!), and it would be a shame never to see them just because your music has gone digital. With iTunes, you don't need to miss out because you can associate artwork with songs and display that artwork in the iTunes window. You can also print CD case labels that include an album's artwork so that you can produce CDs that look just like those you purchase. (You'll learn about printing CD case labels in Chapter 18, "Burning Your Own CDs or DVDs.") Most of the music you purchase from the iTunes Music Store will include artwork that you can view. You can also add artwork to songs that you obtain from other sources and view and use those graphics in the same way. Viewing Album Artwork To view a song's artwork, do one of the following: Click the Artwork button located under the Source list. The Artwork pane will appear and display the artwork associated with either the currently playing song or the currently selected song (see Figure 15.9). At the top of the artwork, you will see Selected Song, which indicates you are viewing the artwork associated with the selected song, or Now Playing, which indicates you are viewing artwork associated with the song currently playing. Figure 15.9. You can view the artwork associated with a song in the Artwork pane. 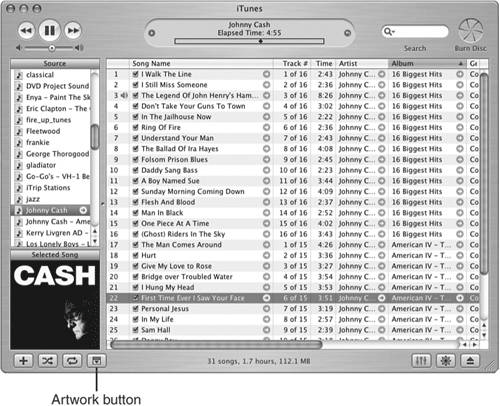
Click the artwork to see a larger version in a separate window (see Figure 15.10). The title of the window will be the name of the song the artwork is associated with. Figure 15.10. You can view a large version of a song's artwork in a separate window. 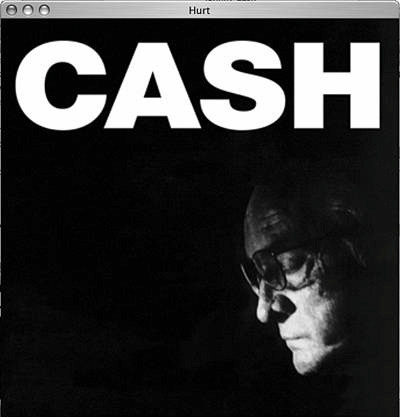
To choose between viewing artwork associated with the selected song or the song currently playing, click the text at the top of the Artwork pane. The artwork will change to the other option (for example, if you click Now Playing, it will become Selected Song), and you will see the artwork for that song. Note  | If you view the artwork in a separate window, it does not change with the music. When you open the artwork in a new window, it is static, meaning you can only view the image you clicked. |
If you choose the Now Playing option, the artwork will change in the Artwork pane as the next song begins playing (unless, of course, the songs use the same artwork). If the song has more than one piece of artwork associated with it, click the arrows that appear at the top of the Artwork pane to see each piece of art.
Adding Artwork for Songs You might want to associate artwork with a song. For example, if a song doesn't have album art associated with it, you can add the art yourself. Or, you might want to add the artist's picture or some other meaningful graphic to the song. You can add one or more pieces of art to songs by using the following steps: 1. | Prepare the artwork you are going to associate with a song. You can use graphics in the usual formats, such as JPG, TIFF, GIF, and so on.
| 2. | Select the song with which you want to associate the artwork.
| 3. | Open the Info window and then click the Artwork tab (see Figure 15.11). If the selected song has artwork with it, you will see it in the Artwork pane.
Figure 15.11. You use the Artwork pane to add artwork to a song. 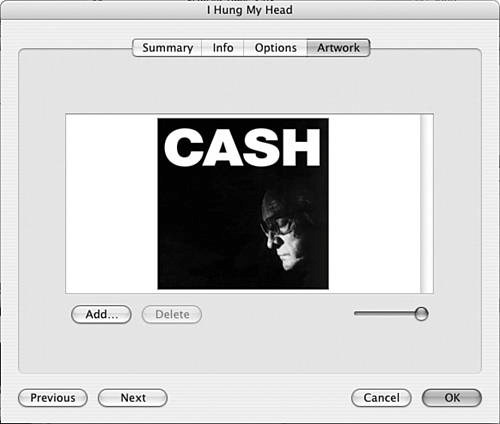
You can use the slider under the image box to change the size of the previews you see in the window. Drag the slider to the right to make the image larger or to the left to make it smaller. This doesn't change the image; instead, it only impacts the size of the image as you currently see it in the Info window. This is especially useful when you associate more than one graphic with a song because you can see them all at the same time.
Tip  | You can also add artwork to a song by dragging the image file from your desktop onto the Artwork pane of the Info window. |
| 4. | Click Add. A dialog box that enables you to choose an image will appear.
| 5. | Move to and select the image you want to associate with the song.
| 6. | Click Open (Windows) or Choose (Mac). The image will be added to the window (see Figure 15.12).
Figure 15.12. This song now has two images associated with it. 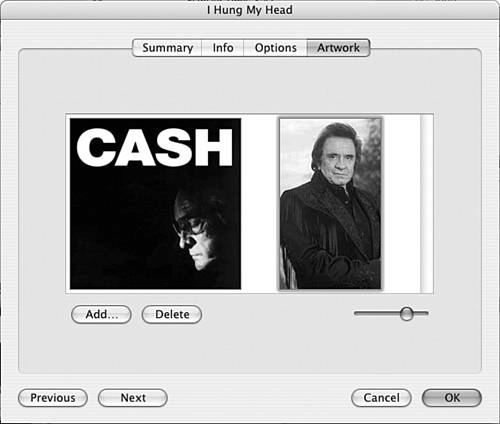
| 7. | Continue adding images to the Artwork pane until you have added all the images for a song.
The default image for a song is the one on the left of the image box.
| 8. | To change the order of the images, drag them in the image box.
| 9. | Click OK. The window will close and the images will be saved with the song (see Figure 15.13).
Figure 15.13. You can tell this song has multiple images associated with it by the arrows at the top of the Artwork pane. Click an arrow to see the other images. 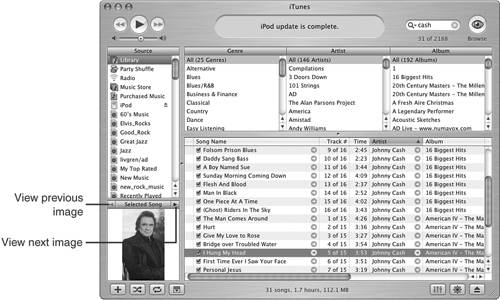
|
|